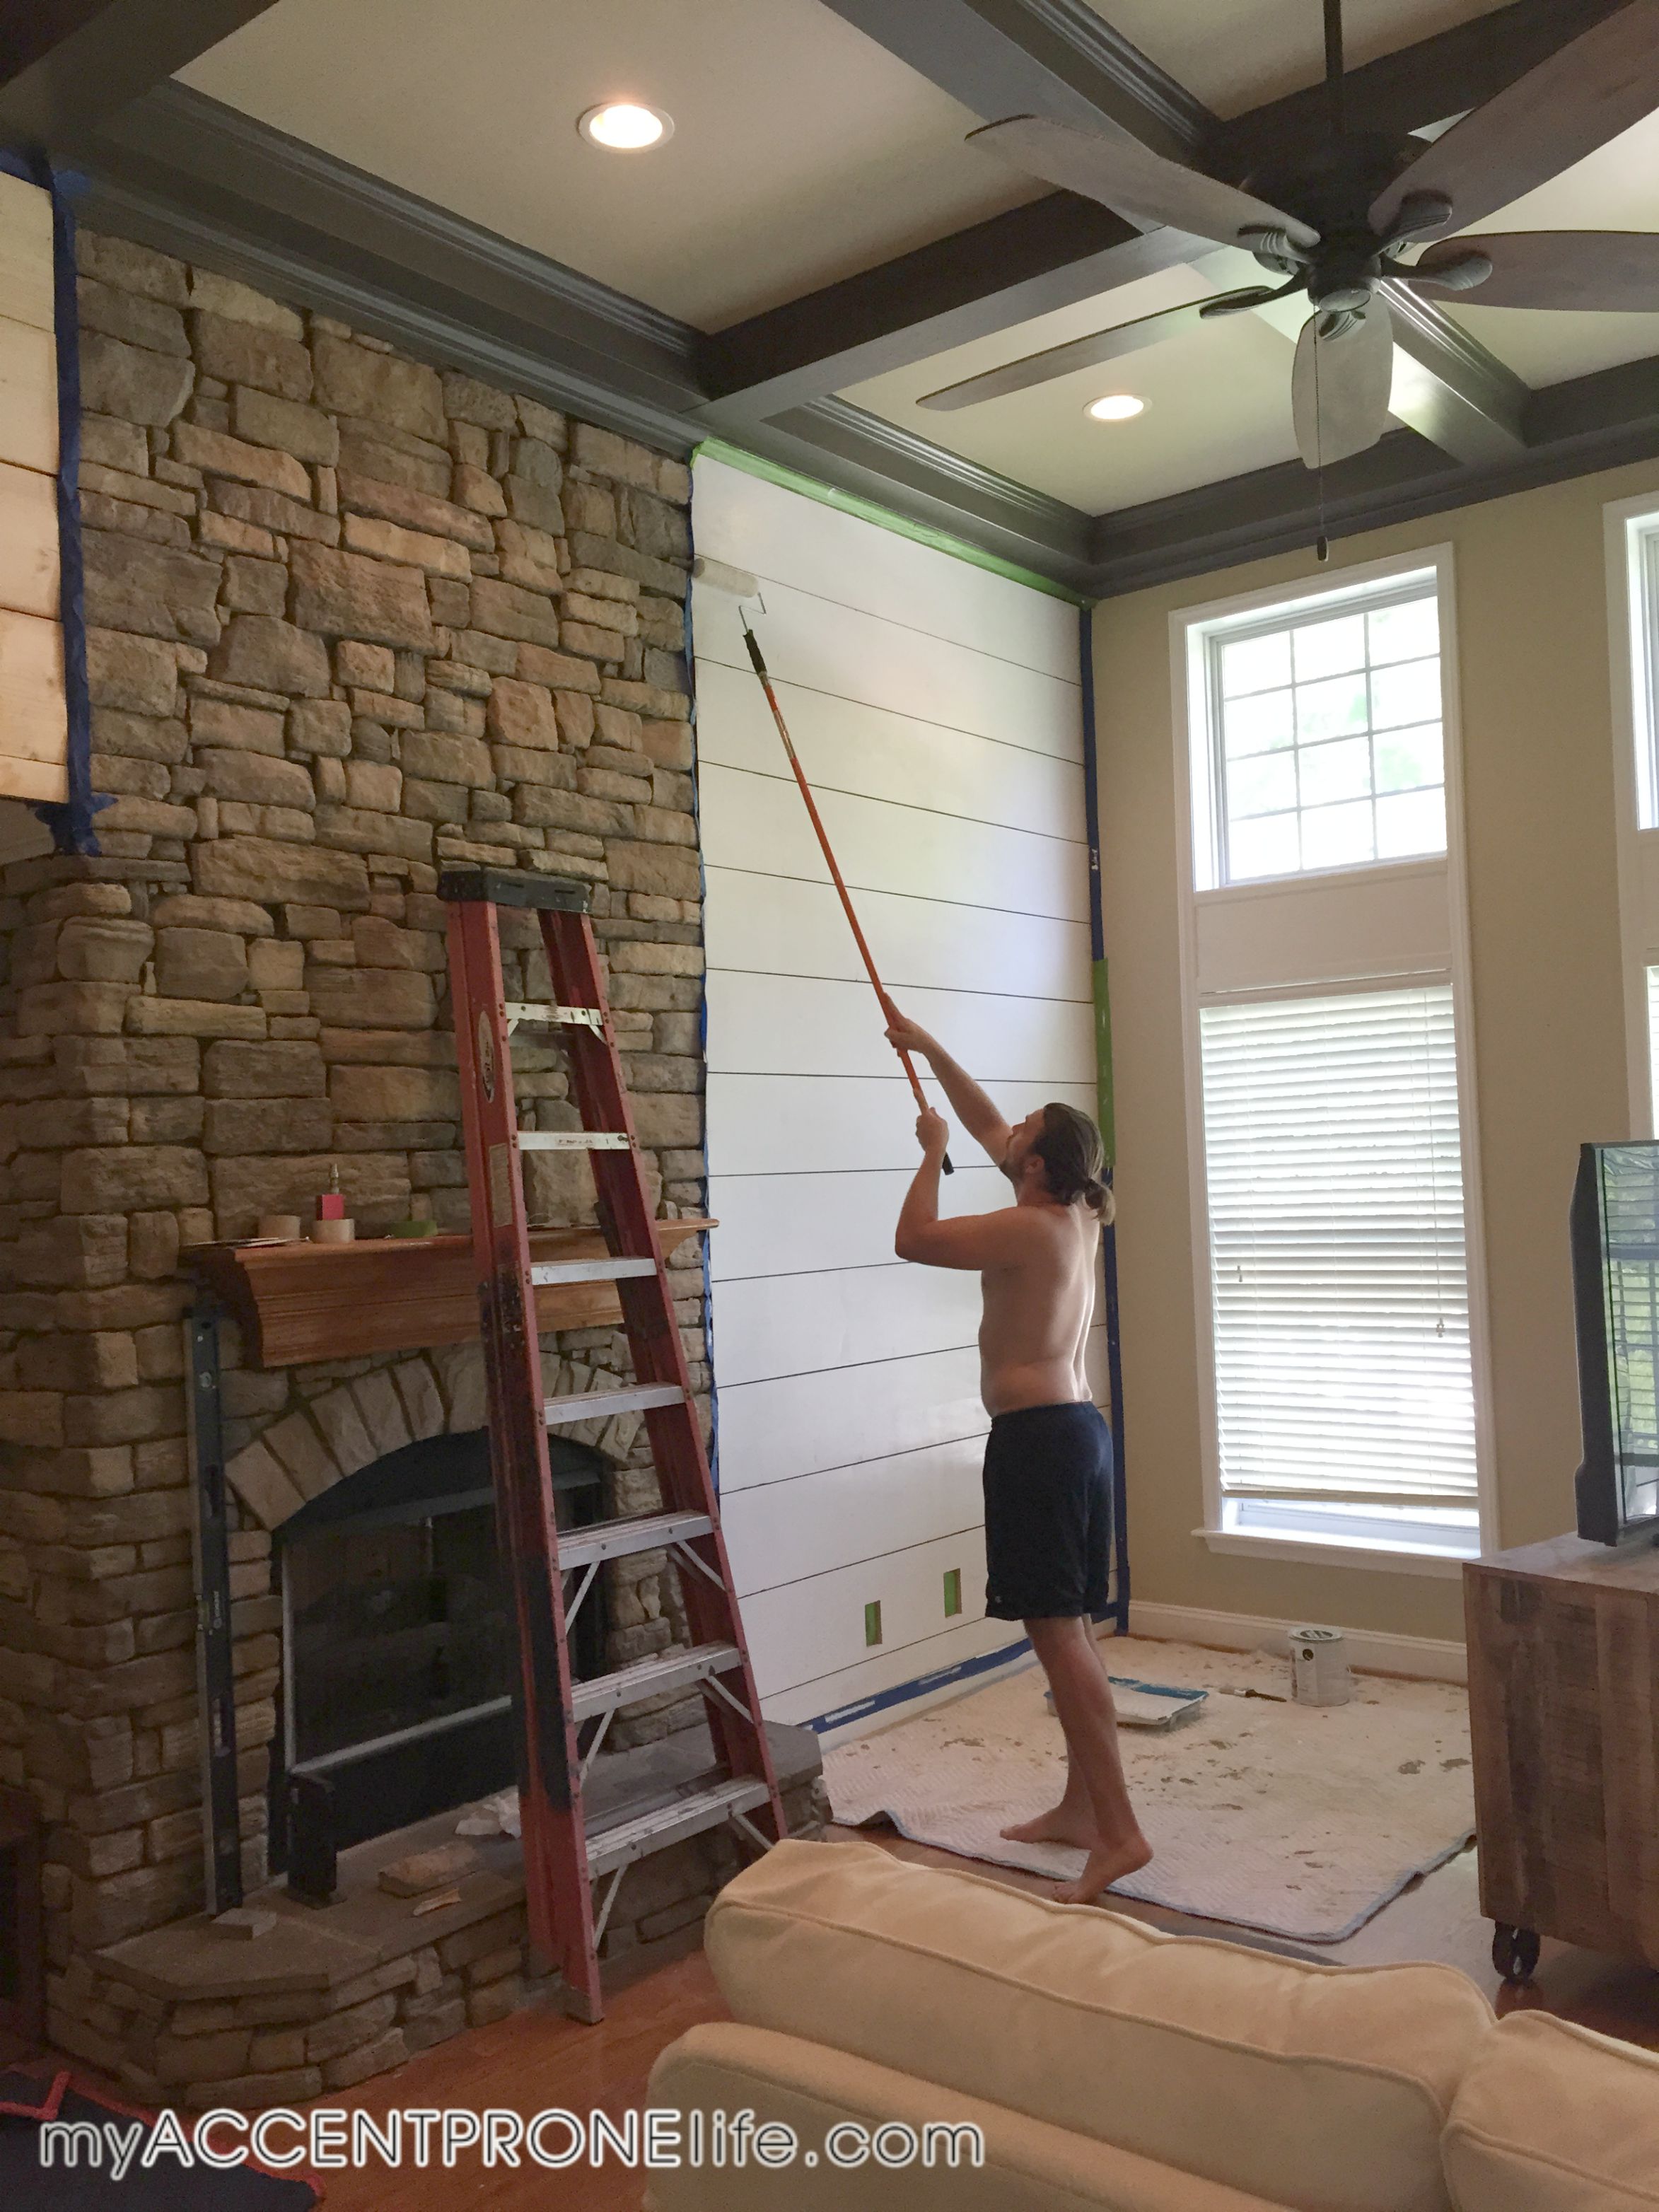
Joanna Gaines has recently made quite an impression on me with her love of shiplap. (And, I can’t deny the fact that their commercial with the #shiplap hashtag, repeated over and over and over again, has really been stuck in my head. So maybe this was some kind of shiplap psychological hypnosis? I guess we will never know!) While Joanna and Chip love to shiplap pretty much everything, I wanted to add in some of this gorgeous boarding in my home without taking it overboard (see what I did there? Ha!) Shiplap adds great dimension to a room, and can make it feel very airy and open when painted white. We decided to add shiplap around our fireplace in our living room as a statement wall. The white boards against the darker stone will be very high contrast, and while some may think of this as way too much variation, contrast is one of my favorite things to contribute to a space. High contrast brings more of an eclectic atmosphere and interest to a room, which is why rustic contemporary is personally my favorite decorating style.
On that same point, when creating shiplap walls you can either go very rustic with them or take them more contemporary, depending on how you paint them and if you fill in the holes or not. We decided to make our shiplap more refined and thus went in the more contemporary direction as opposed to the more farmhouse appeal. I will point out in the steps below how to proceed with the farmhouse look if that’s what you are going for, but steps 1-7 will be the same.
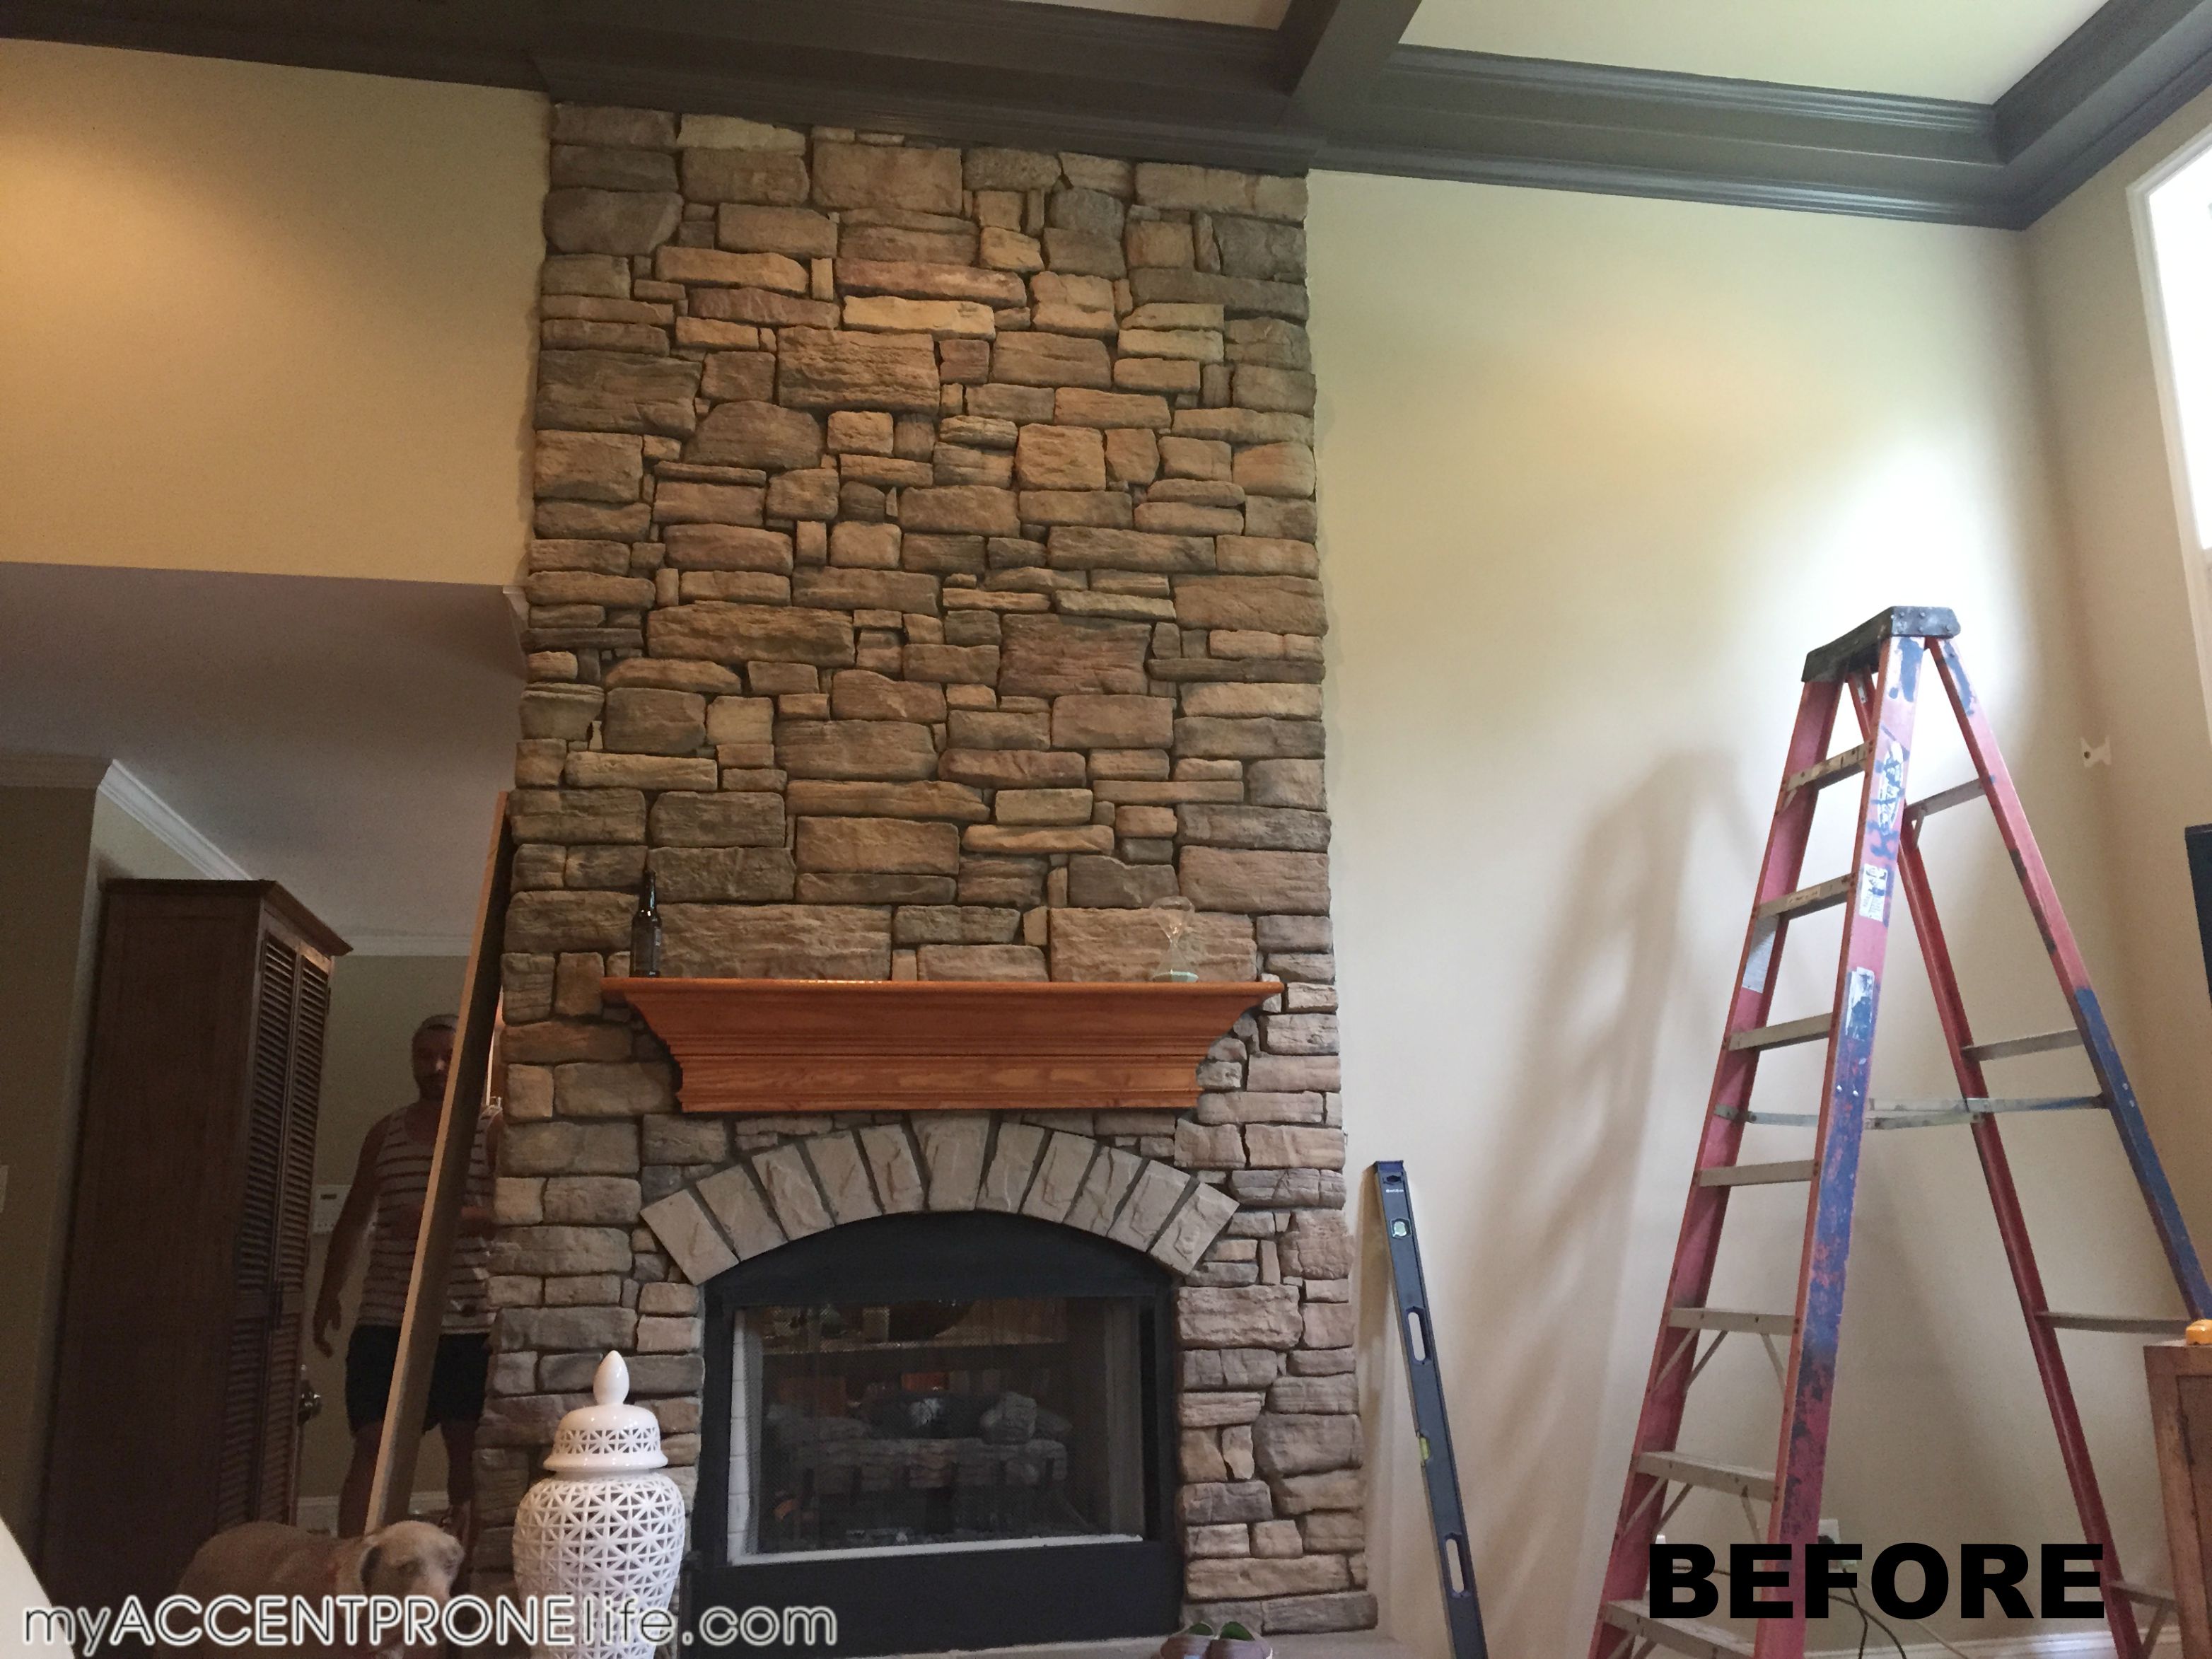
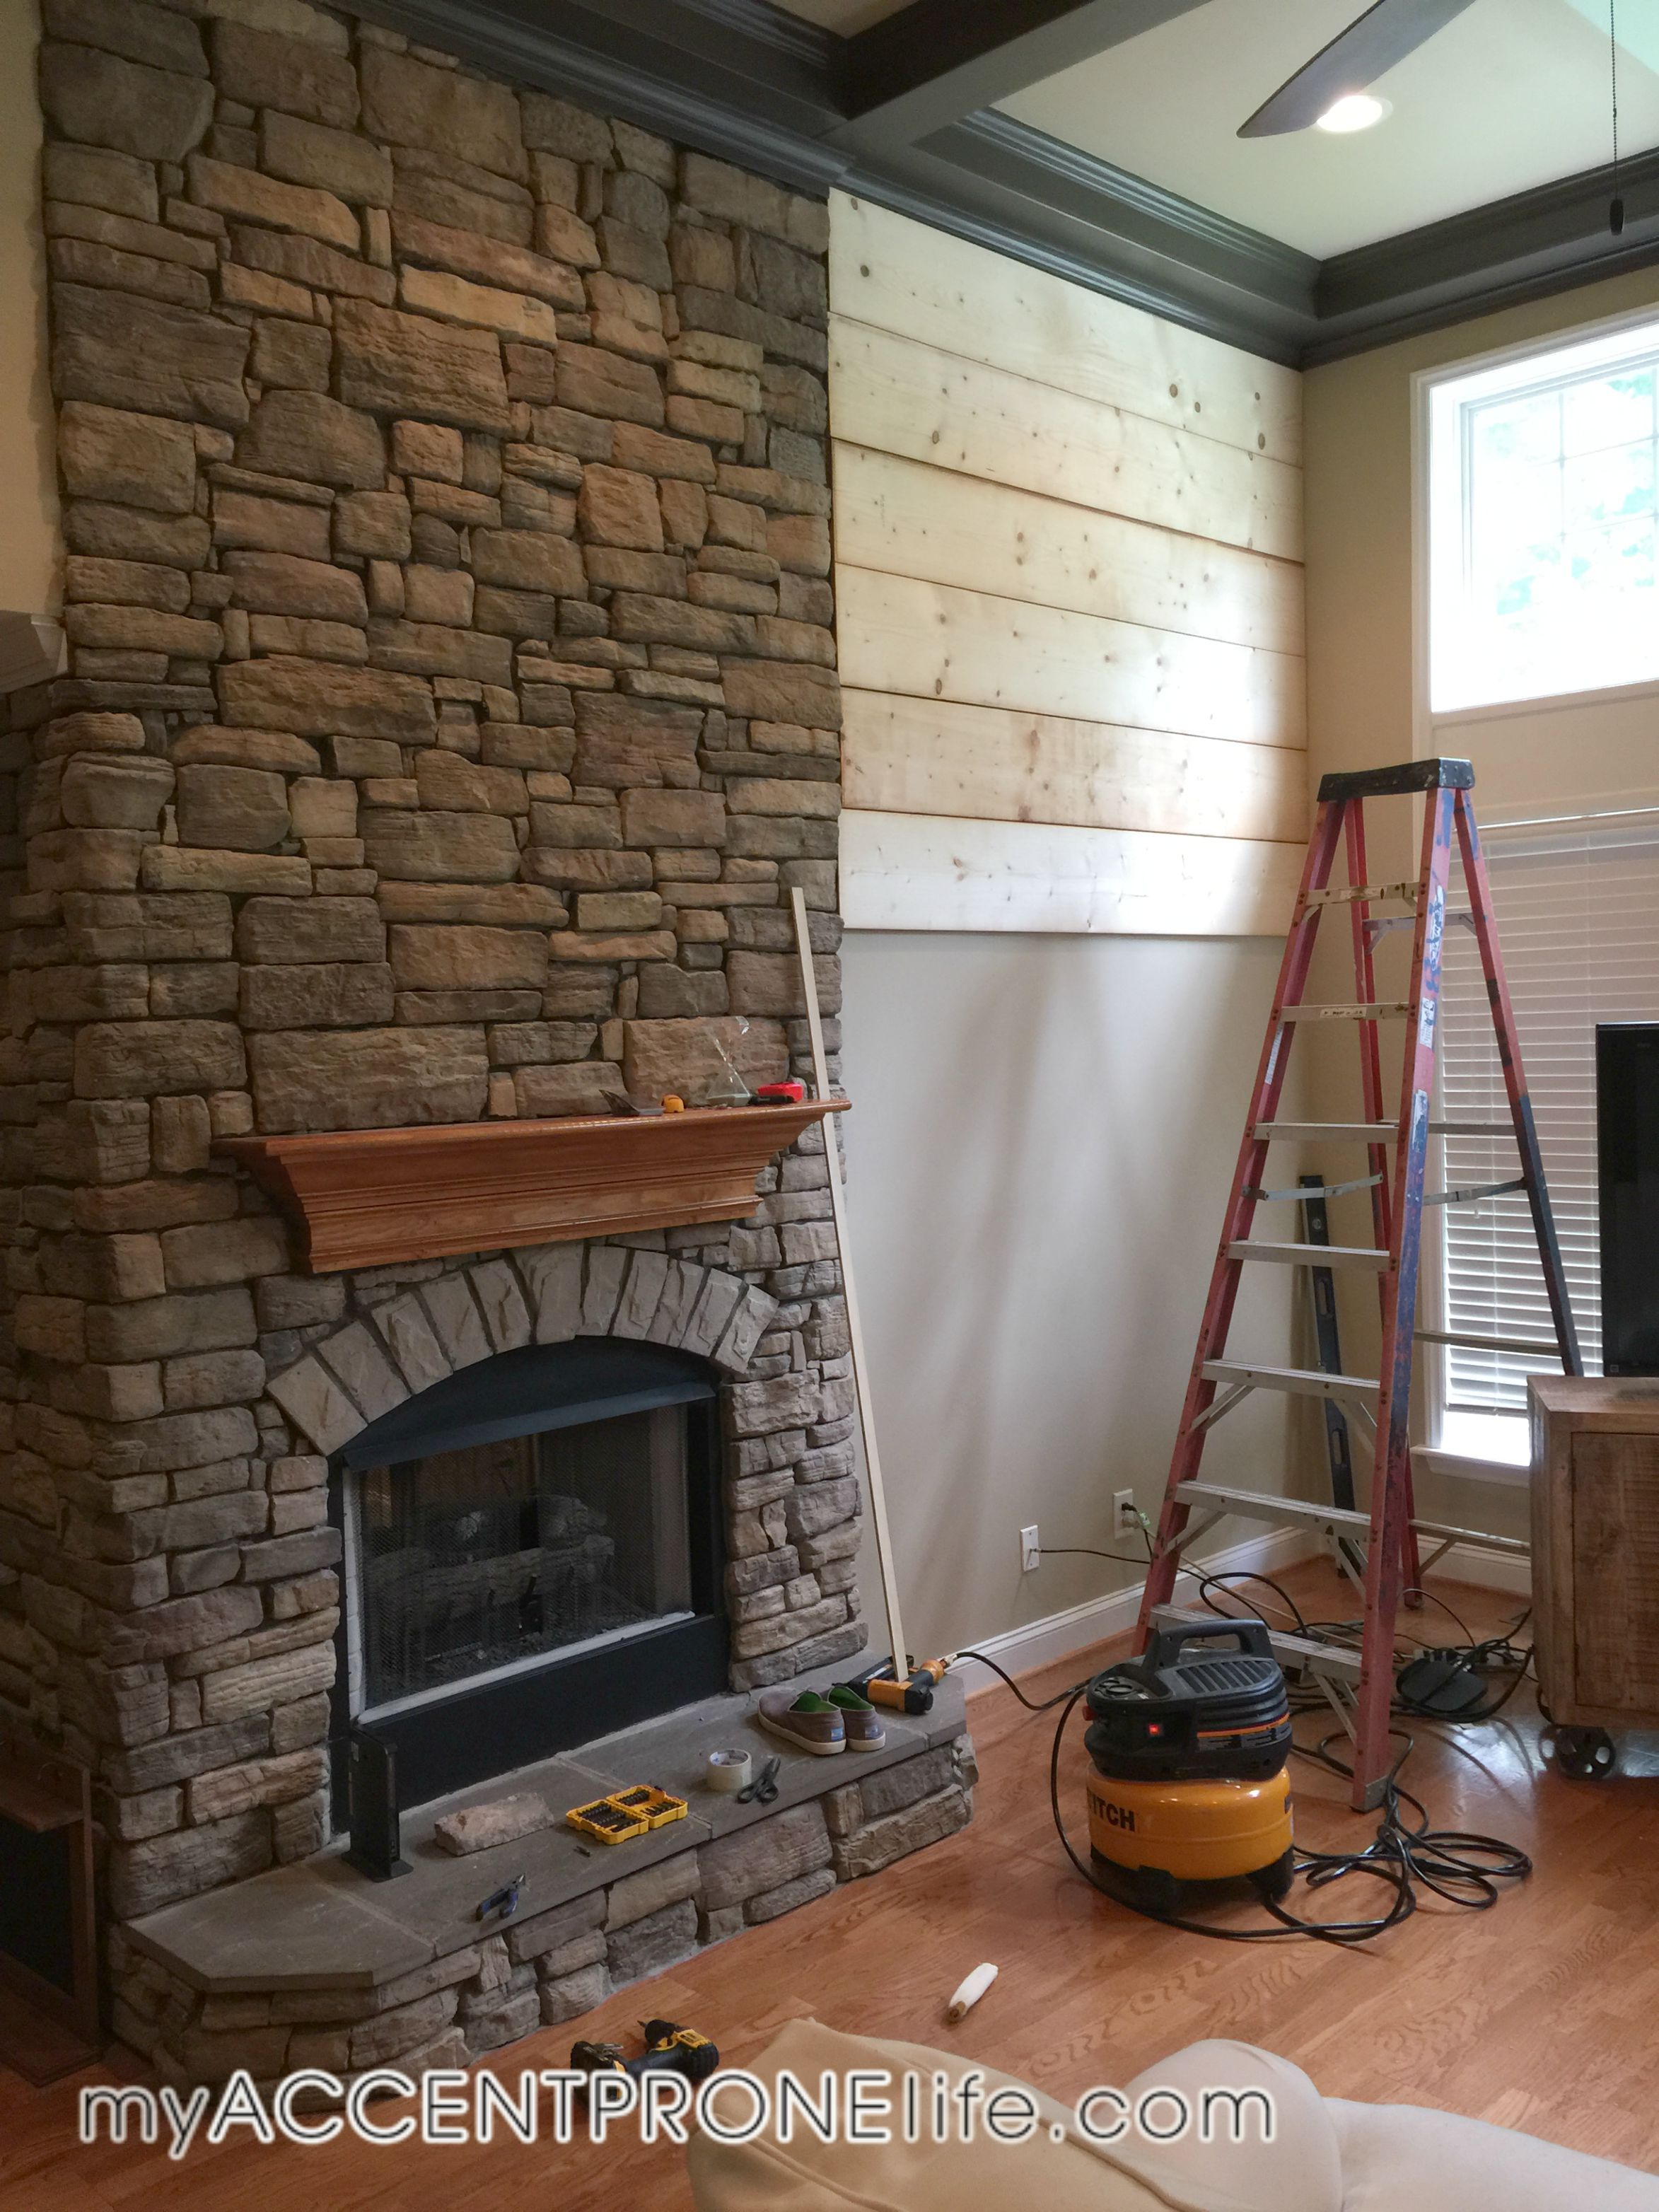
Here is a shot of our room before we began.
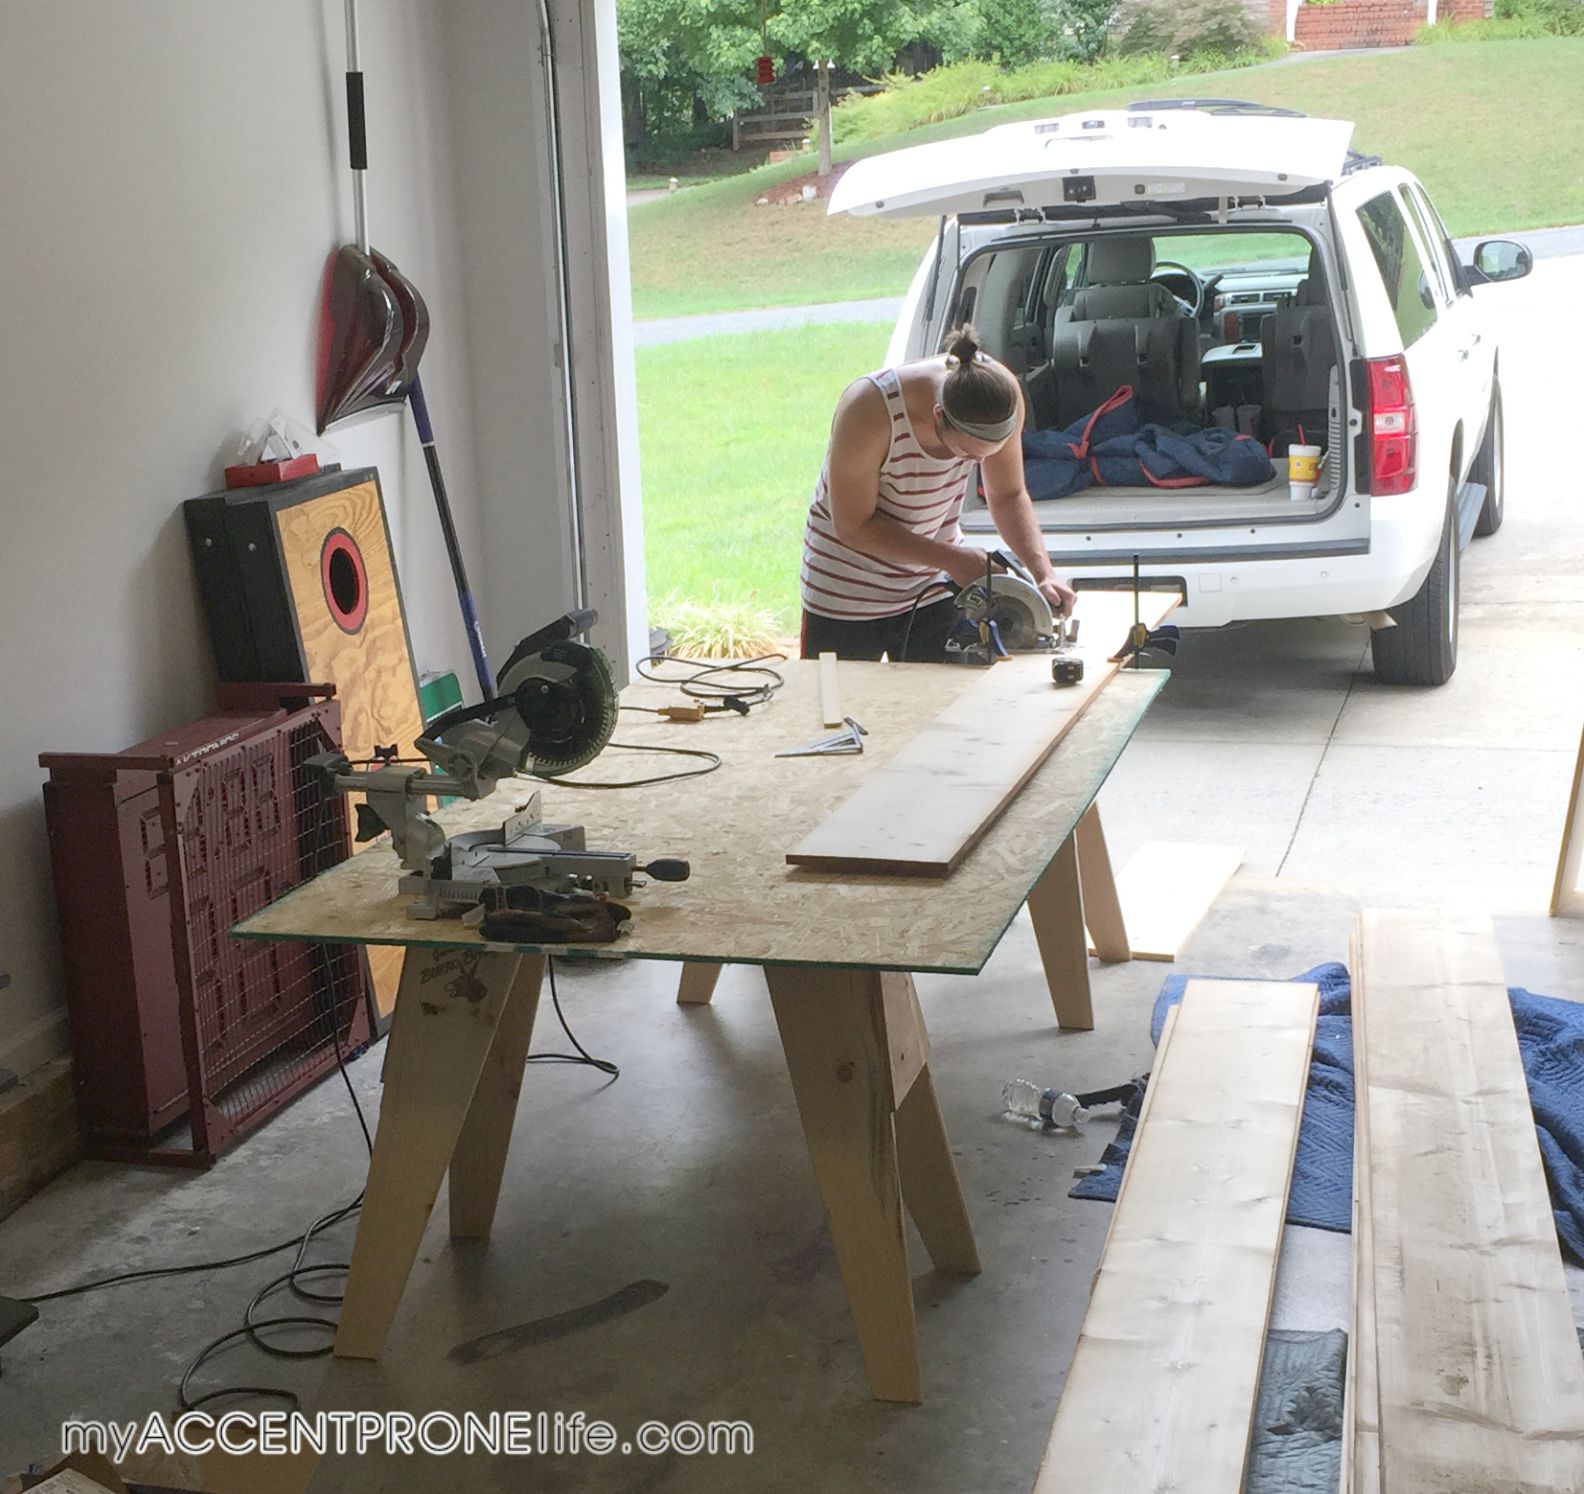
Step 1 – Measure your walls (width x height) to estimate how many boards you will need for your wall. Then, take these dimensions to a lumber yard and they can help you determine the exact number you will actually need. We bought 12×1 pine wood boards. You can buy smaller boards (a lot of people use 8 in. boards for shiplap walls), but we wanted our boards to be a bit larger since we have such high ceilings. You can buy this wood from a hardware store like Lowes, but we have found in the past that lumber from hardware stores is a lot of times warped. We prefer to go to a local lumber yard where each piece is always inspected much better.
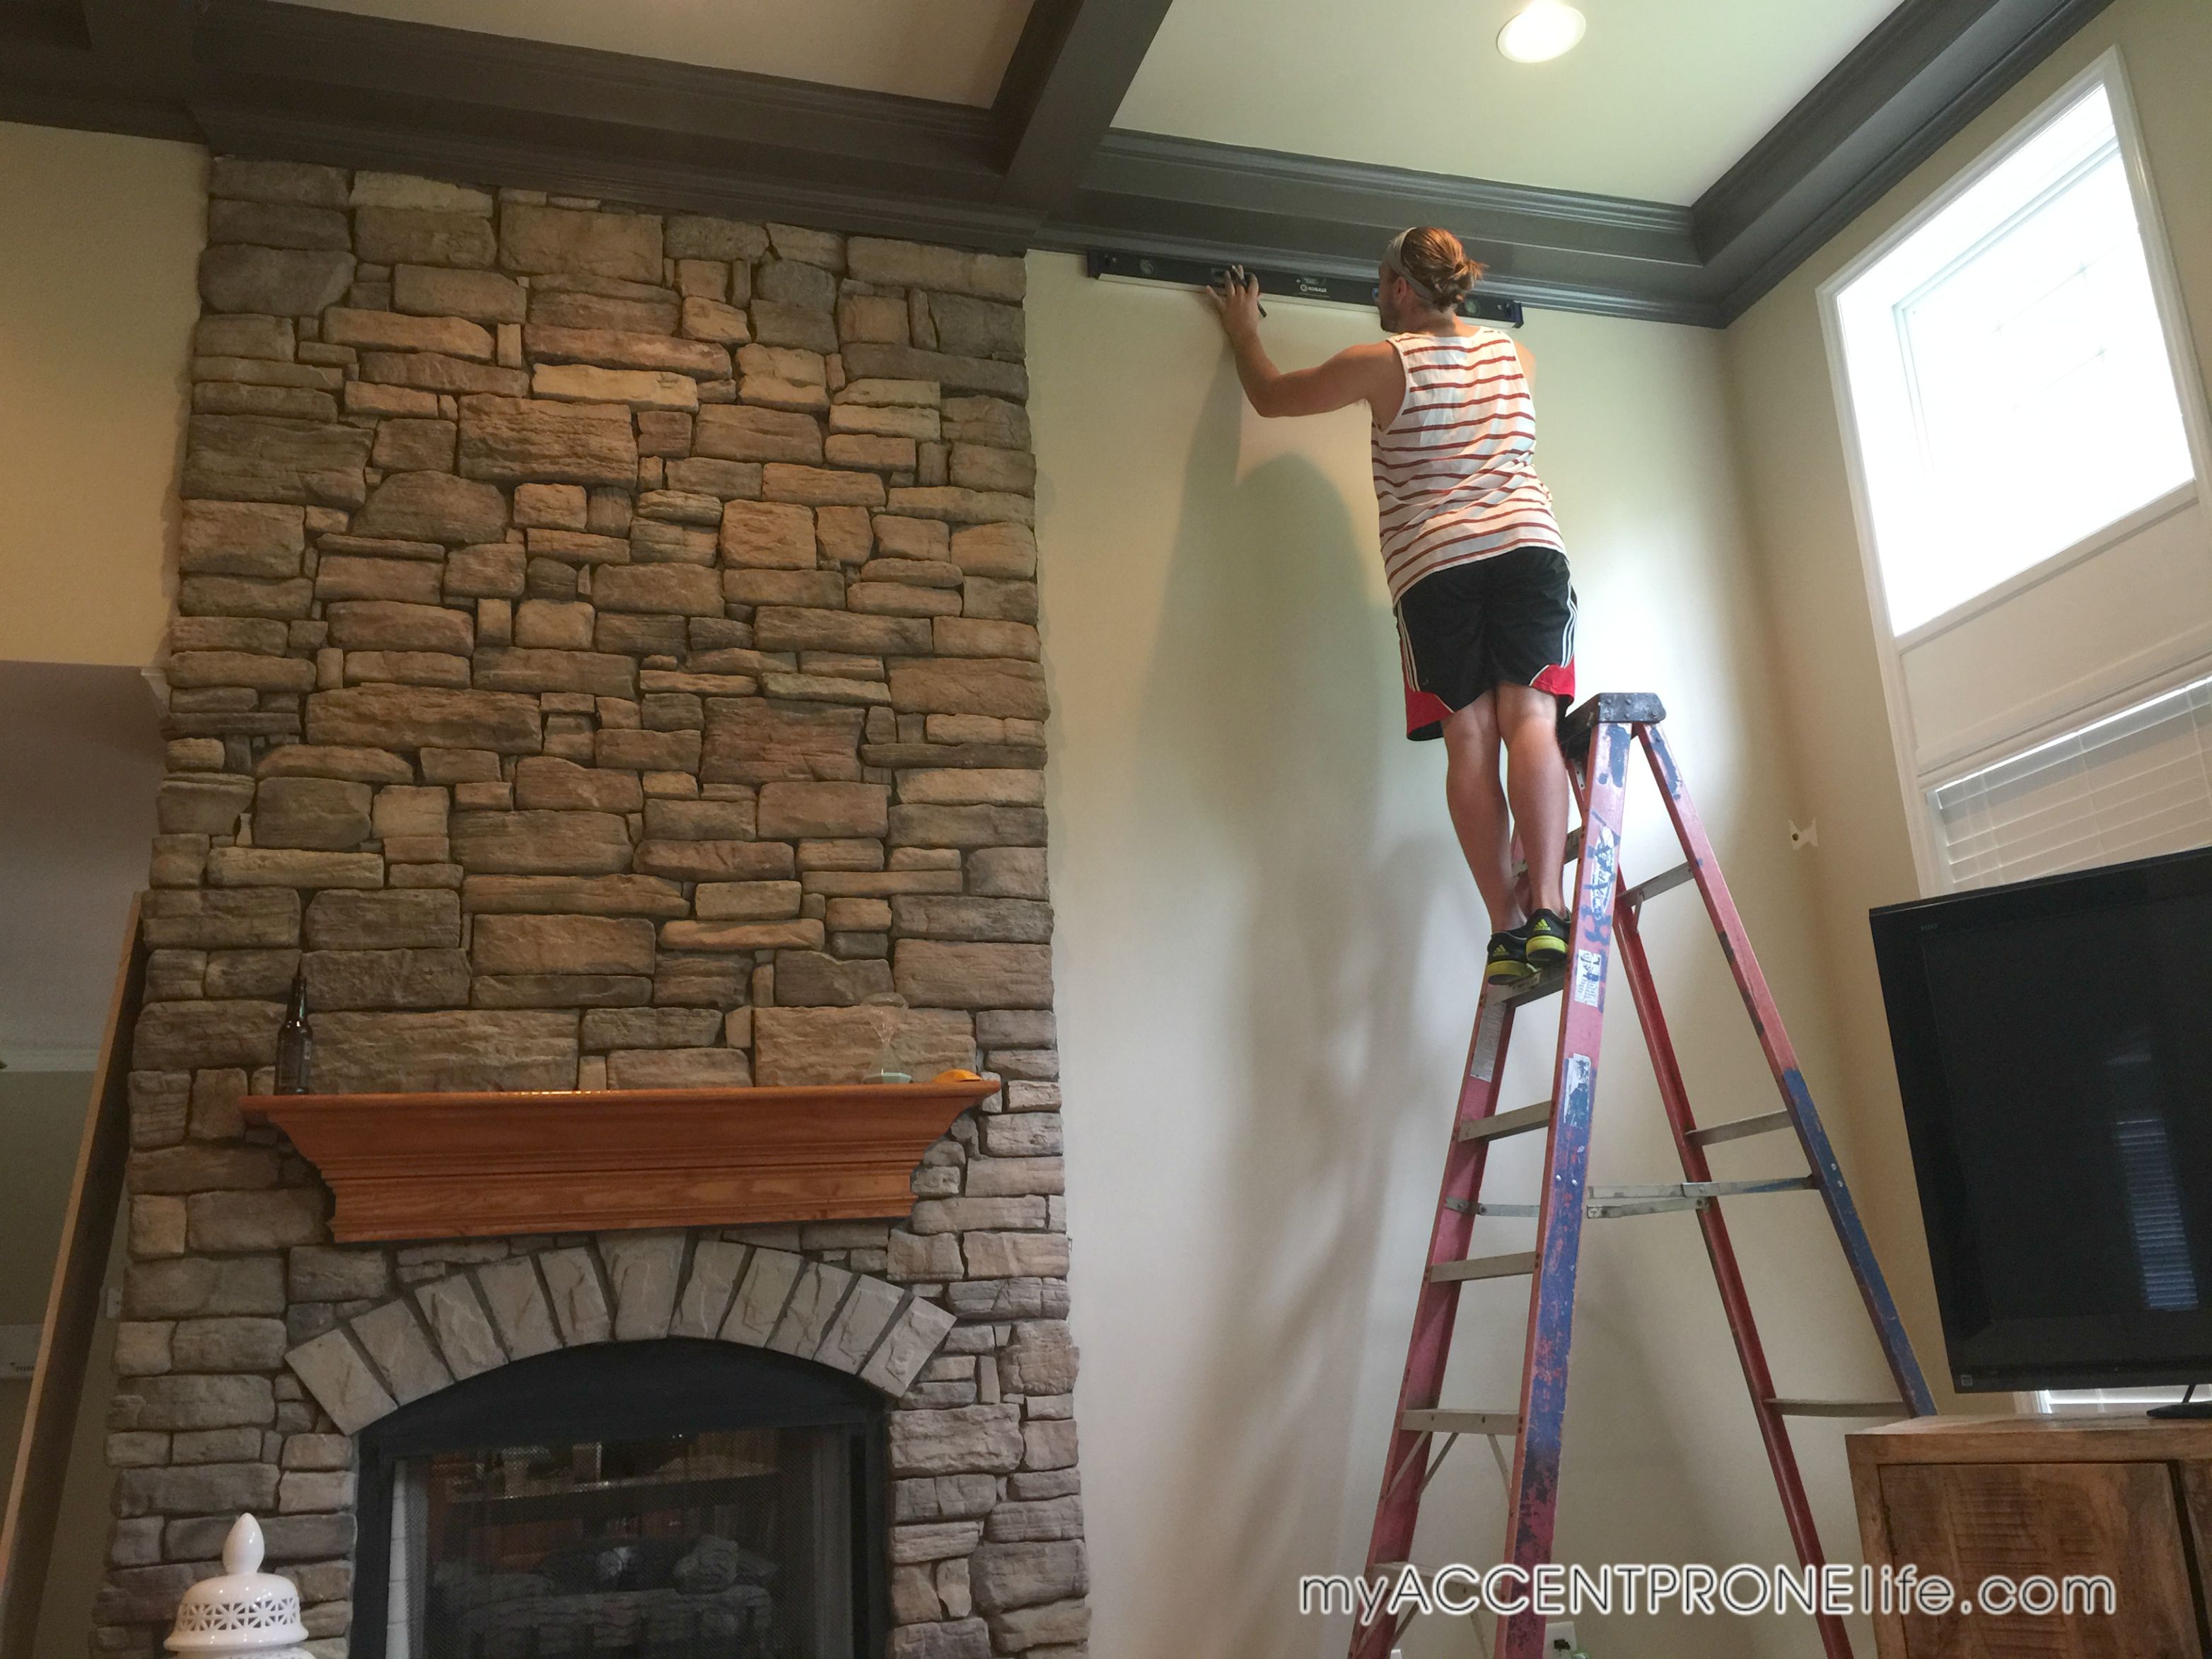
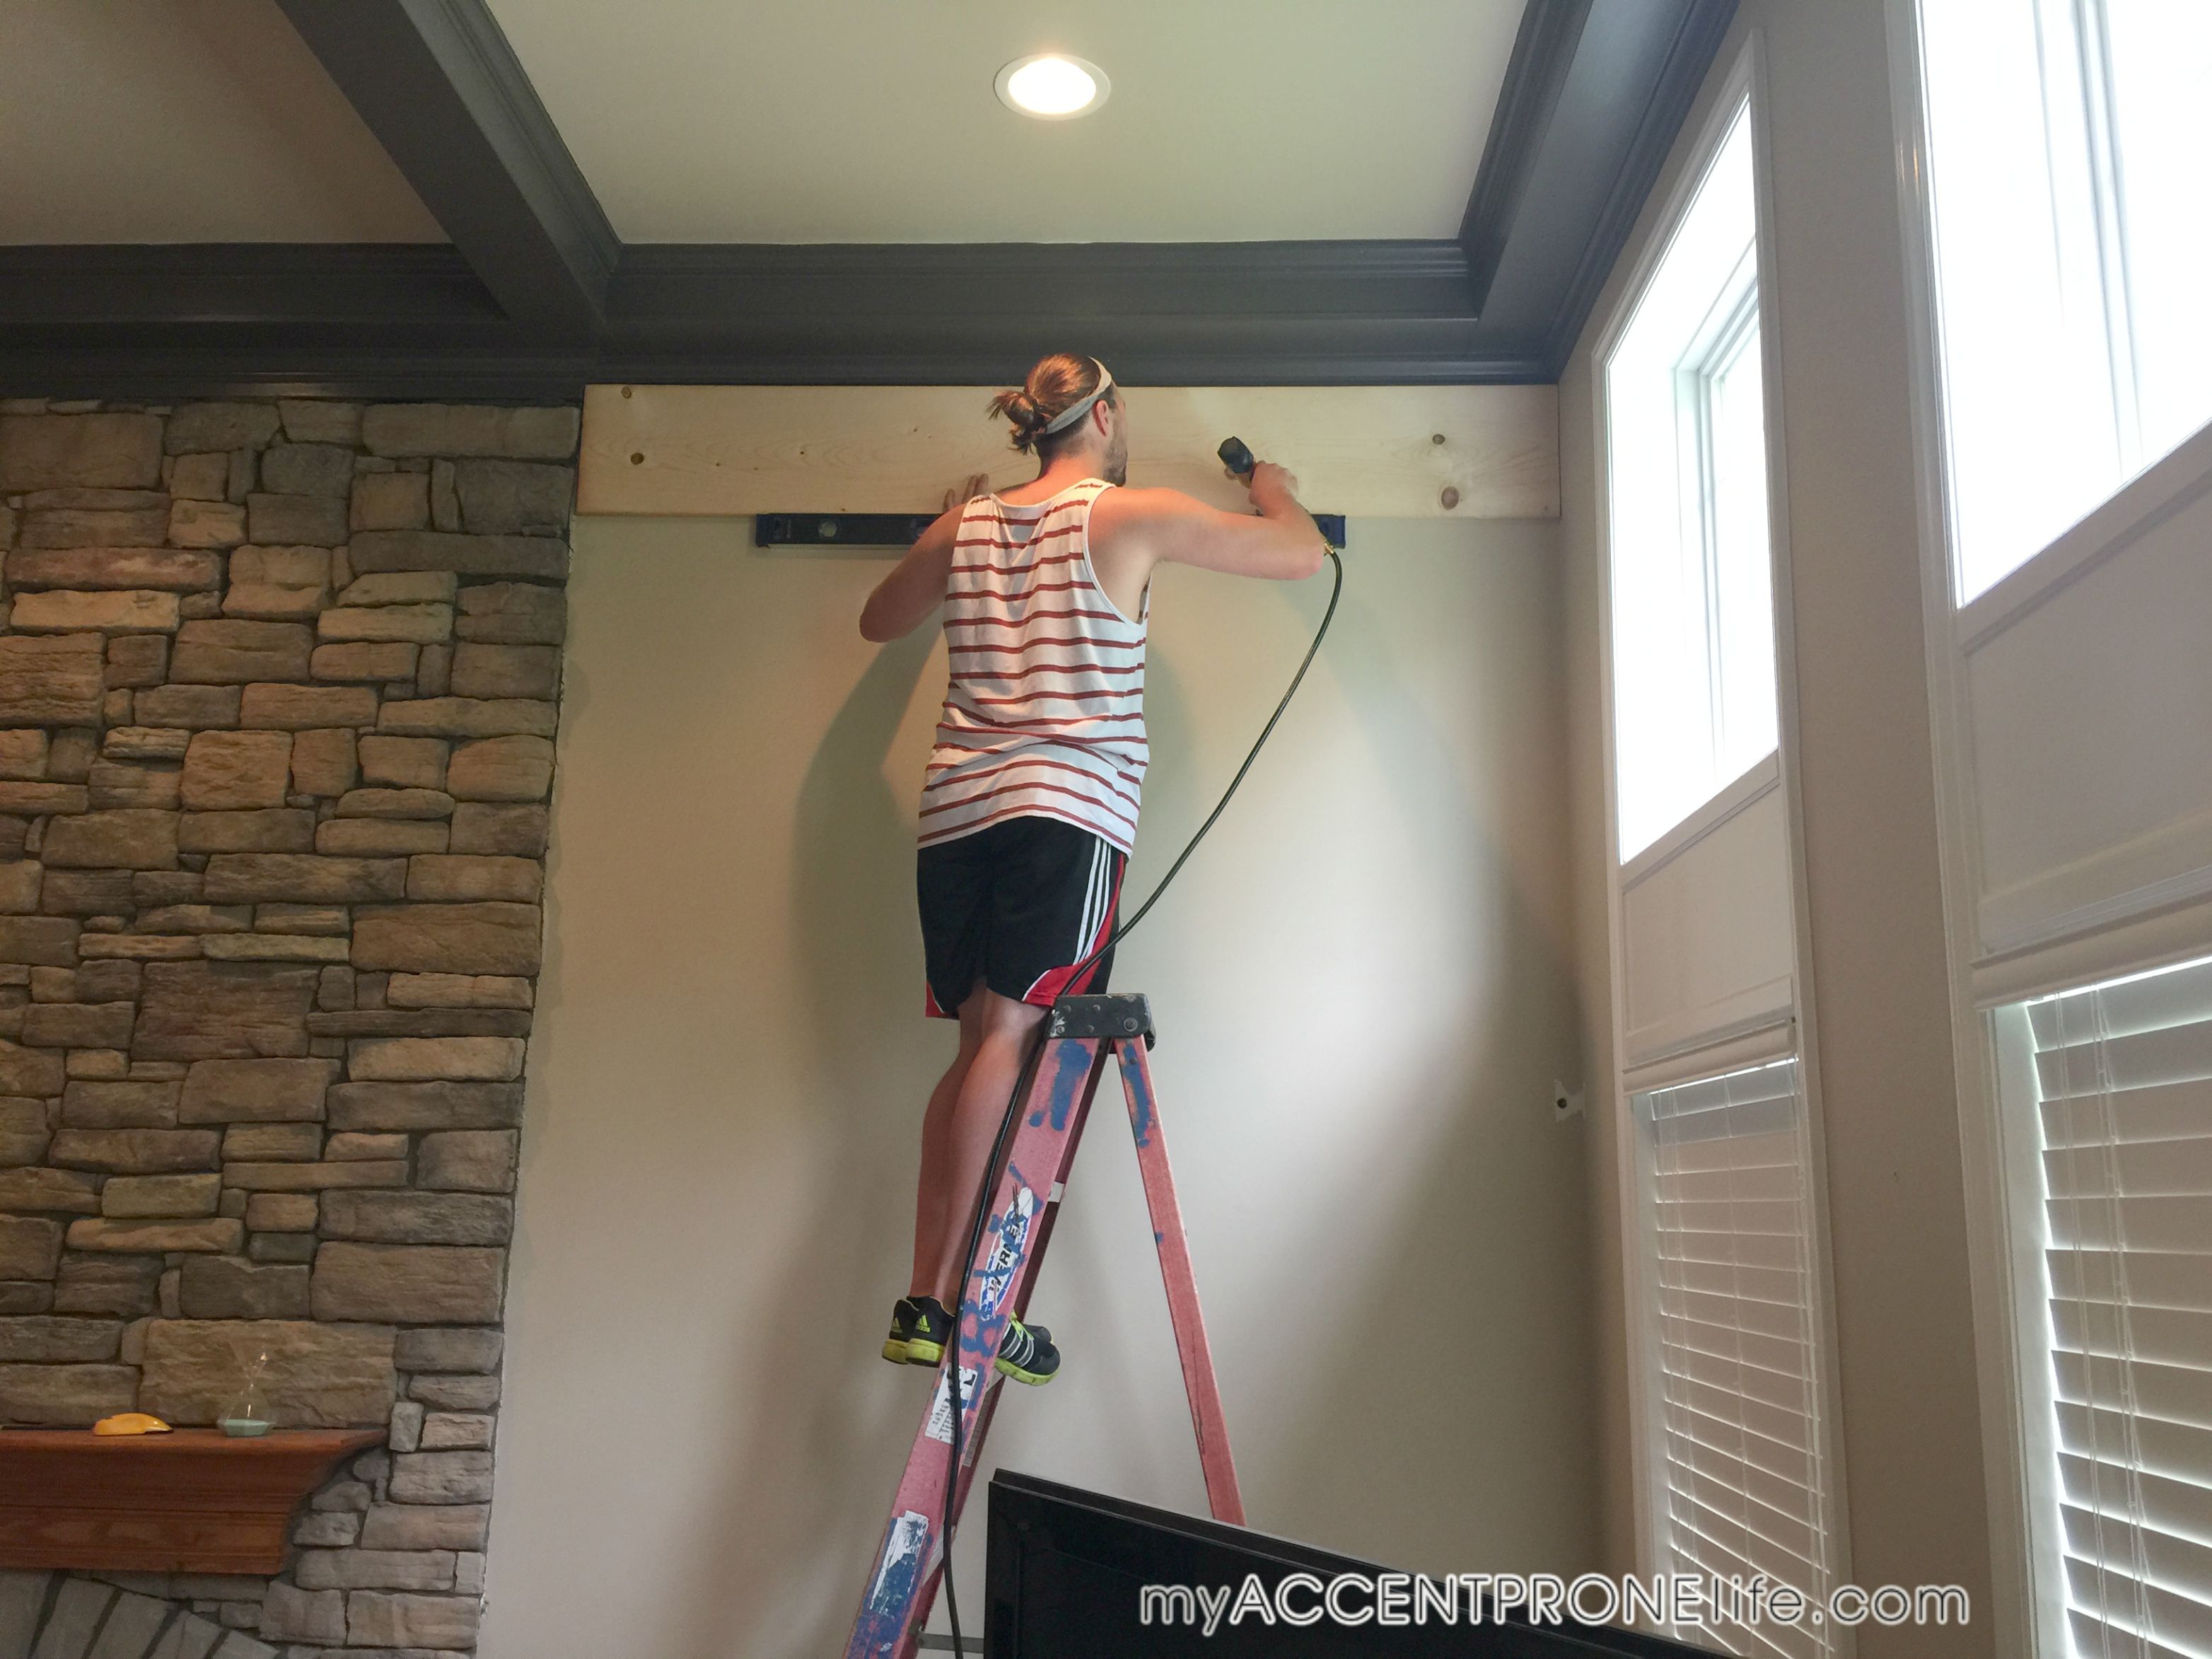
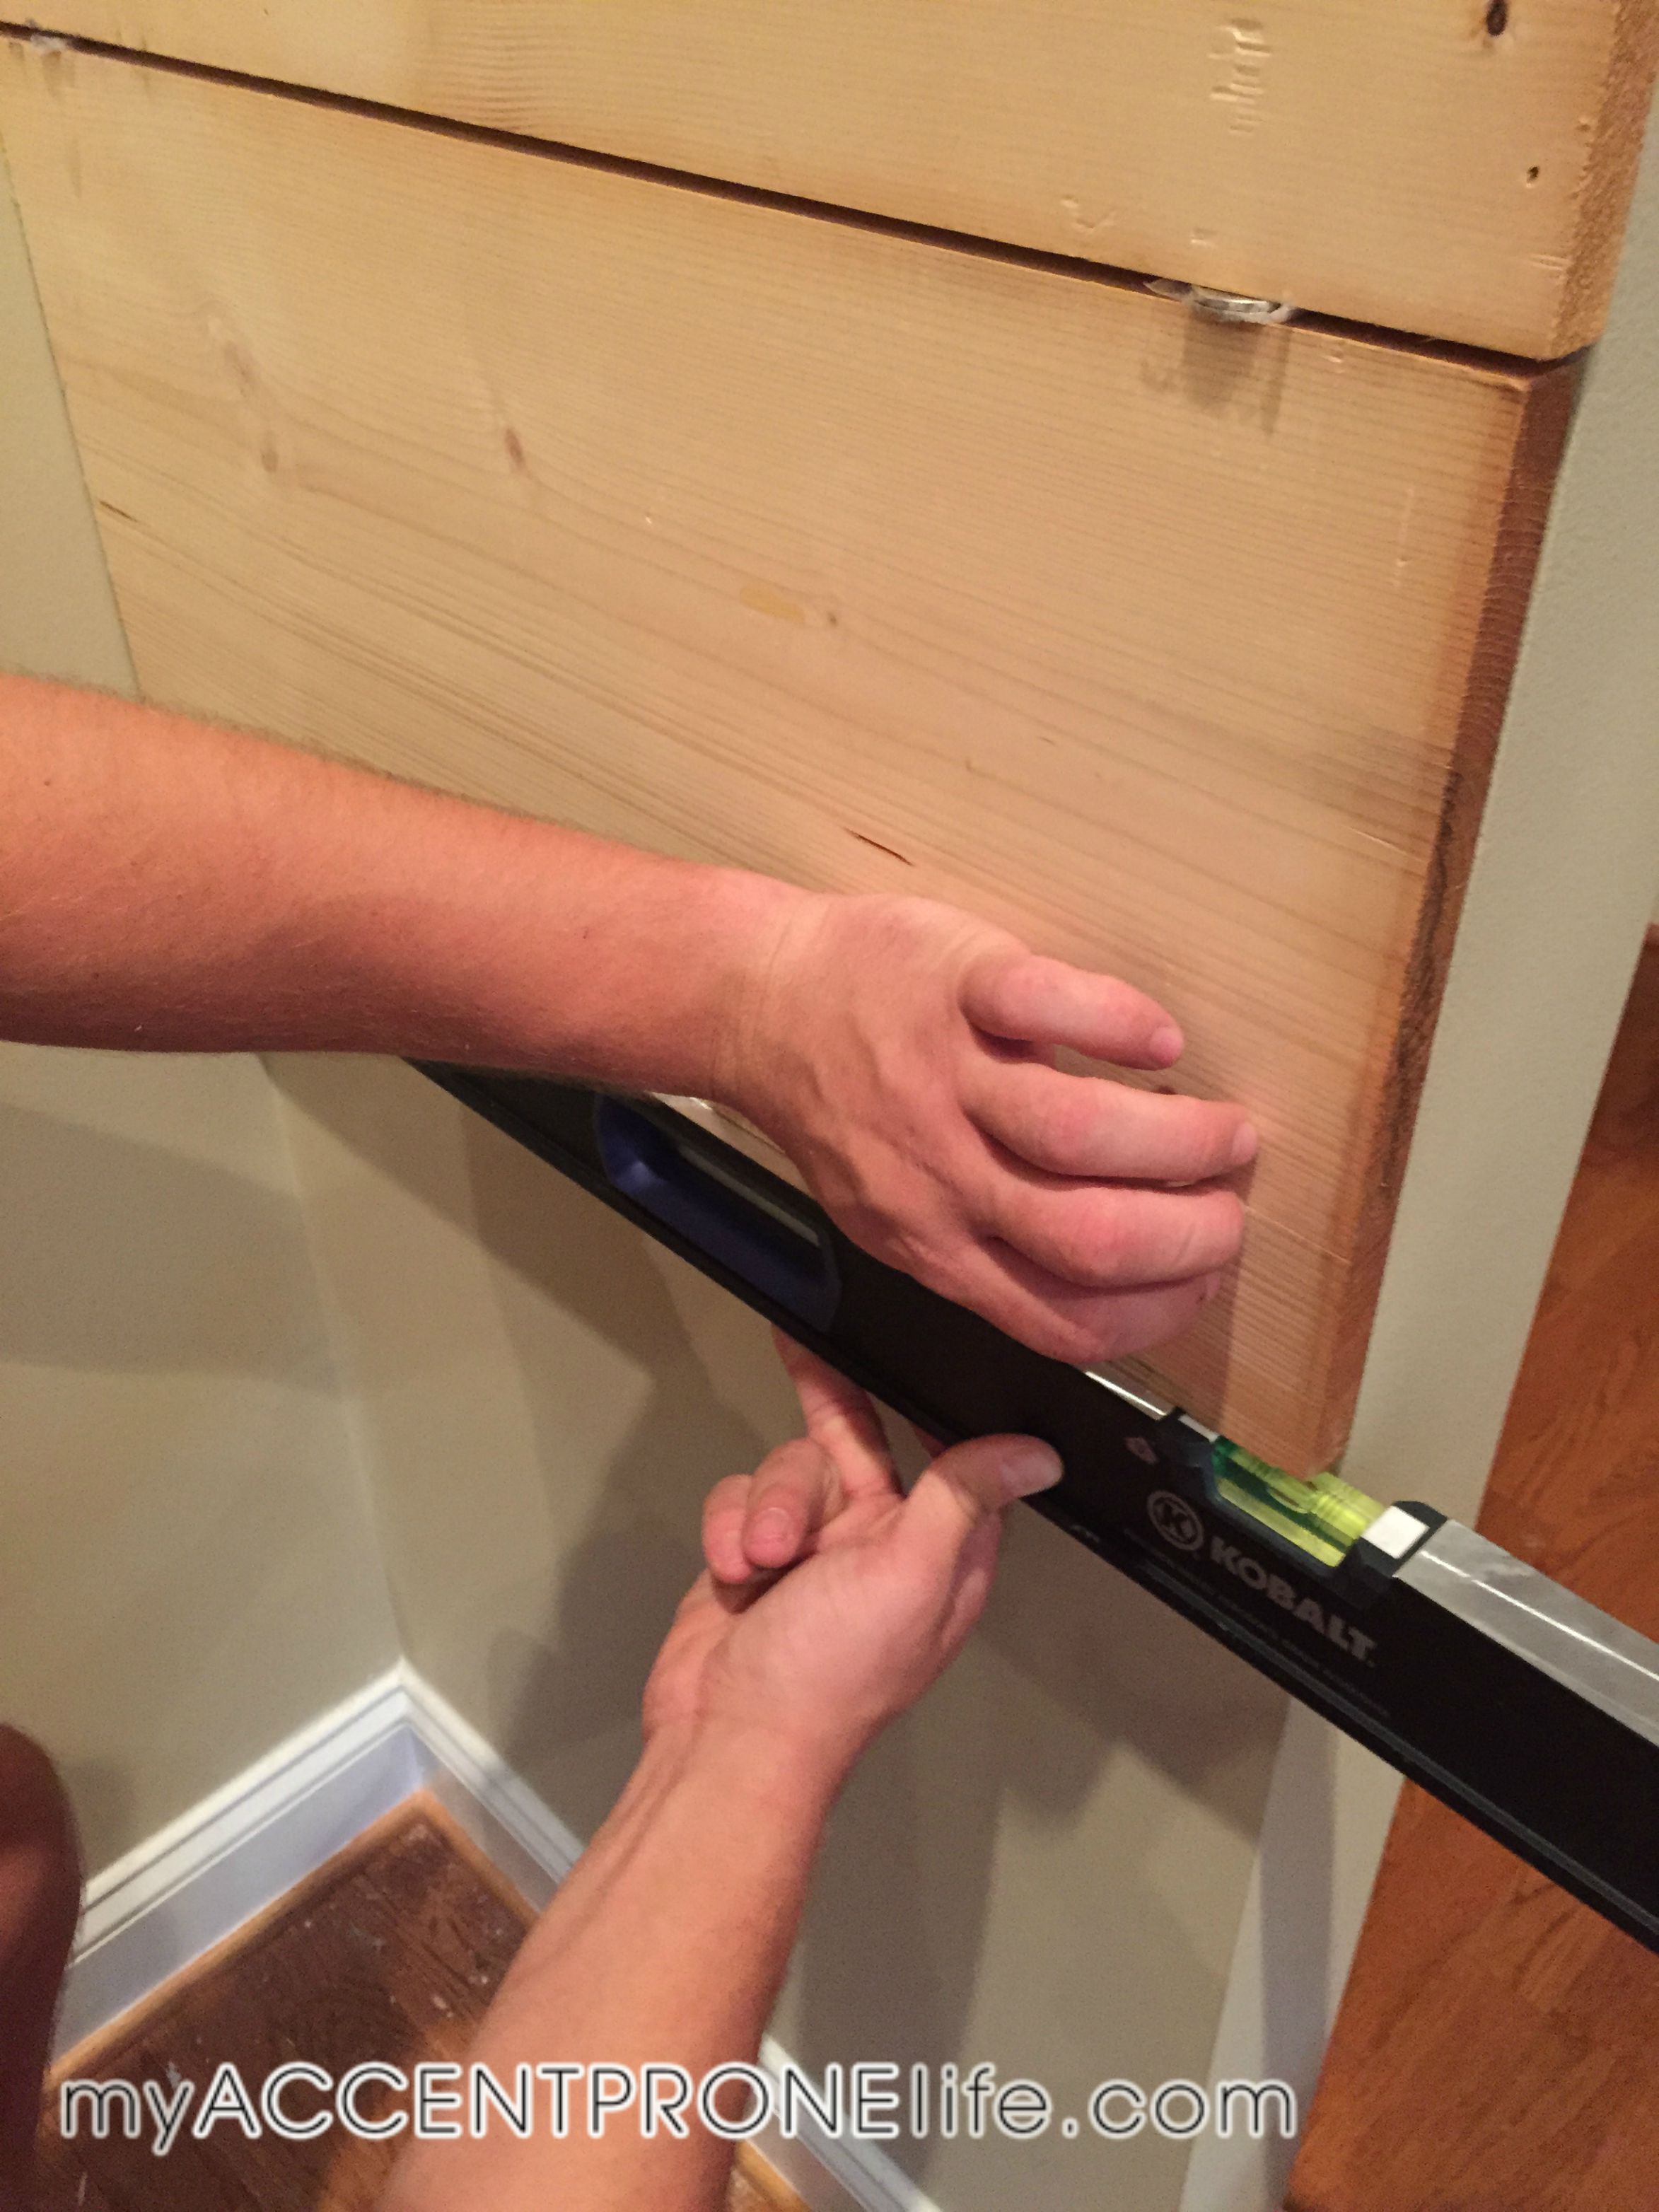
Step 2 – Make sure your ceiling line is completely level. While this might sound crazy, a lot of people’s ceilings are actually not level, so you will want to start the first board completely level as opposed to following the line of the ceiling. Otherwise your whole wall will end up looking slightly crooked.
Step 3 – Measure the width of the wall and cut your first board to put up. While most people’s boards will be the same width all the way down, because we are doing our shiplap beside a rocky fireplace, each stone protrudes out slightly different. Because of this, each of our cuts will be different all the way down. If you are doing a normal wall then I recommend measuring your wall and having all of your boards cut professionally for you at the lumber yard where you purchased. This will save a lot of time and headache!
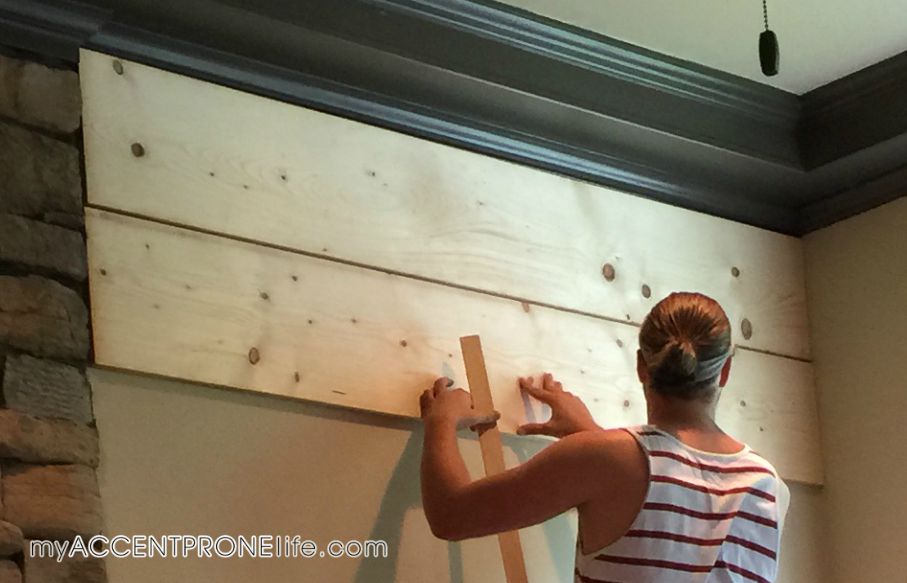
Step 4 – Nail up your first board! You will need to use a professional nail gun, and make sure that you are keeping the board level as you nail evenly across it. You will also want to make sure that you are getting some nails into the studs of the wall. We used a stud finder before we put up the first board to know where they were. Once you find the studs it is easy to follow the majority of your nail holes all the way down the wall.
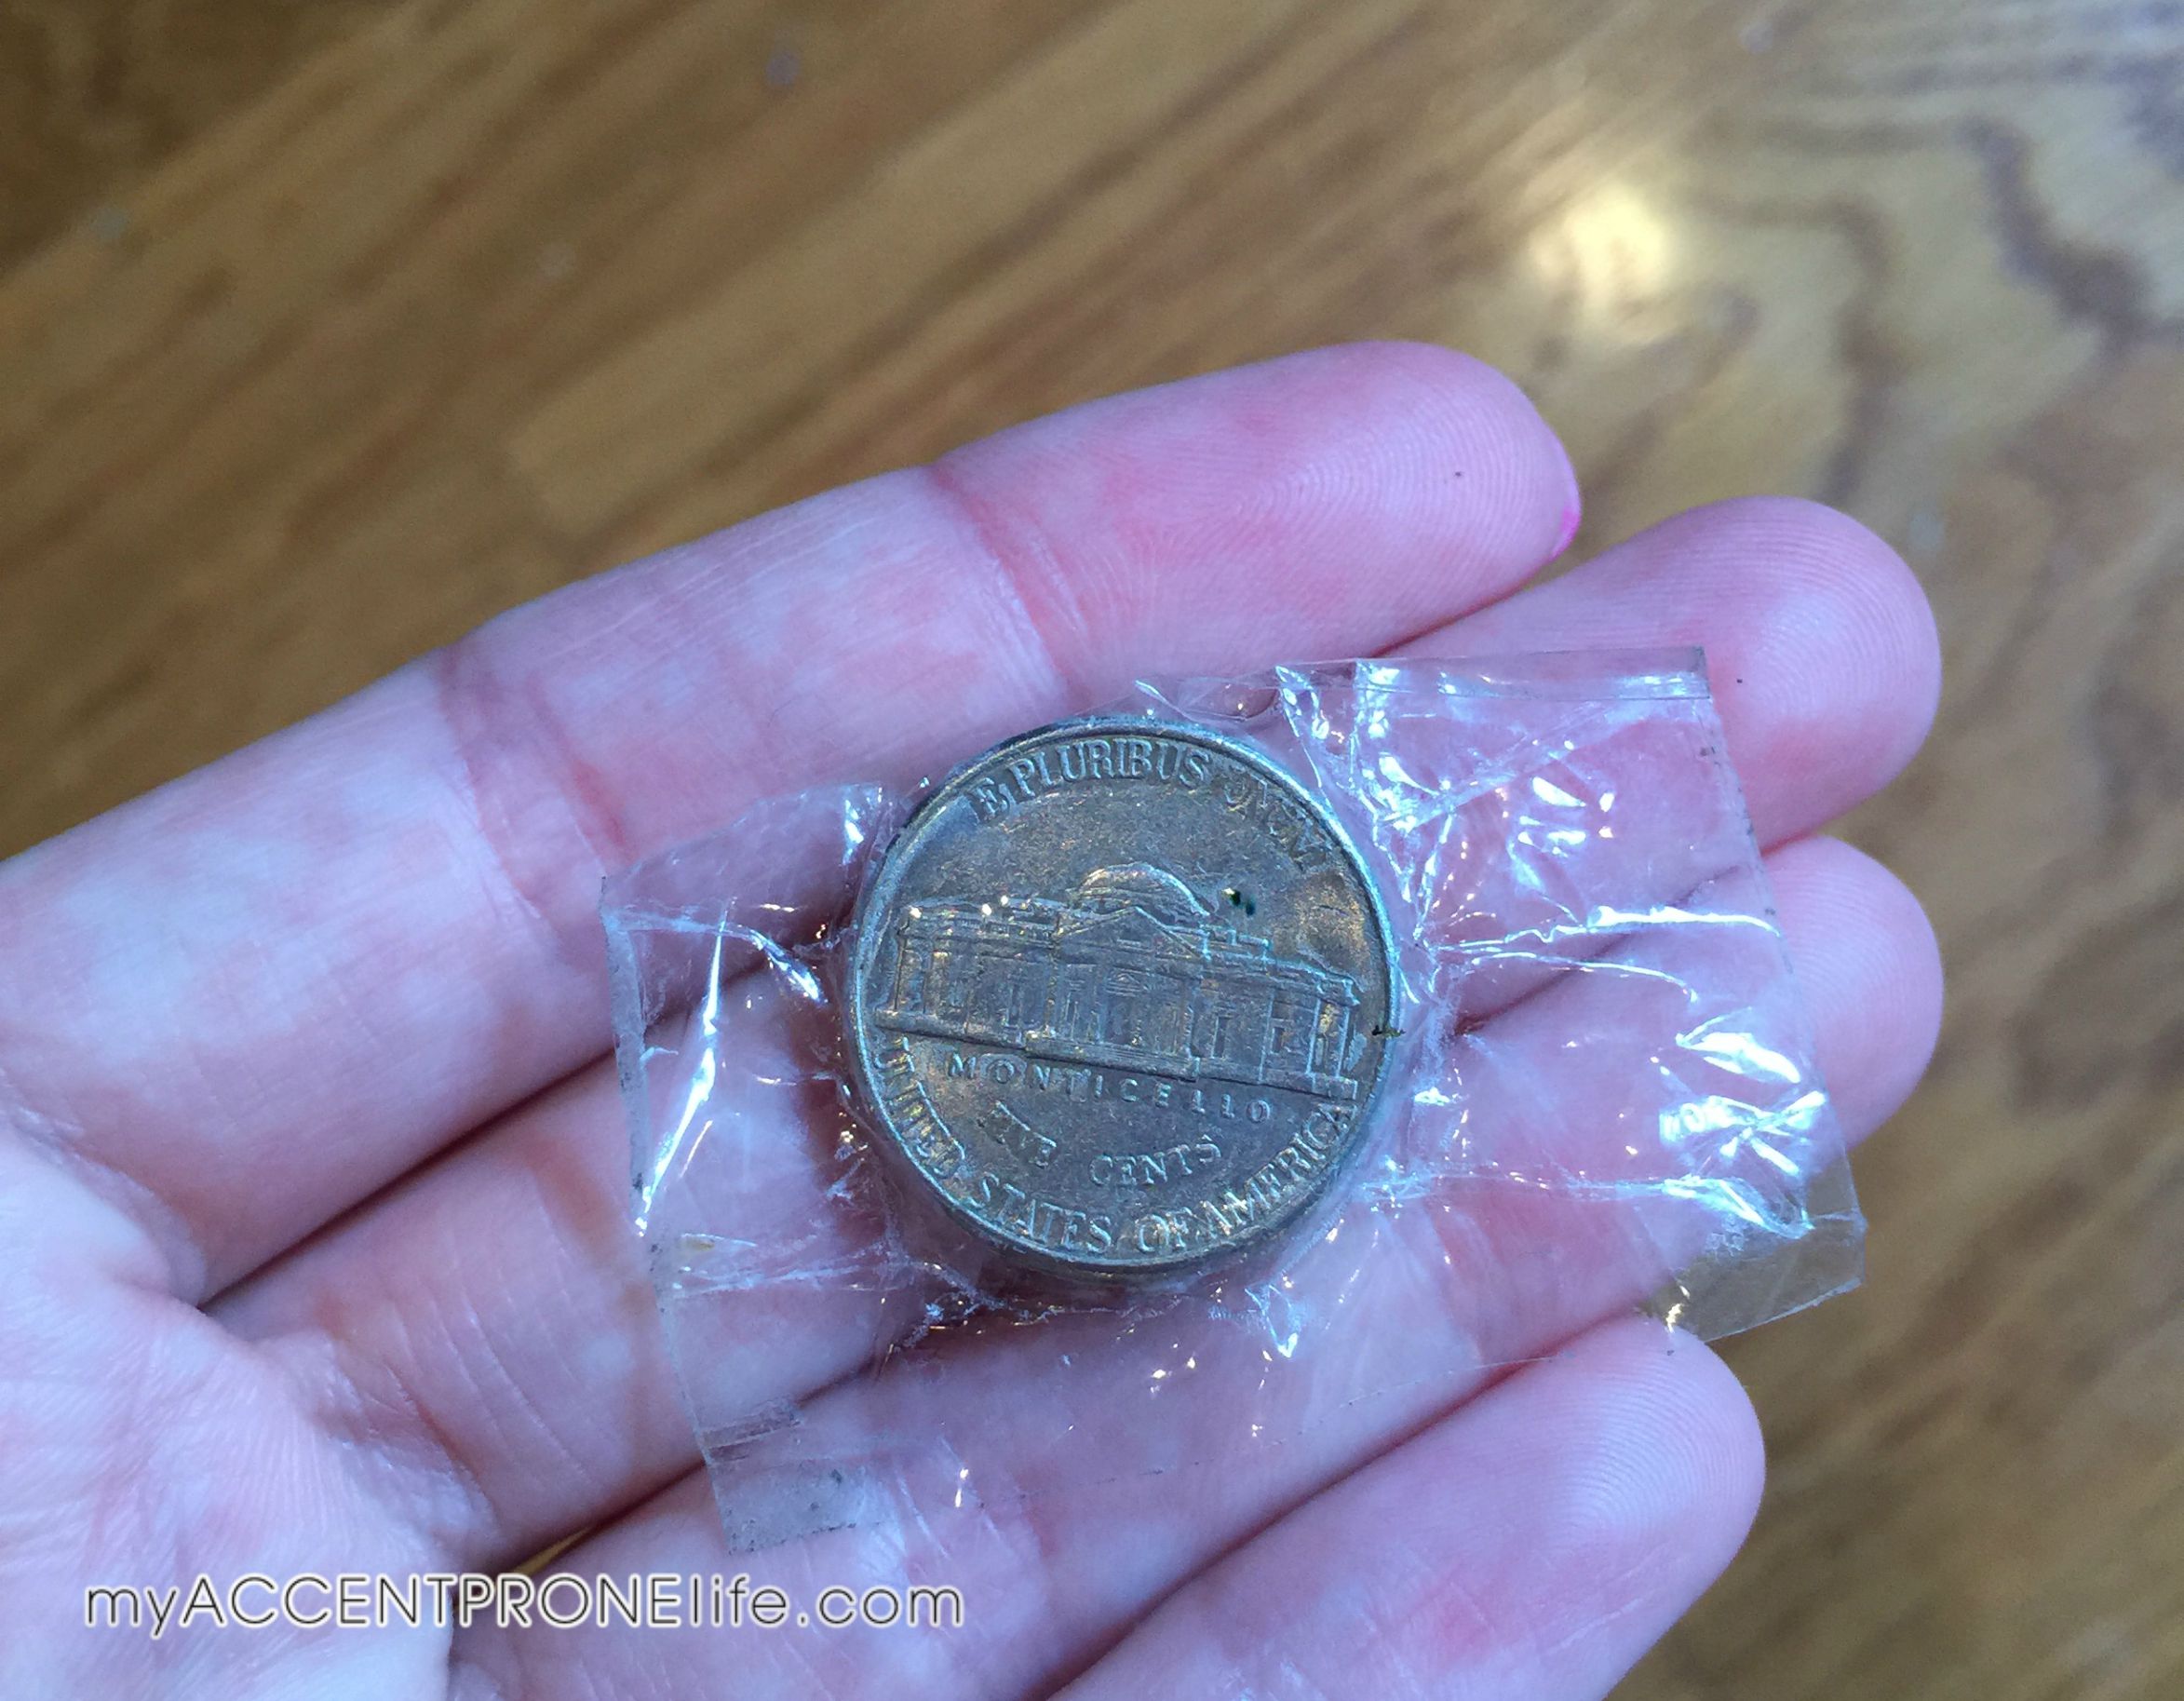
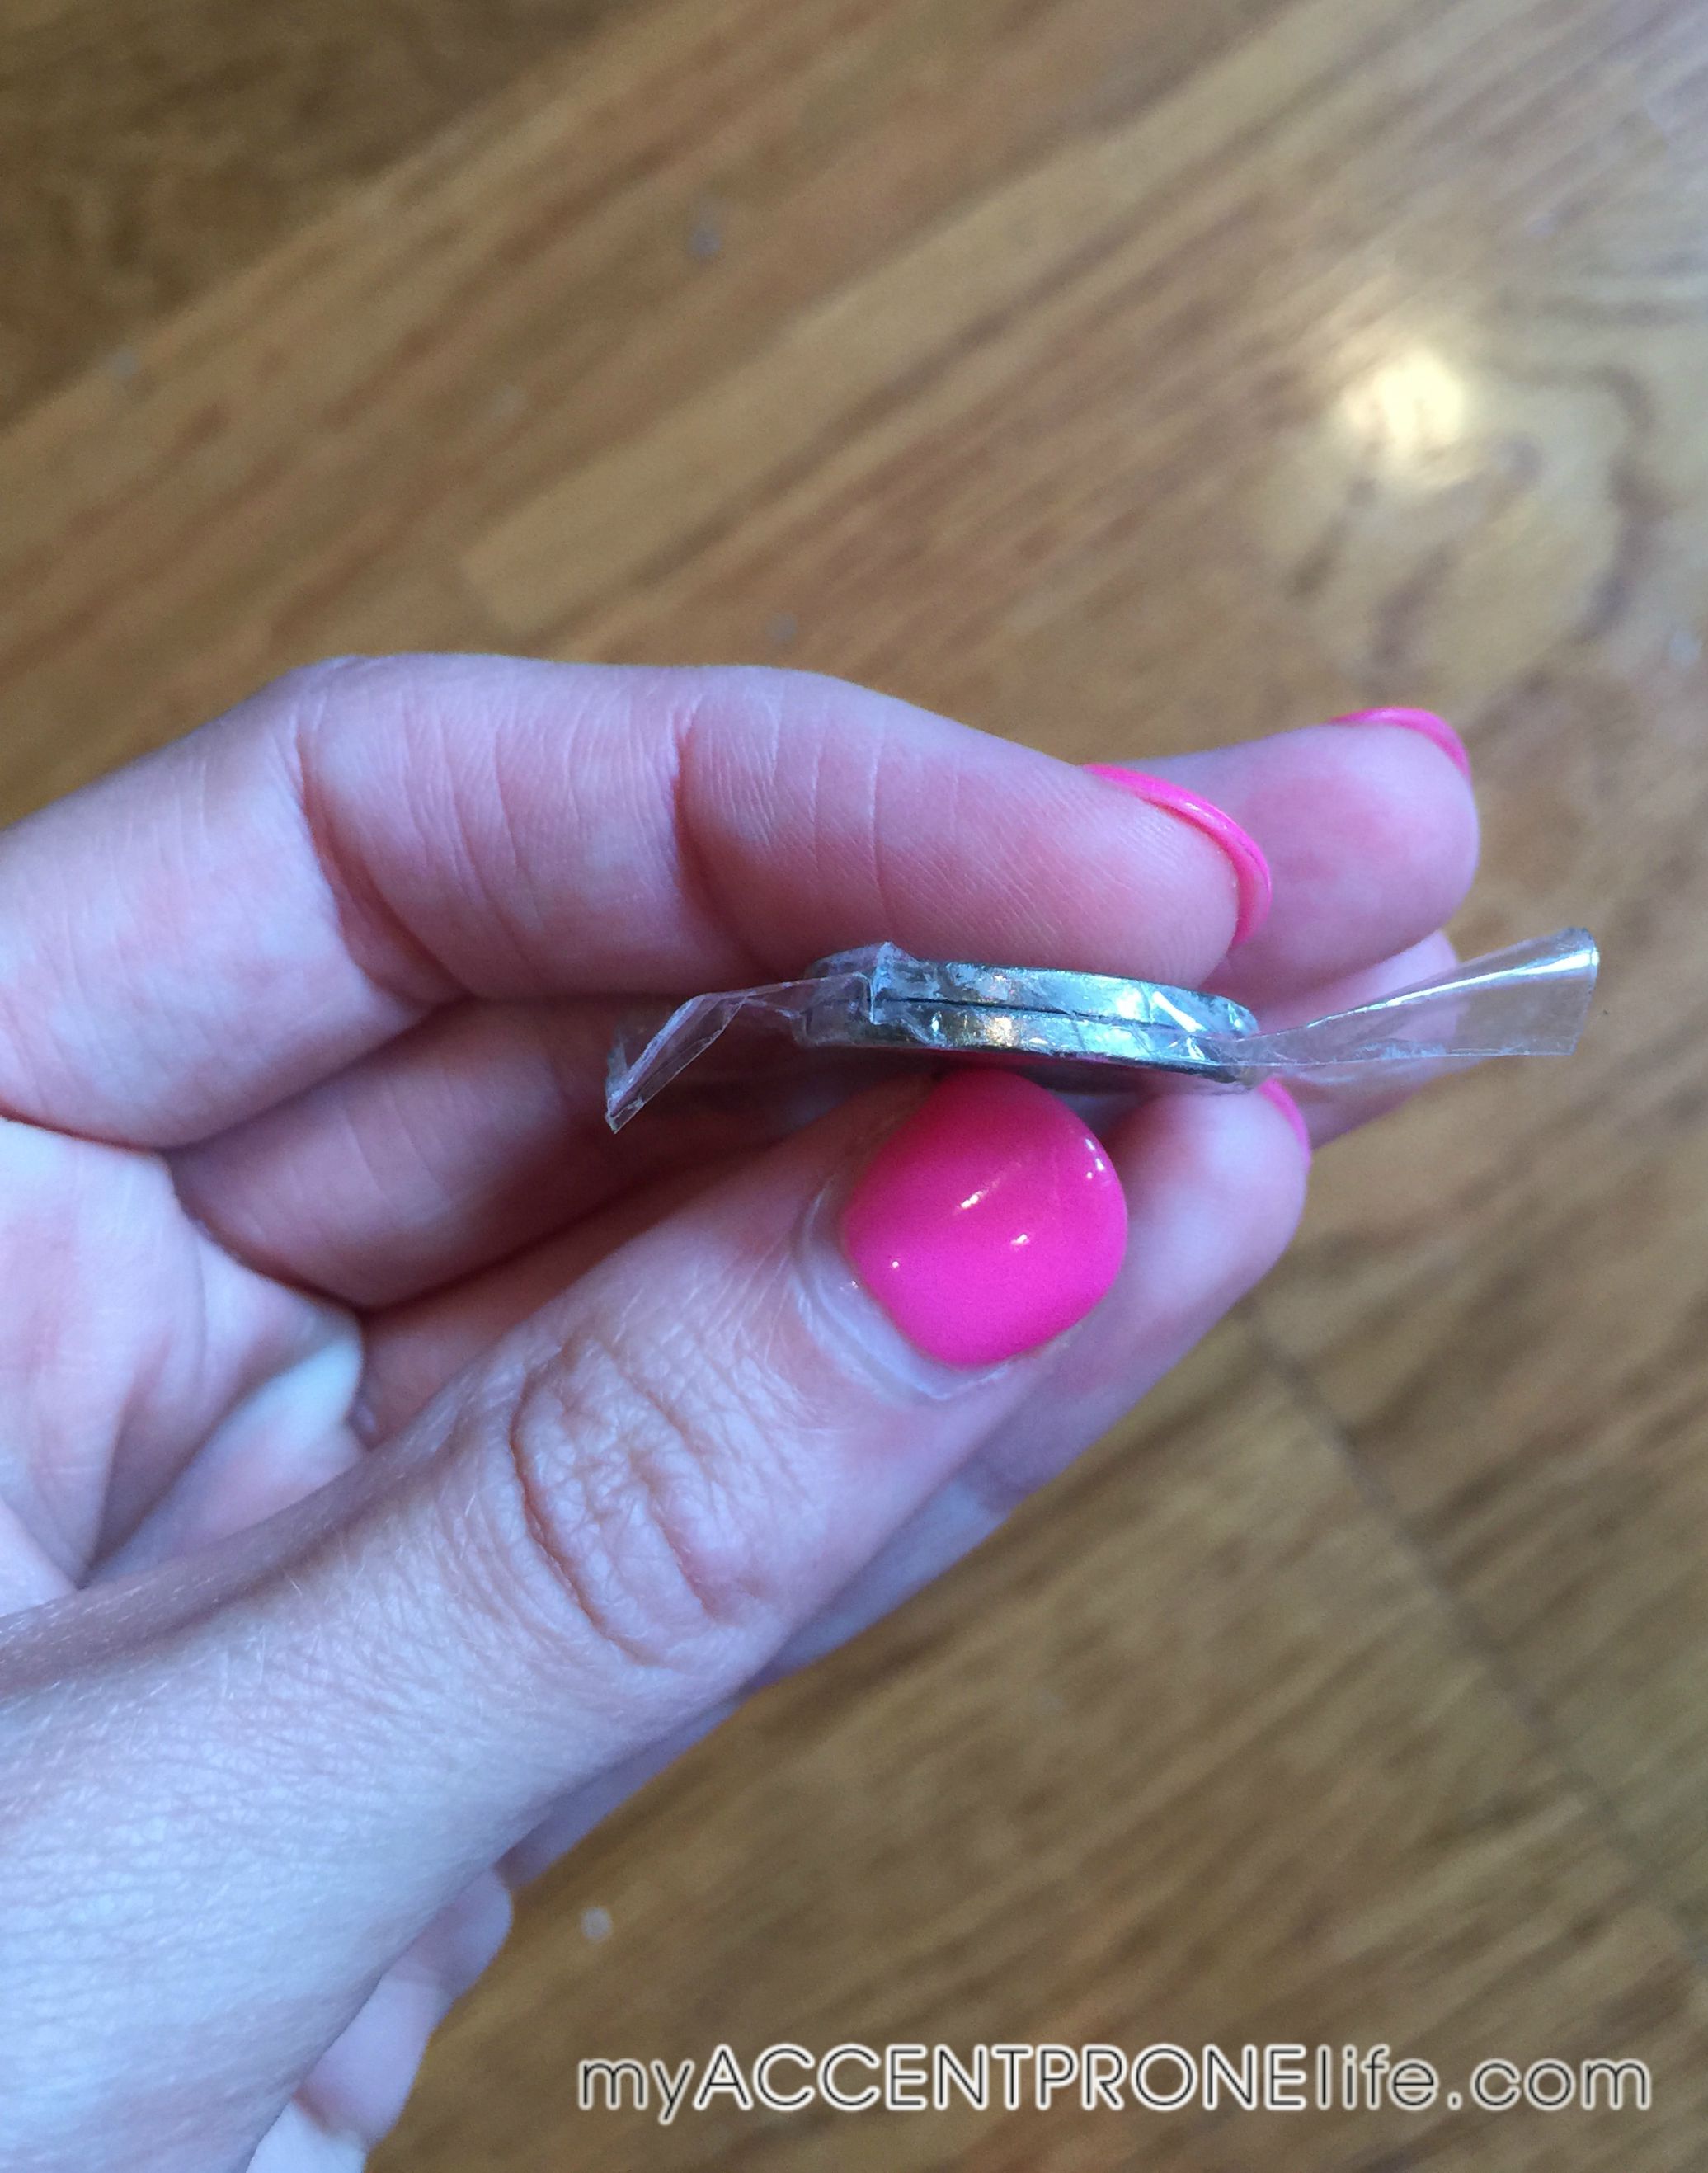
Step 5 – You will need something to space your boards to create the shiplap look. We experimented around with several different things before we found the gap size that we wanted. Turns out 2 nickels taped together was the winner.
Step 6 – Once you have the first board hung, hold up the second board and wedge the spacers in between the boards to create the gap. We used 2 of the nickel spaces all the way across. Make sure the board is completely level once again, and then nail the second board in.
It is hard to see the nickels in this picture, so here is a better close-up to show how to use the nickels as spacers.
Step 7- Once you have this process down pat it actually becomes pretty easy. Just continue to space the boards with nickels and check your level all the way down the wall.
If dealing with a tricky wall like ours you might have some more complex cuts. Just remember to measure twice and cut once!

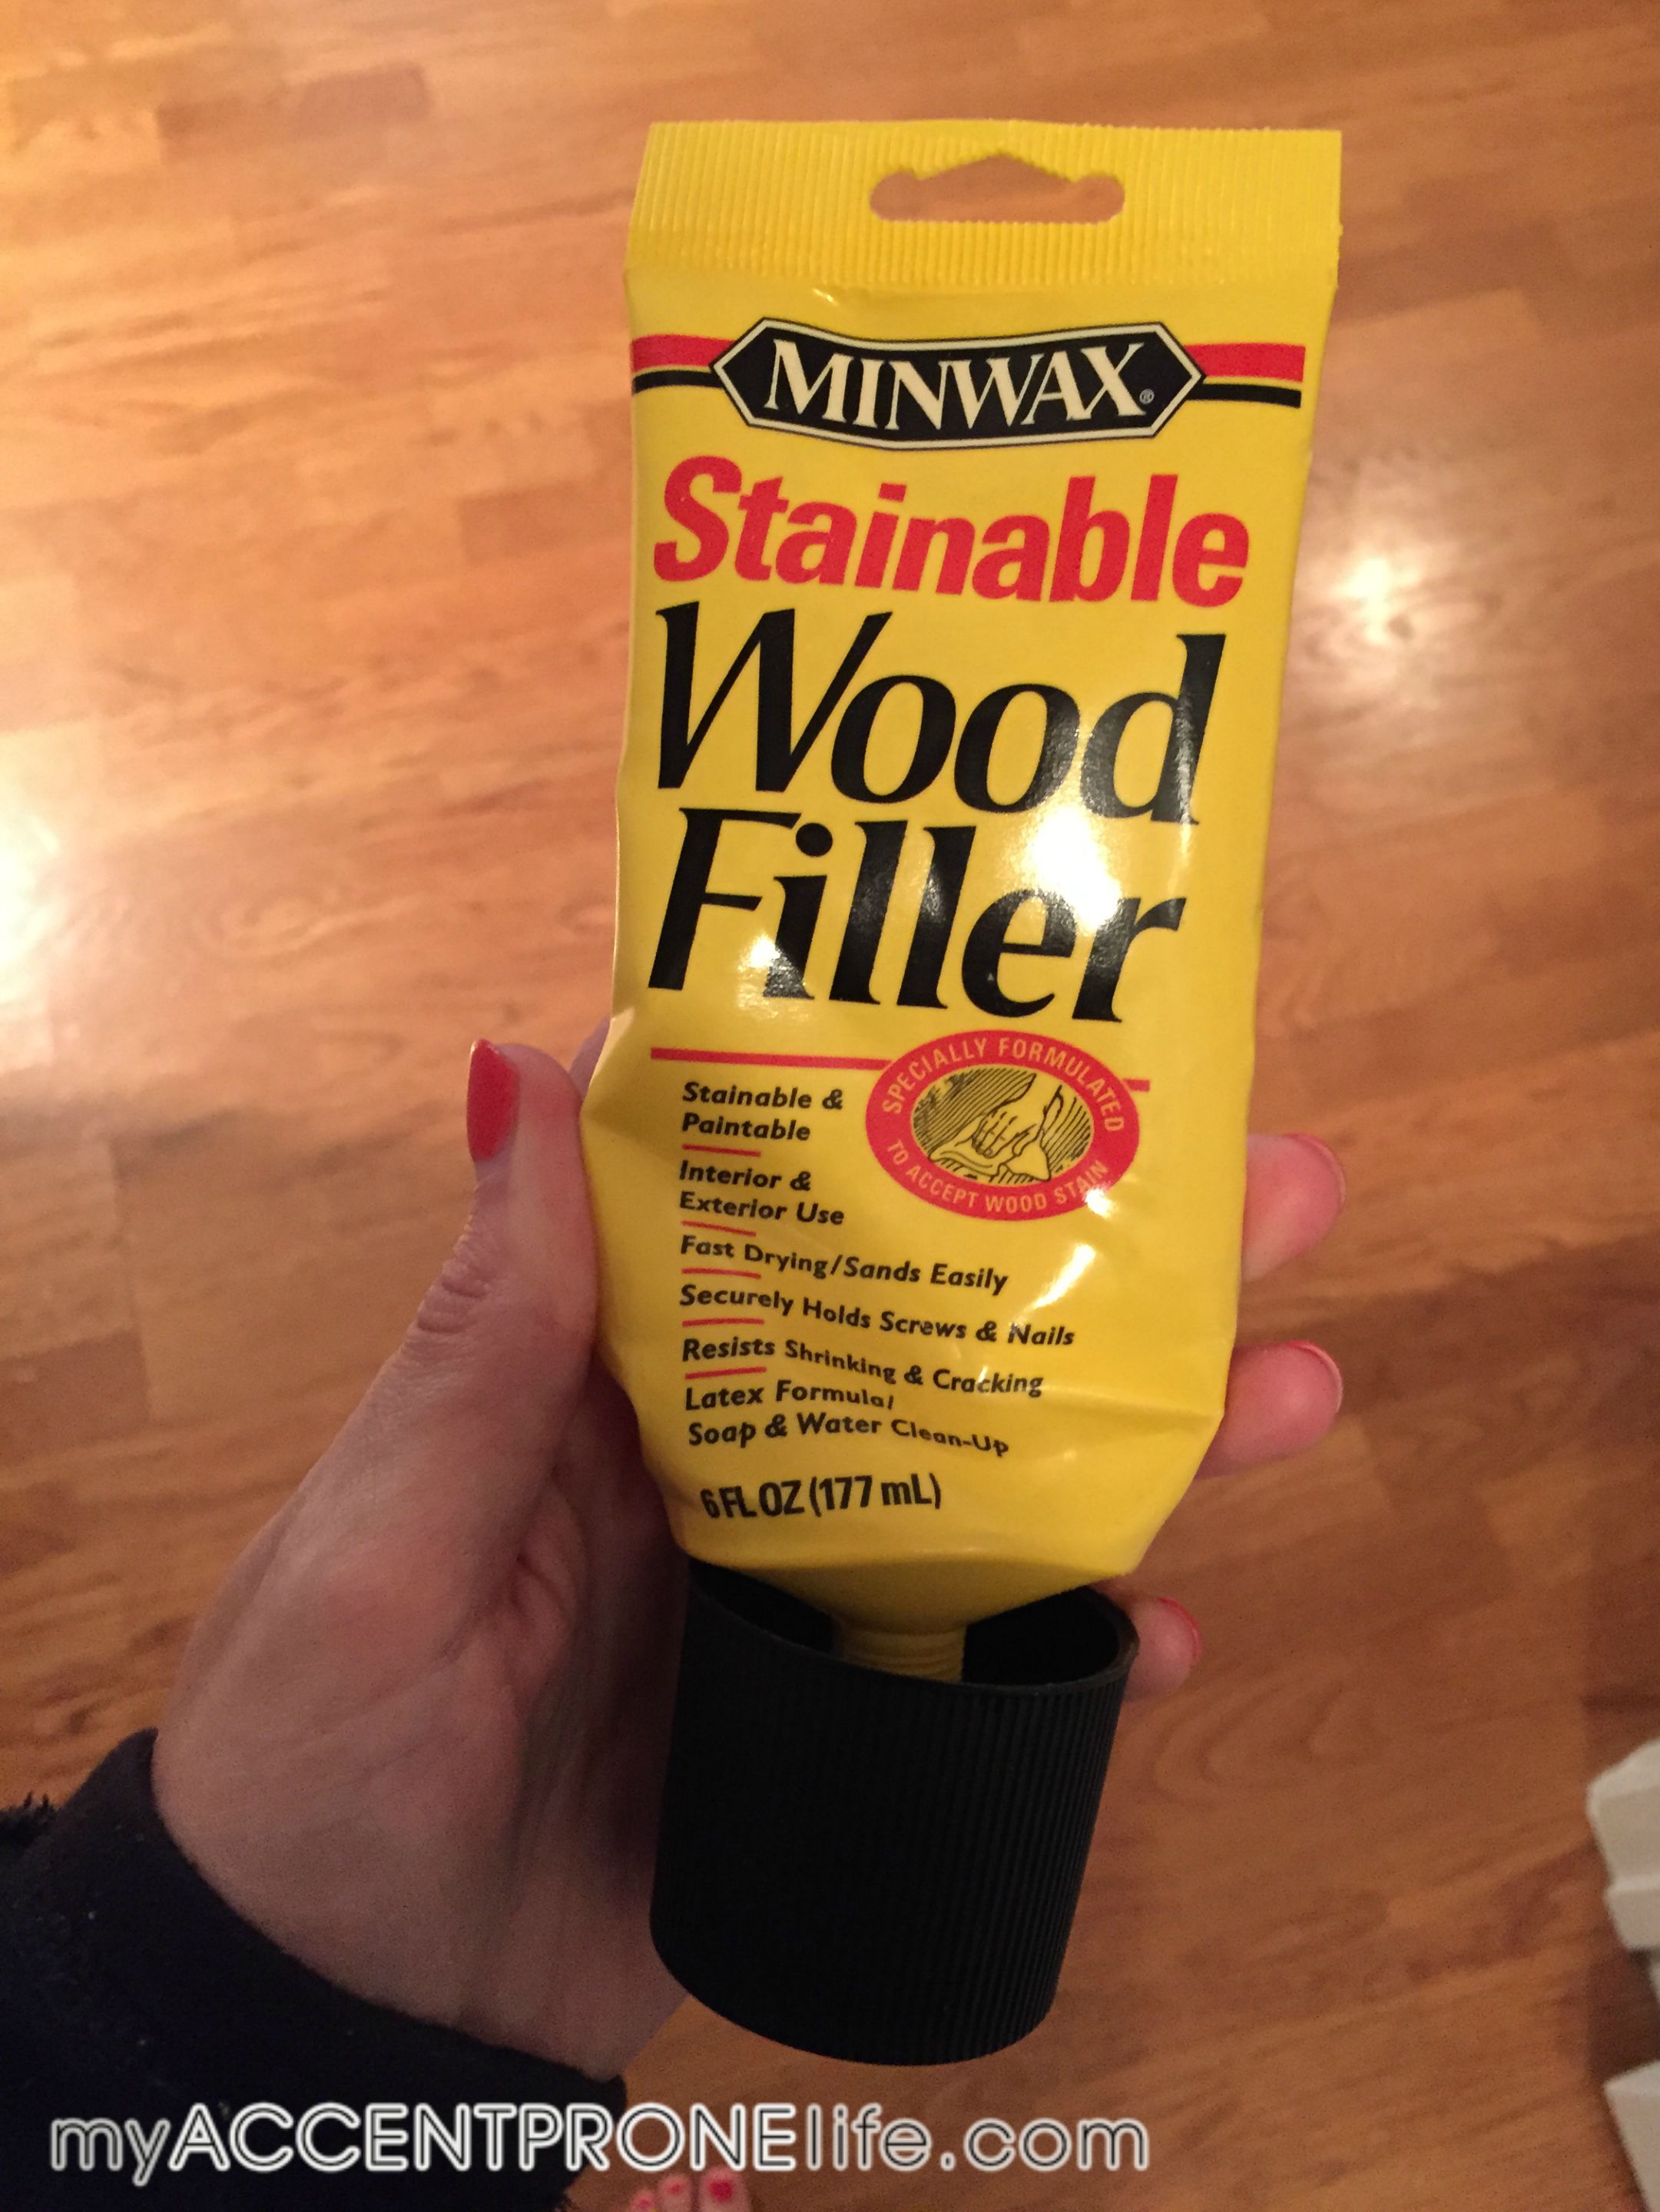
Step 8 – Now, this is the step where you have the decision to either take the design more rustic or refined. We chose to go the refined route, and so we used wood filler to fill in all of the knots and crevices before painting. If you want to have a more rustic shiplap wall, then skip this step all together. And, believe me, I LOVE a rustic shiplap wall with knots and prevalent wood grain, but for our design scheme we wanted cleaner looking walls. You really can’t go wrong with either choice. If you choose the refined look, then after your wood putty has dried you will want to evenly sand the wall.
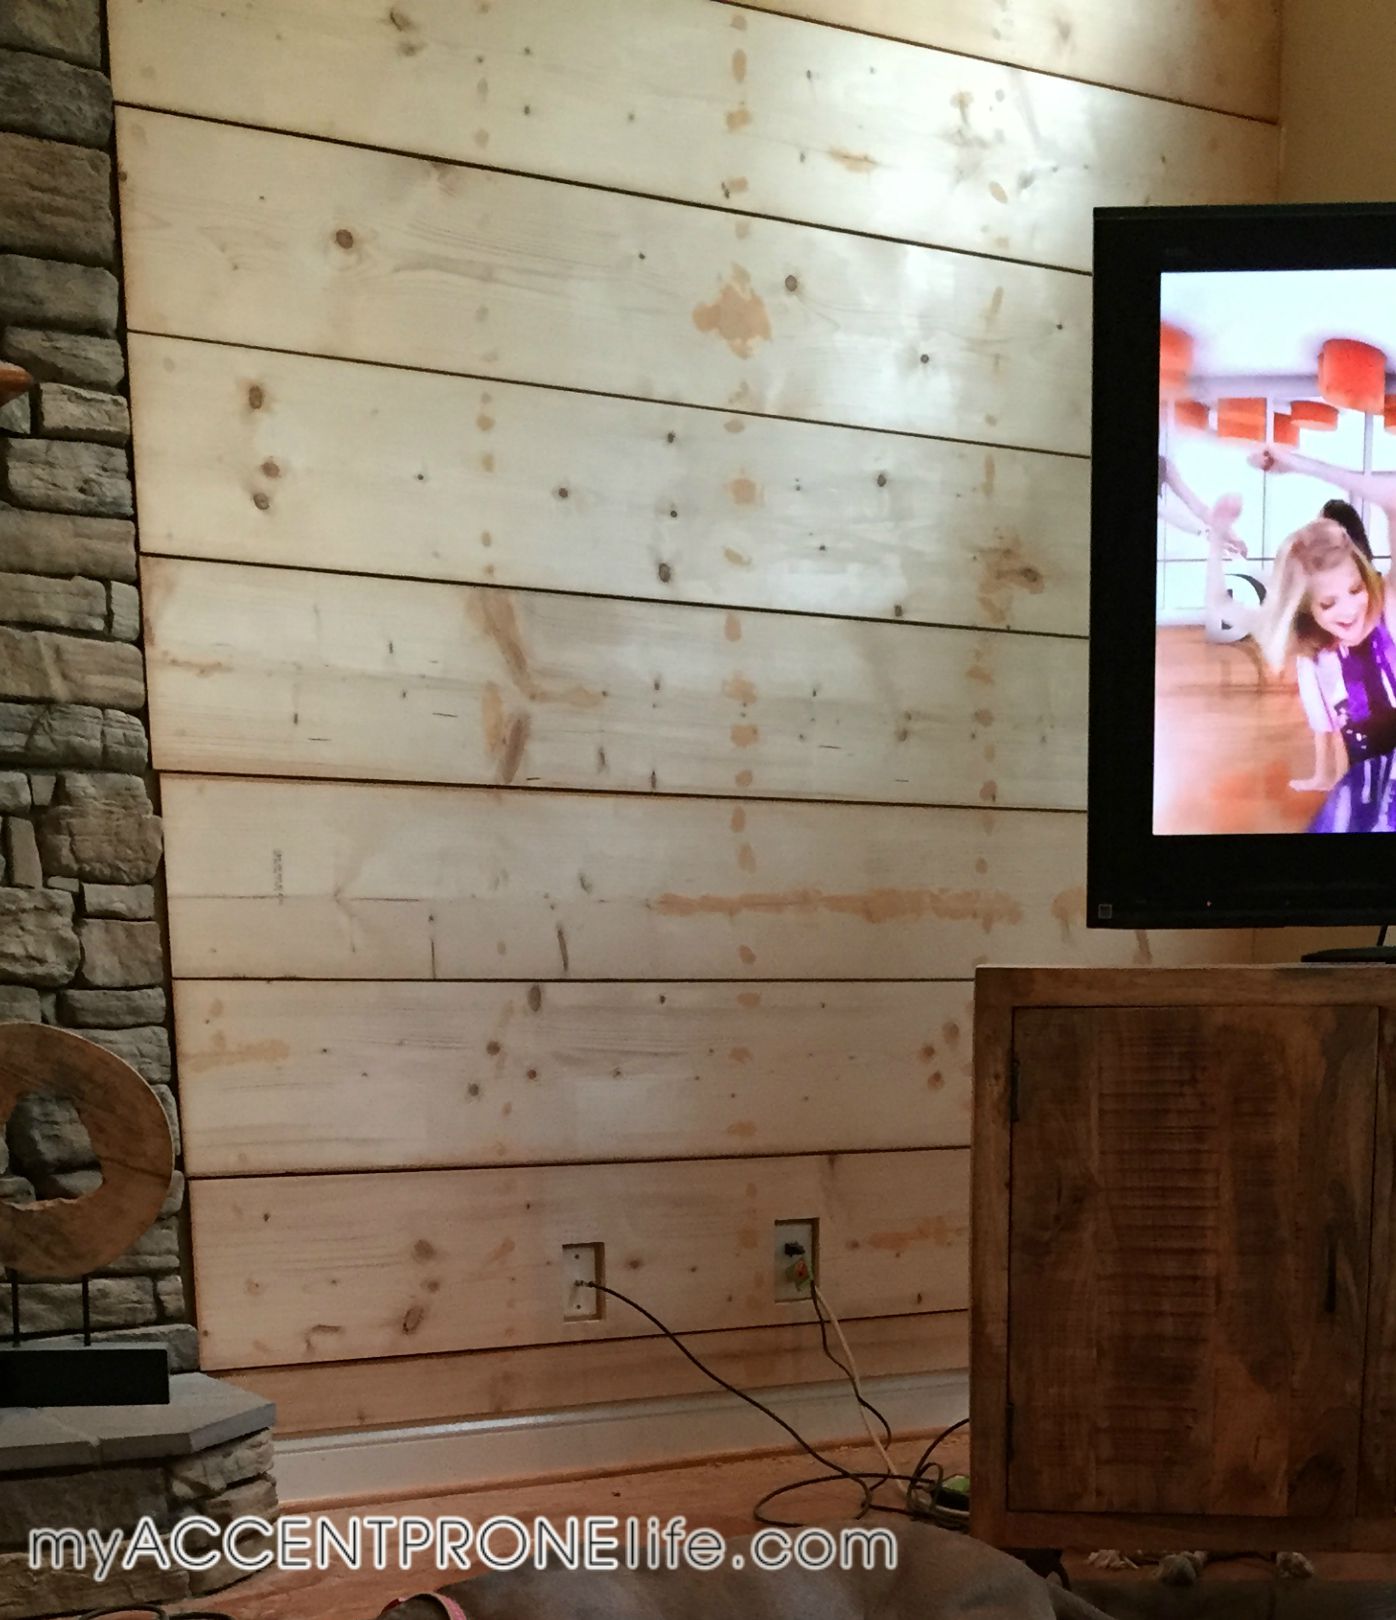
(Notice how the outlets are now sunken into the wall because of the thick boards? You will want to take a screwdriver and loosen up the screws in the outlet cover to make it become flush with the shiplap. You can even buy extra long screws at Lowes. We skipped this step because our outlets hide behind the media stand, but it is really quite easy to do!)
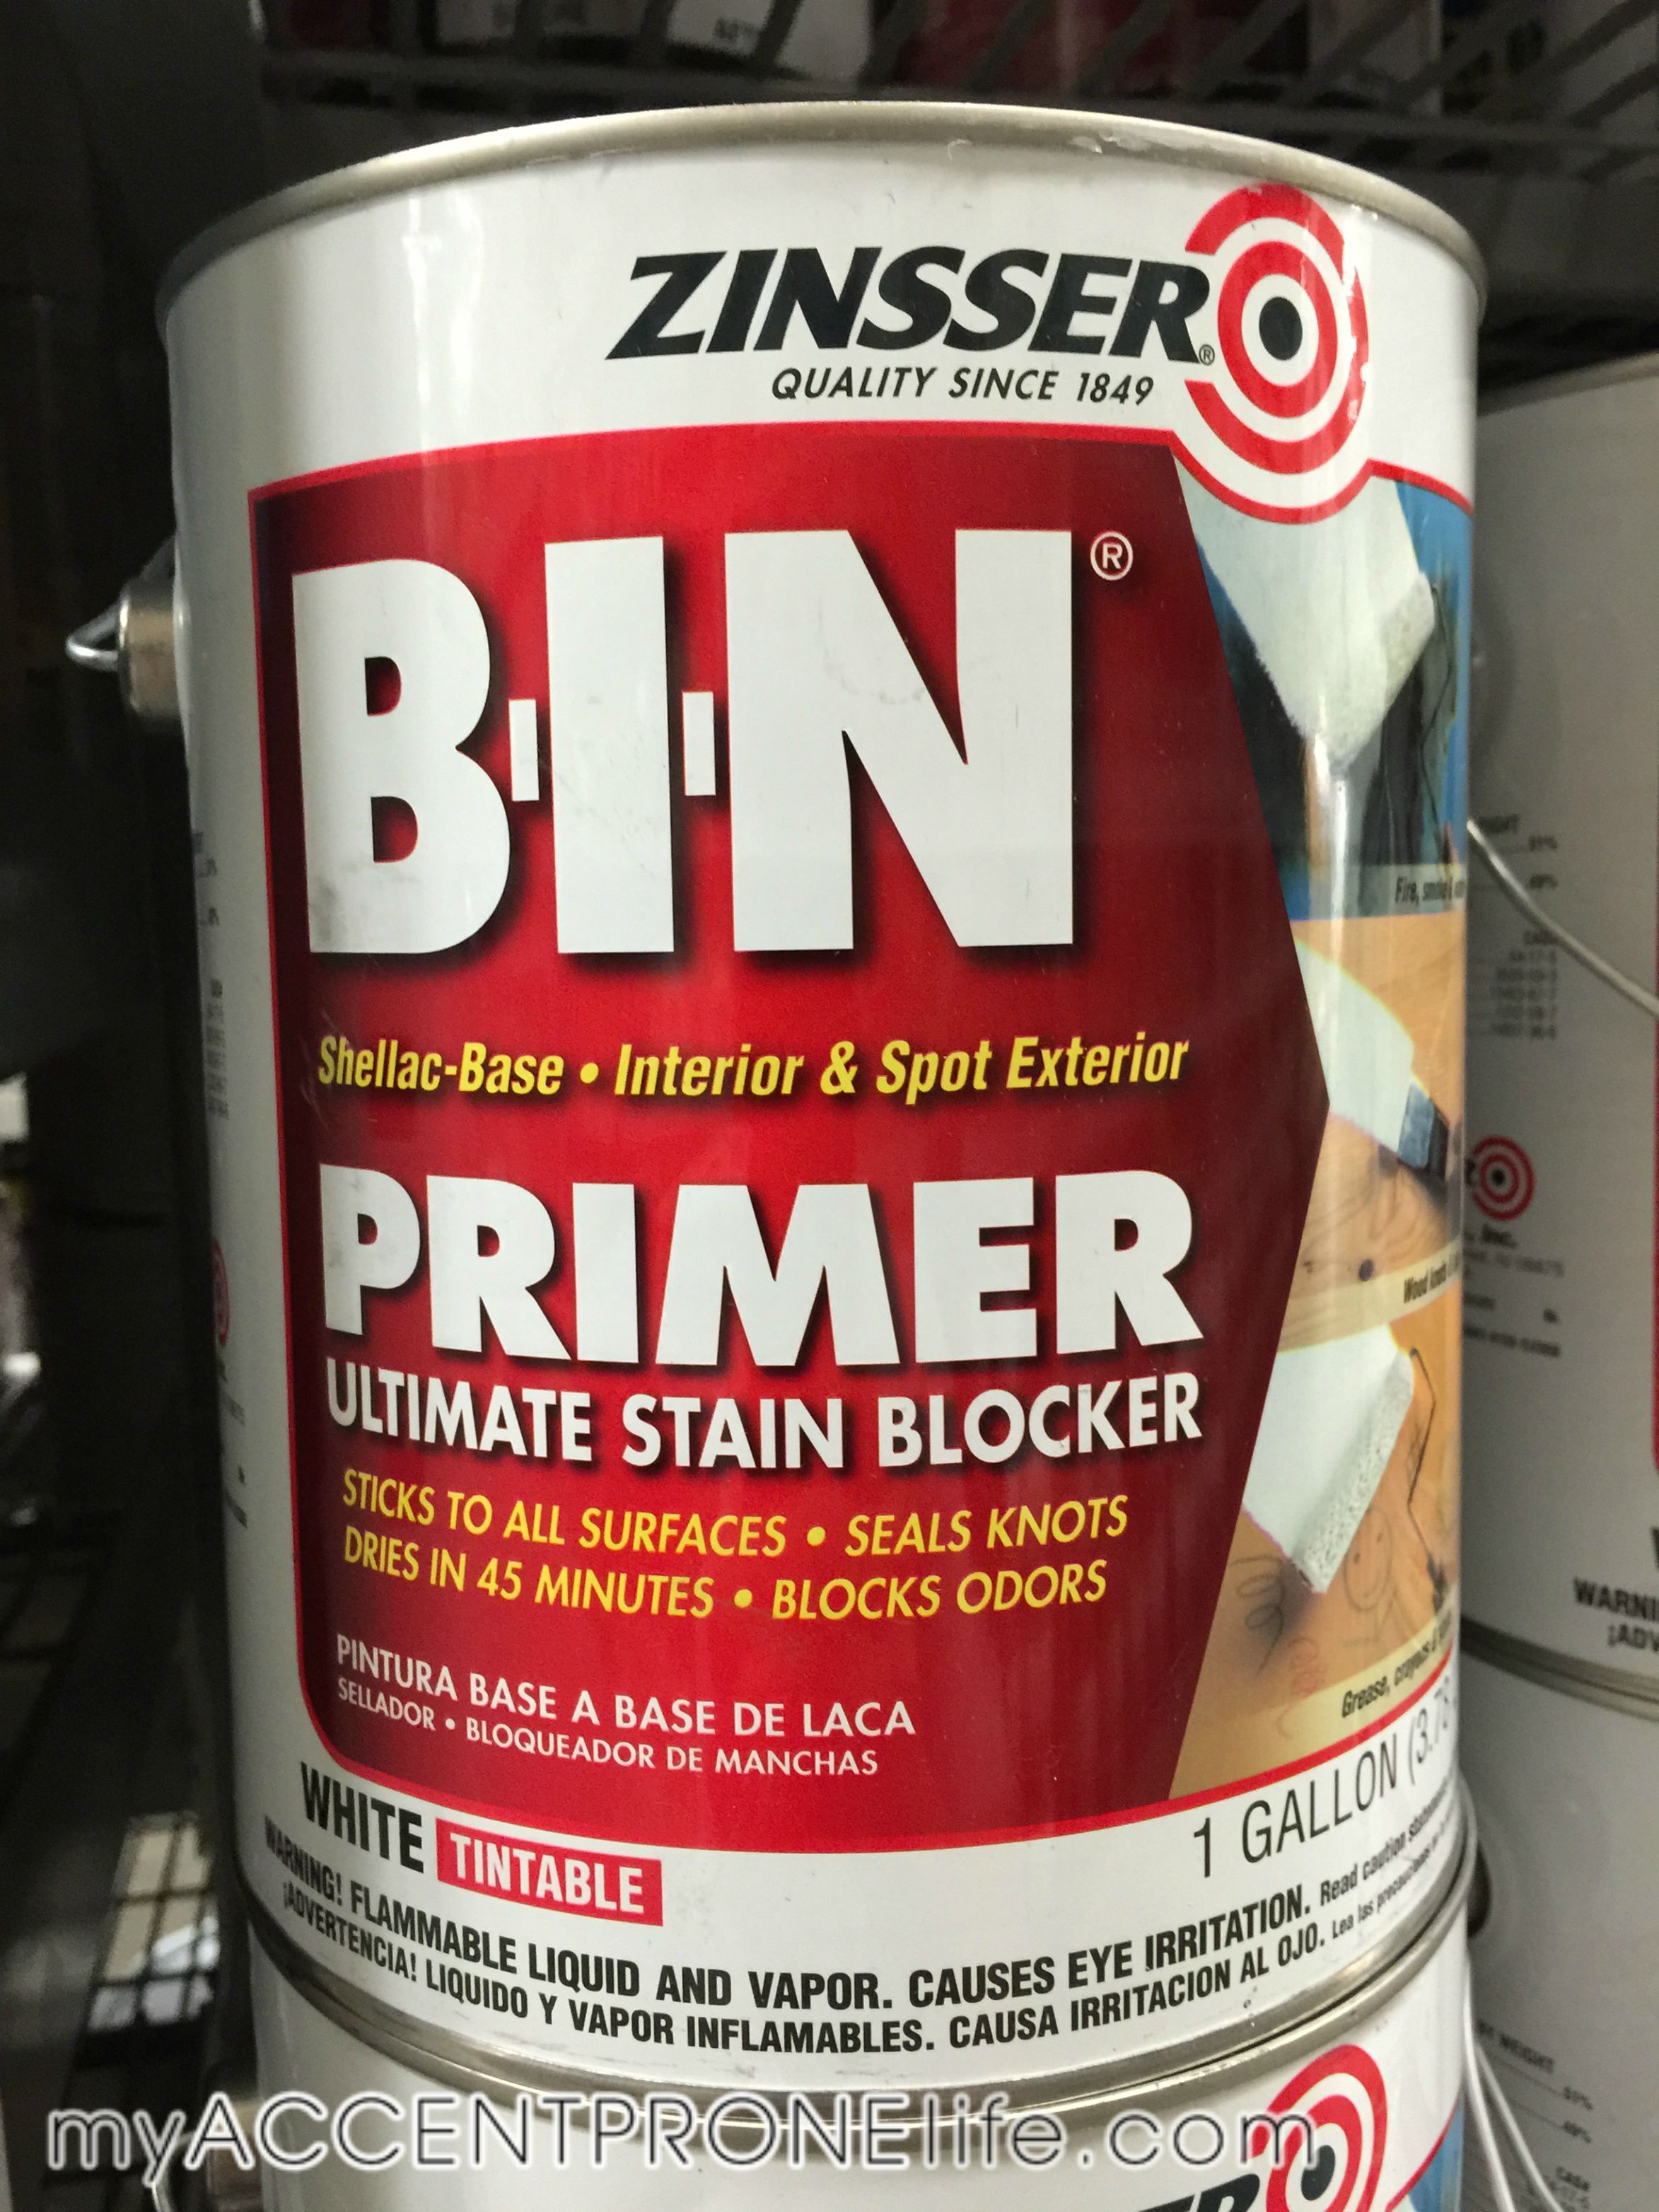
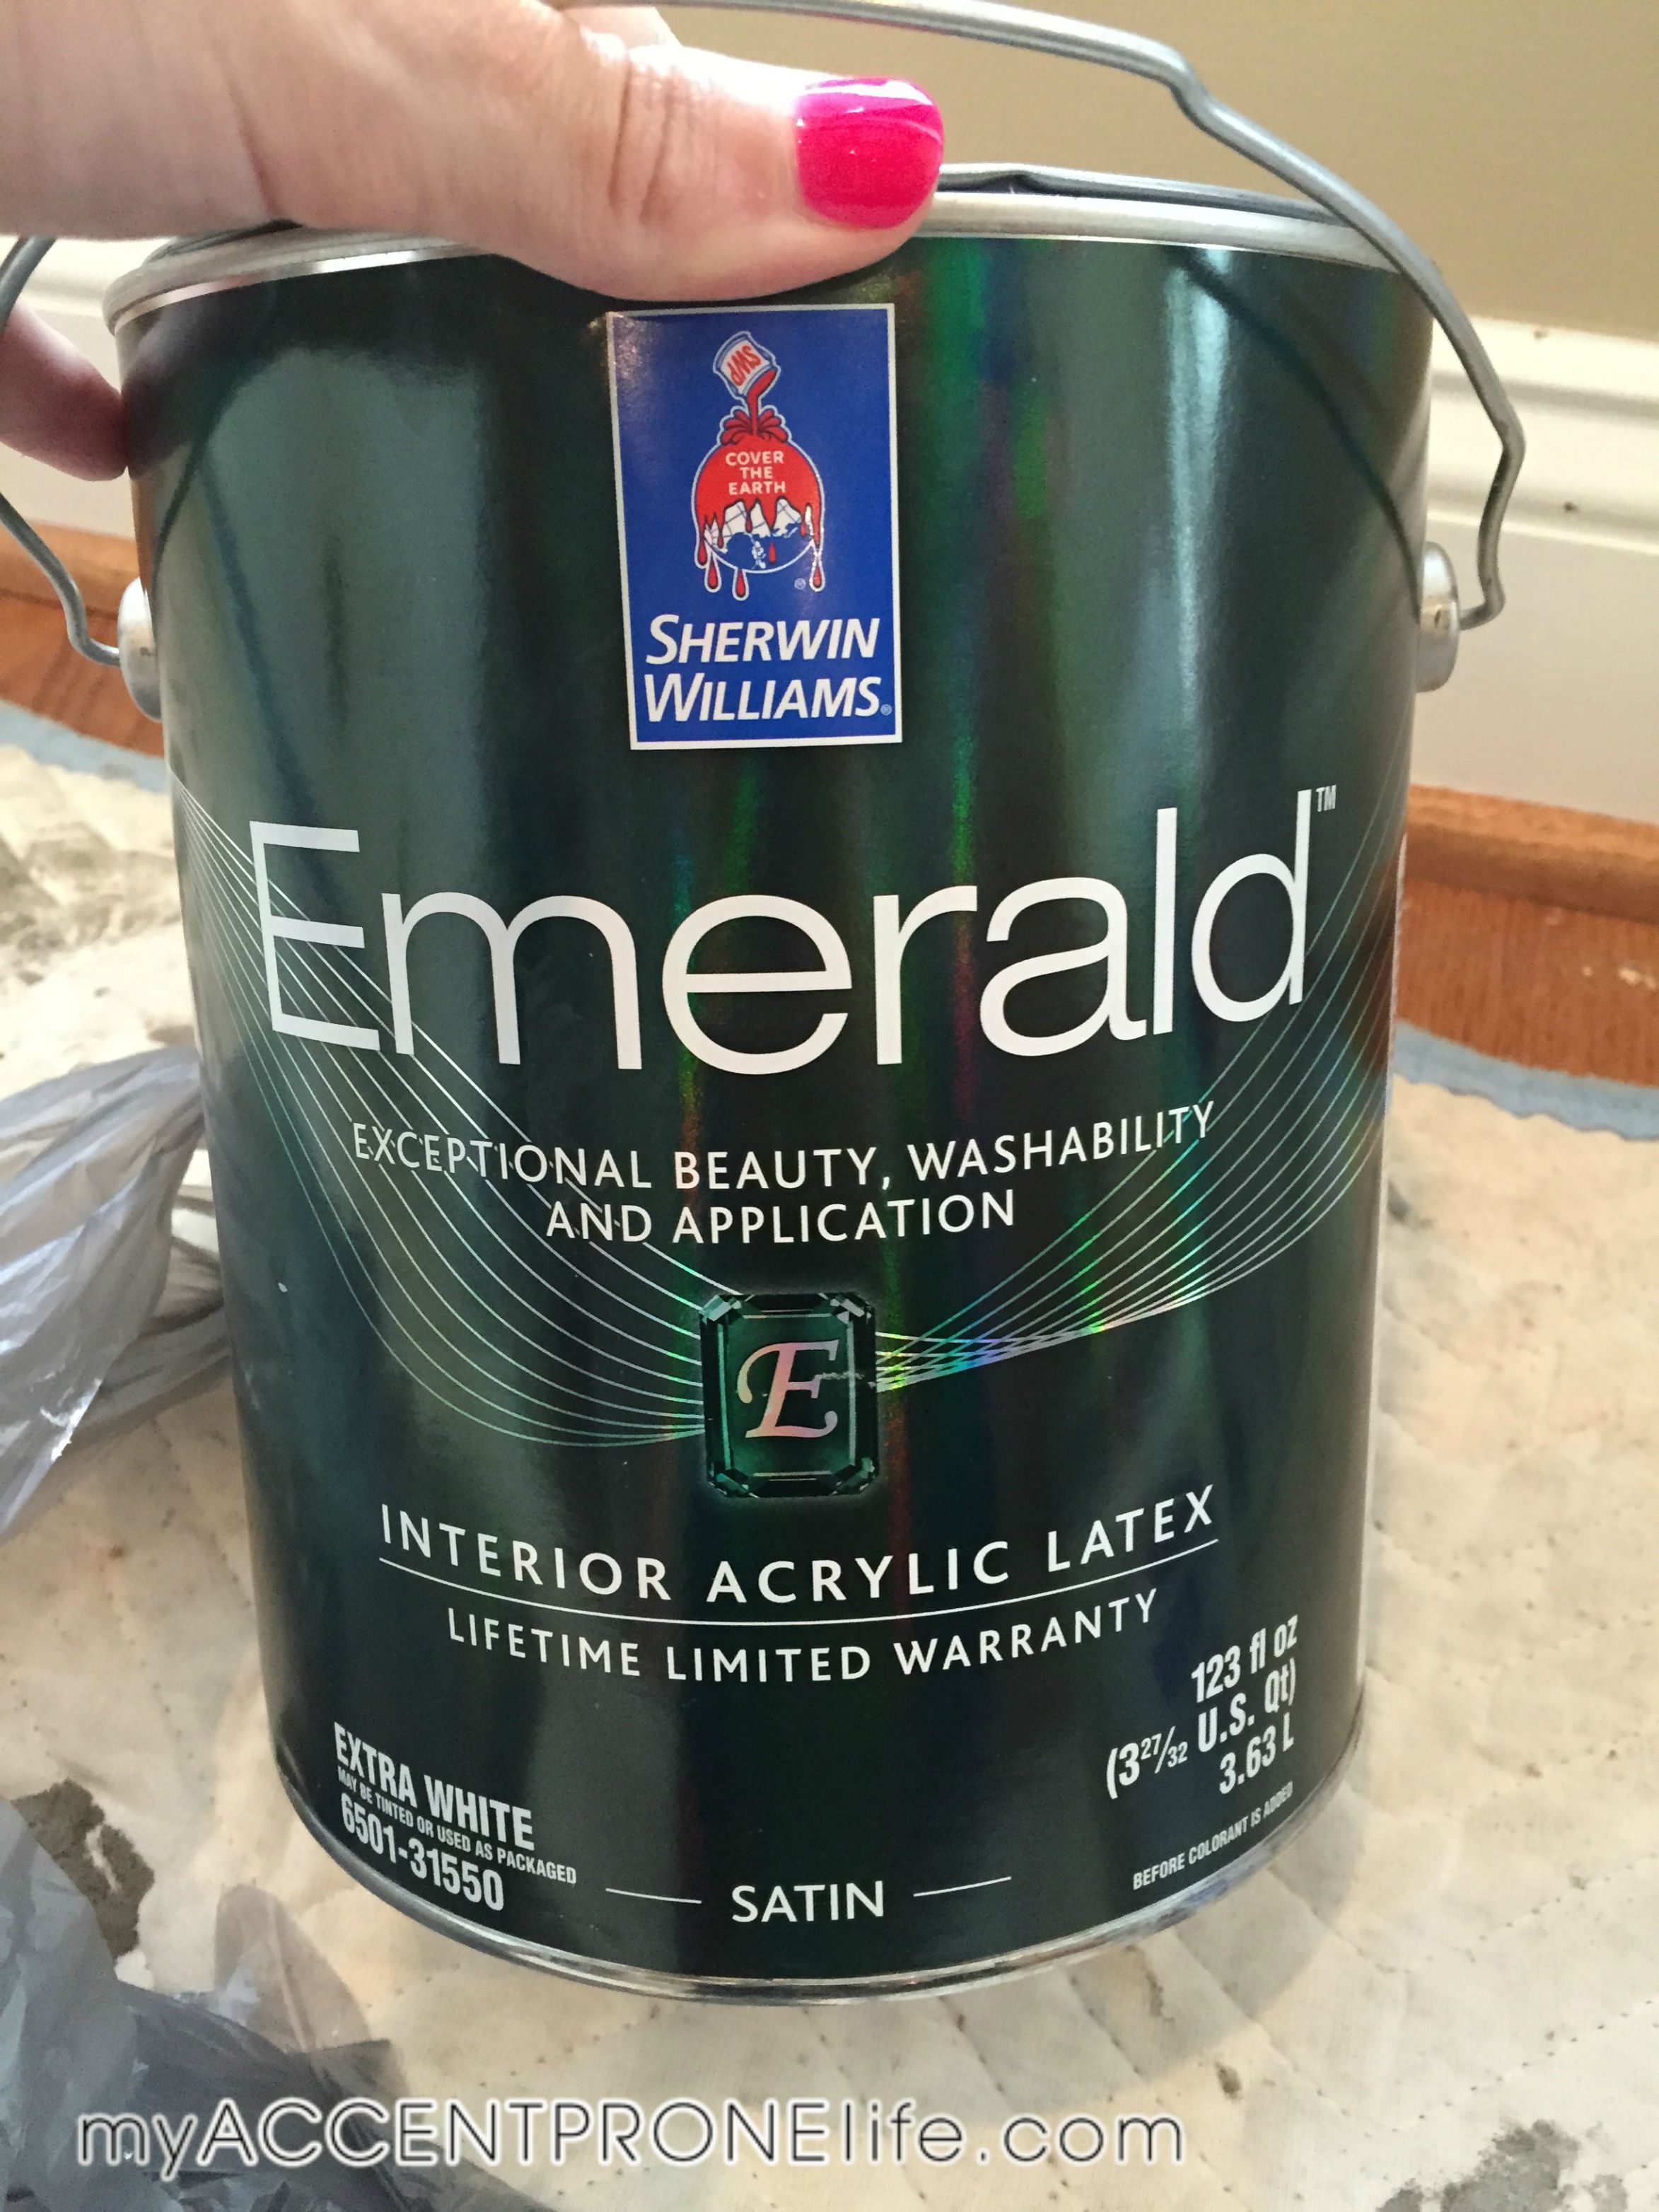
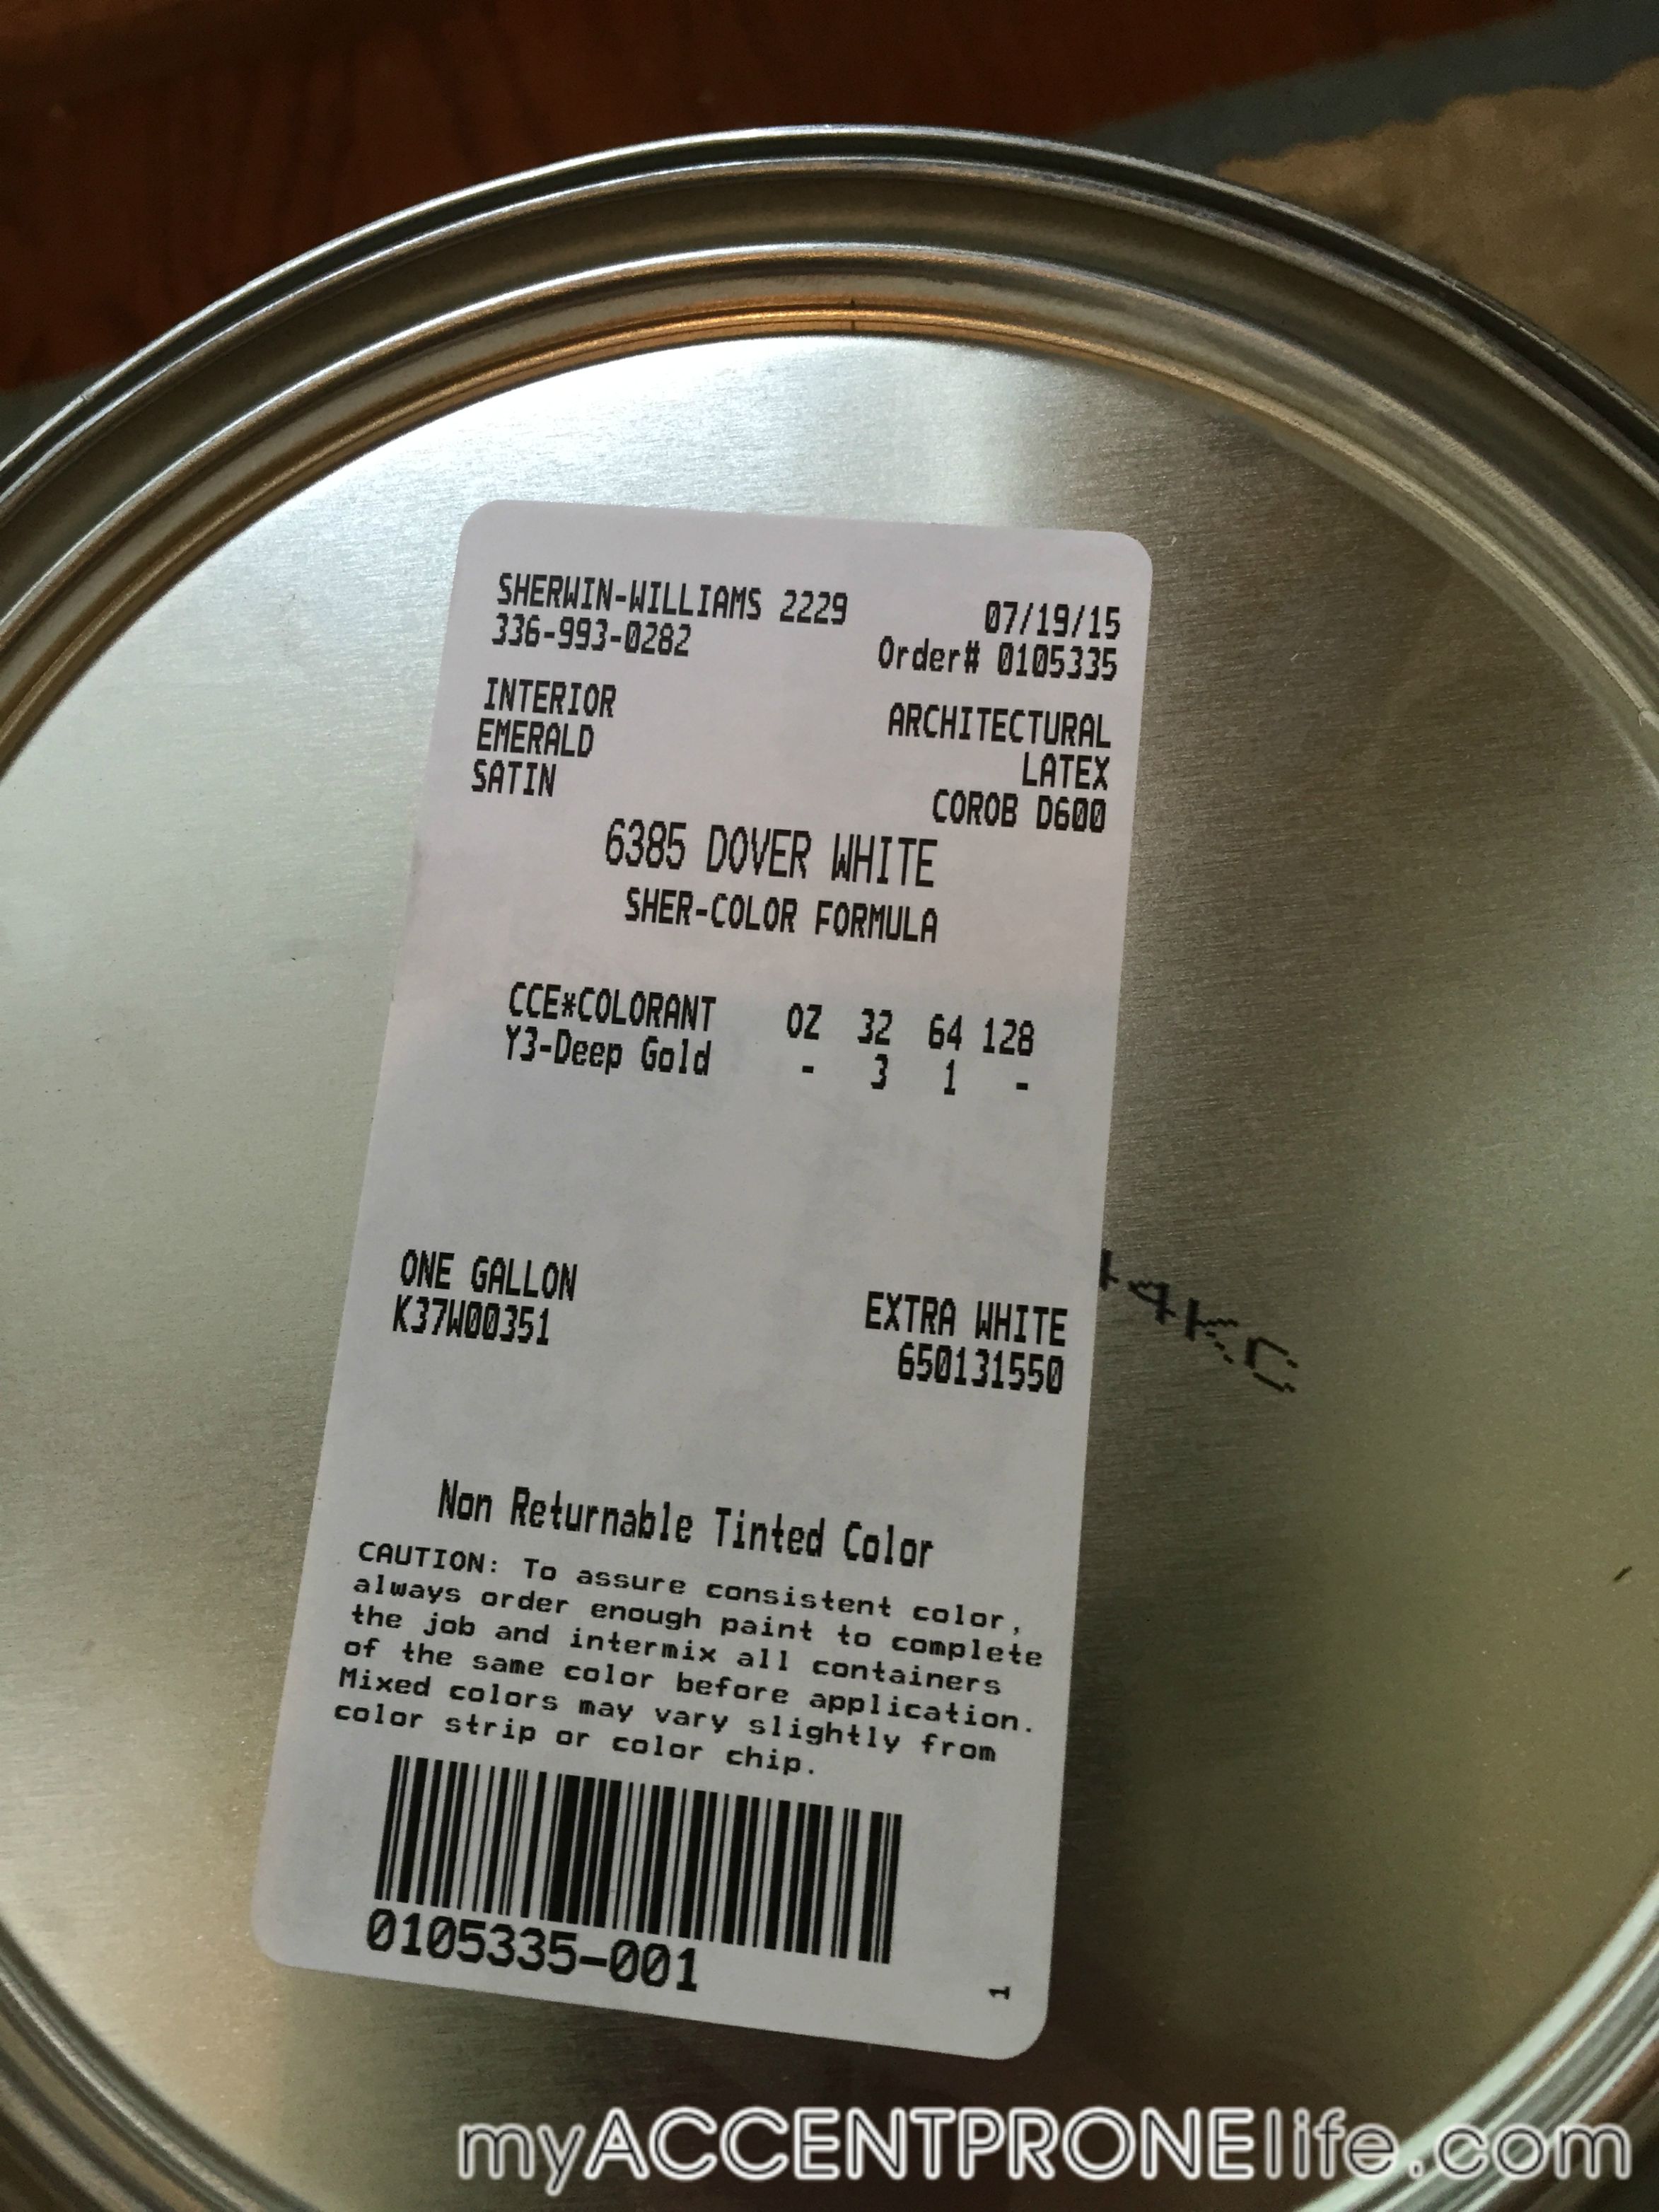
Step 9 – Now it’s time to paint! We chose Sherwin Williams Dover White in satin. Since these are raw wood boards, you will want to prime first to help seal the cracks and make it easier to paint. We used Zinsser Bin Primer. This is a shellac based primer that helps seal knots. If you want to go for a more rustic look, then add some water to your white paint to create a whitewashed, distressed look. If going for the more refined look then you will want to do about 3 coats of paint to cover nicely.
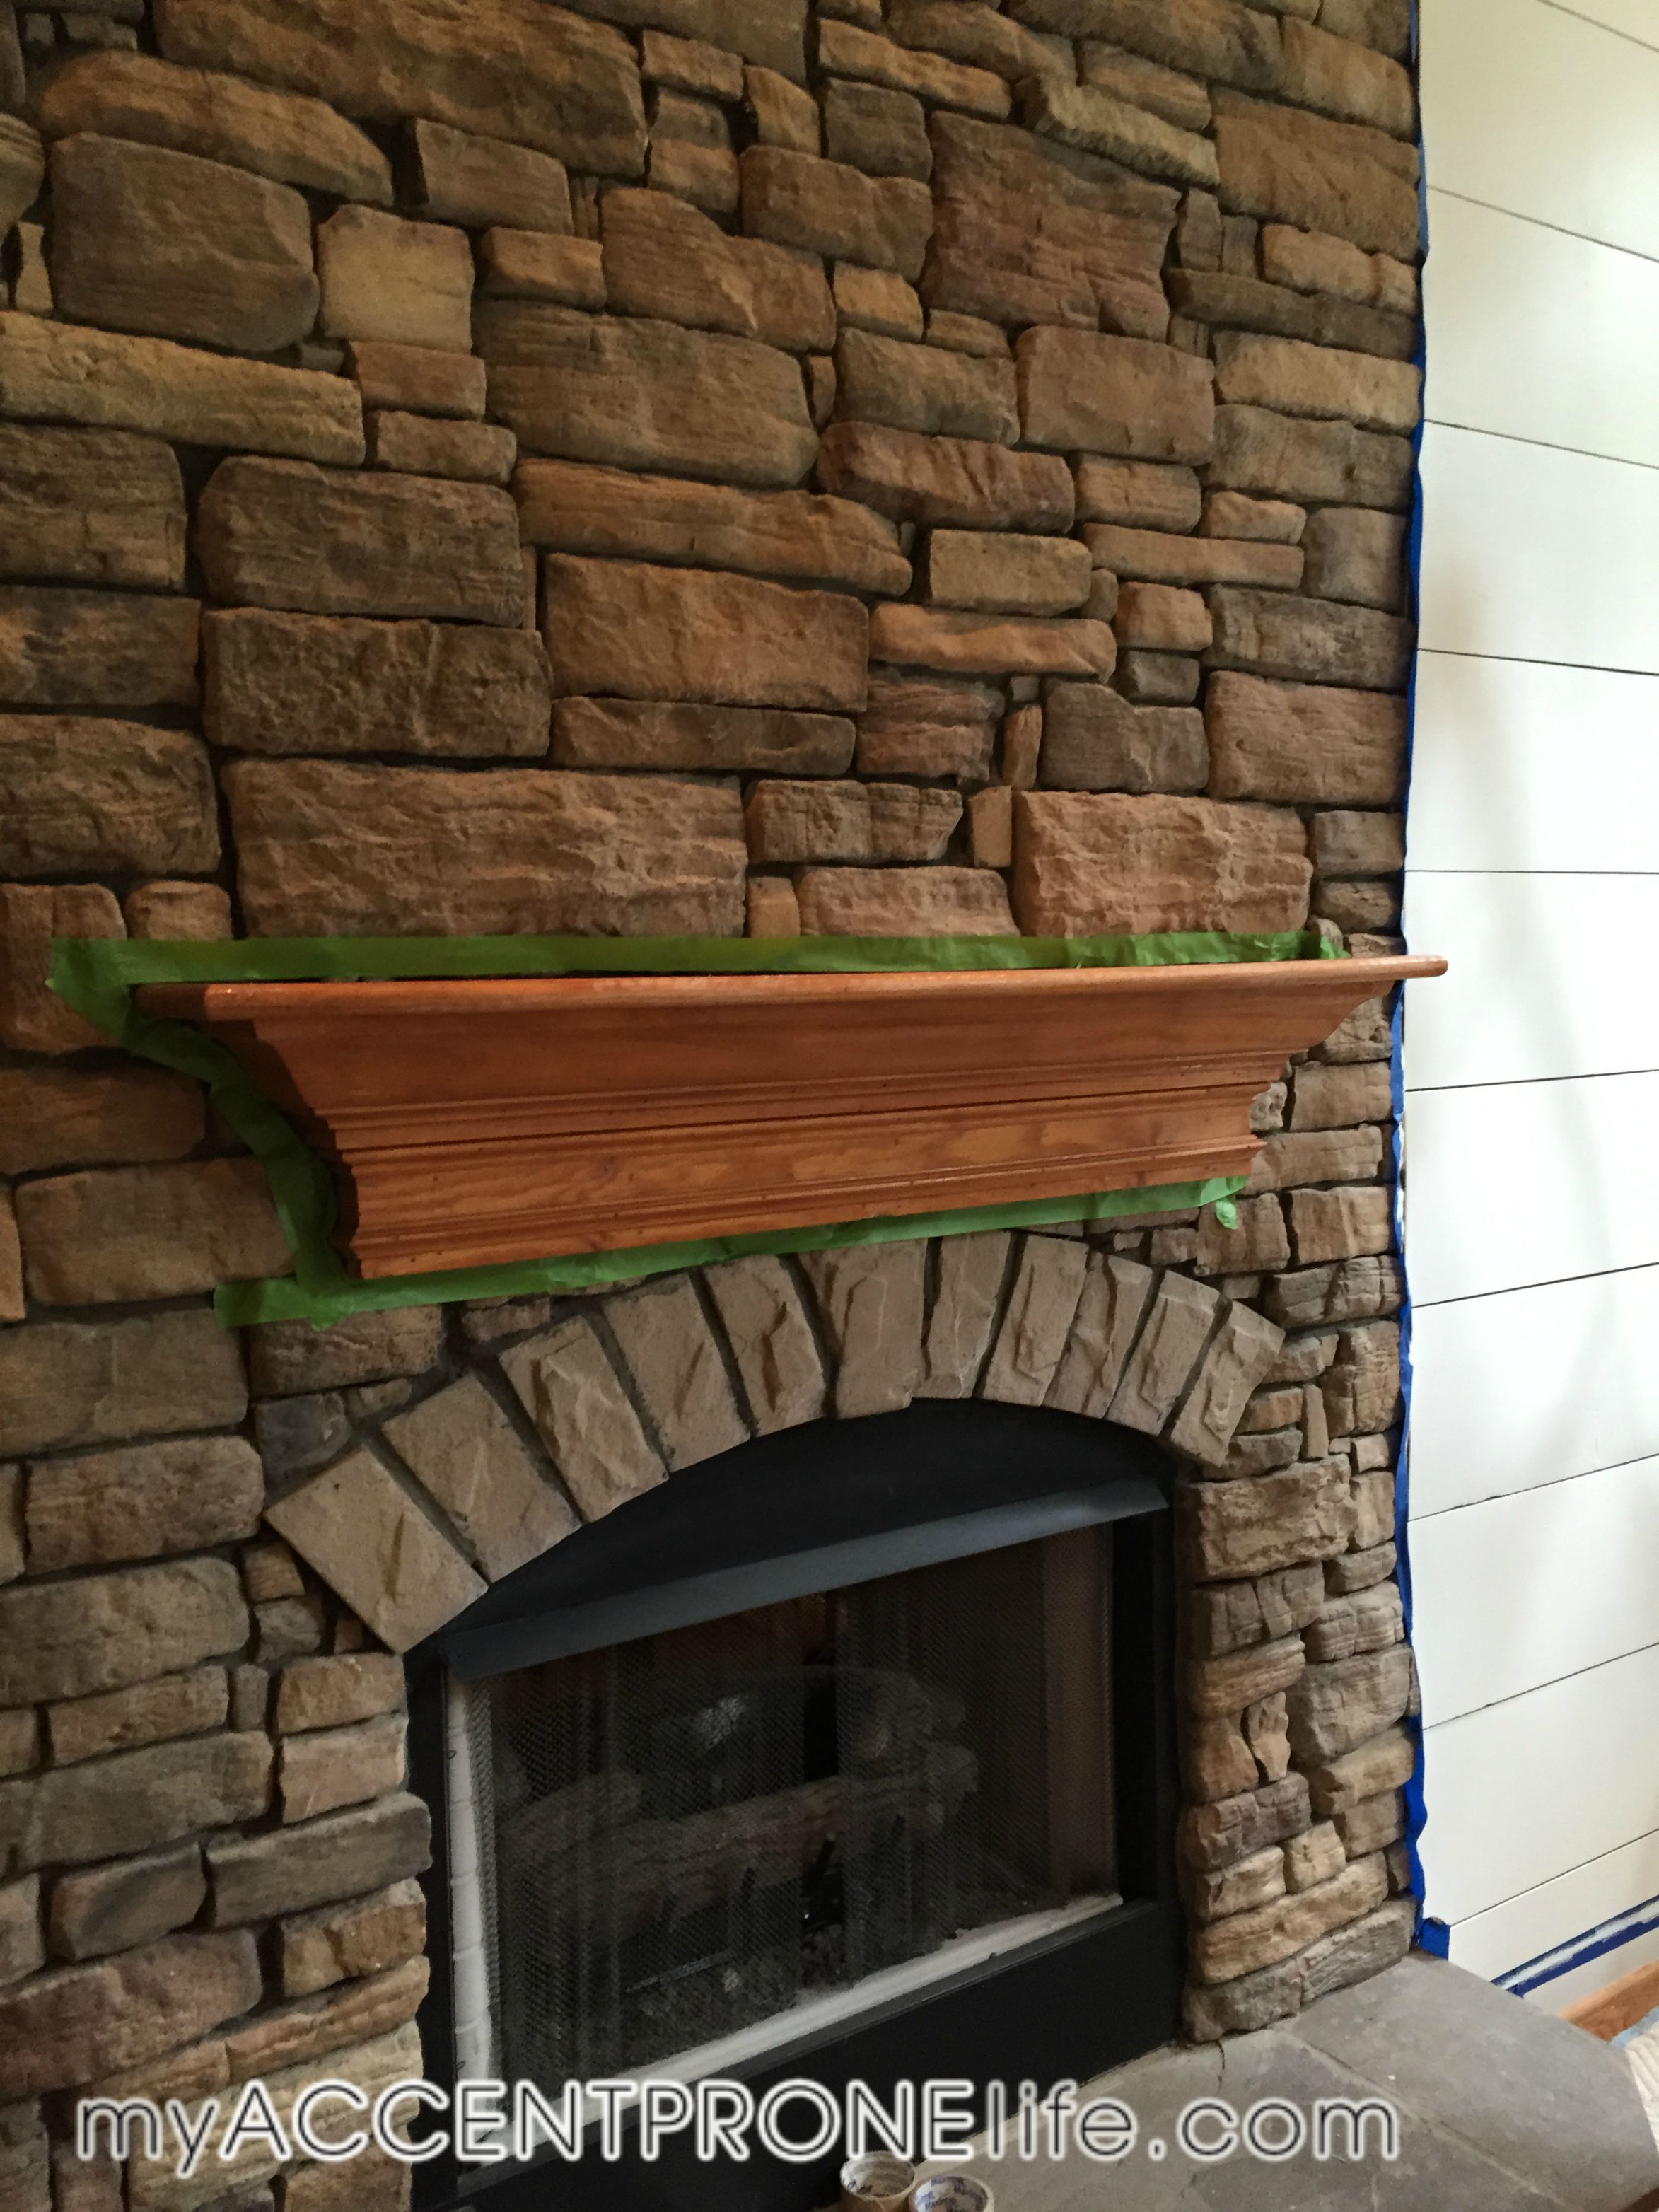
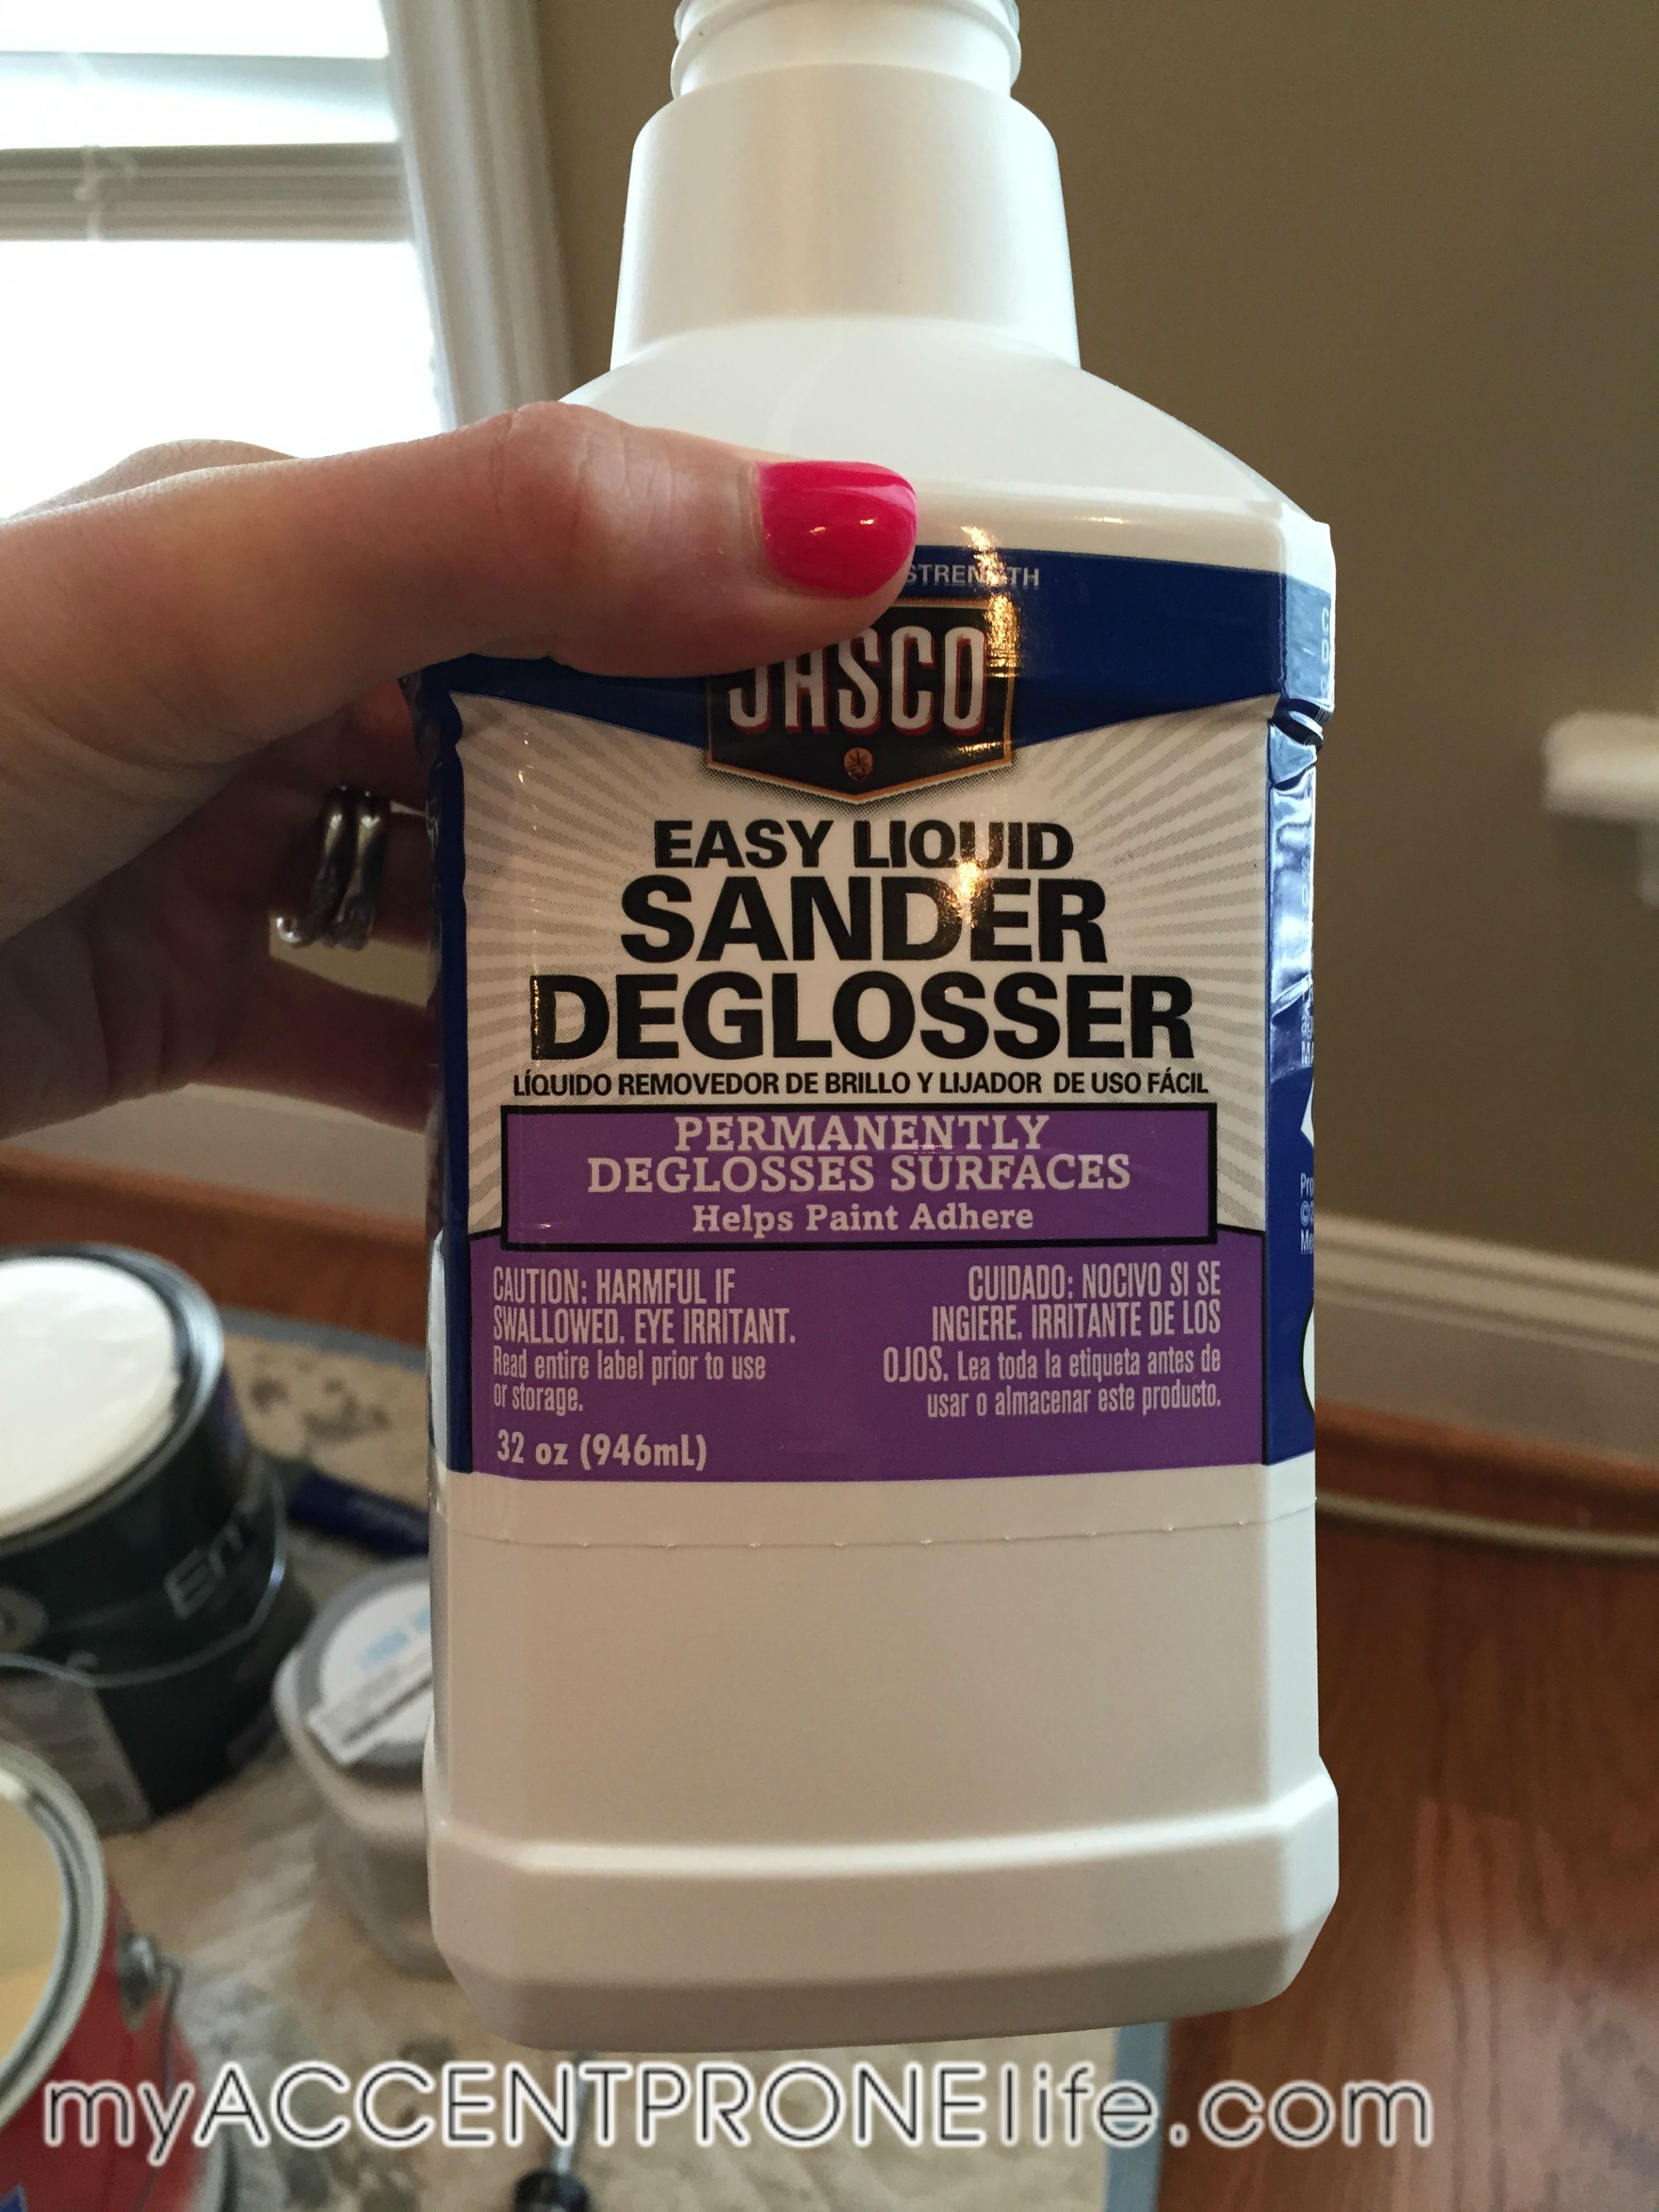
Since we moved in we have wanted a new mantle, but that project is on our to-do list a little further down the road. In the meantime, we decided to go ahead and paint the mantle to match our white shiplap. We used a liquid deglosser that you wipe on with a cloth. It takes away the shiny finish and will allow for you to paint.
Step 10 – Take off the tape and enjoy your new shiplap wall!
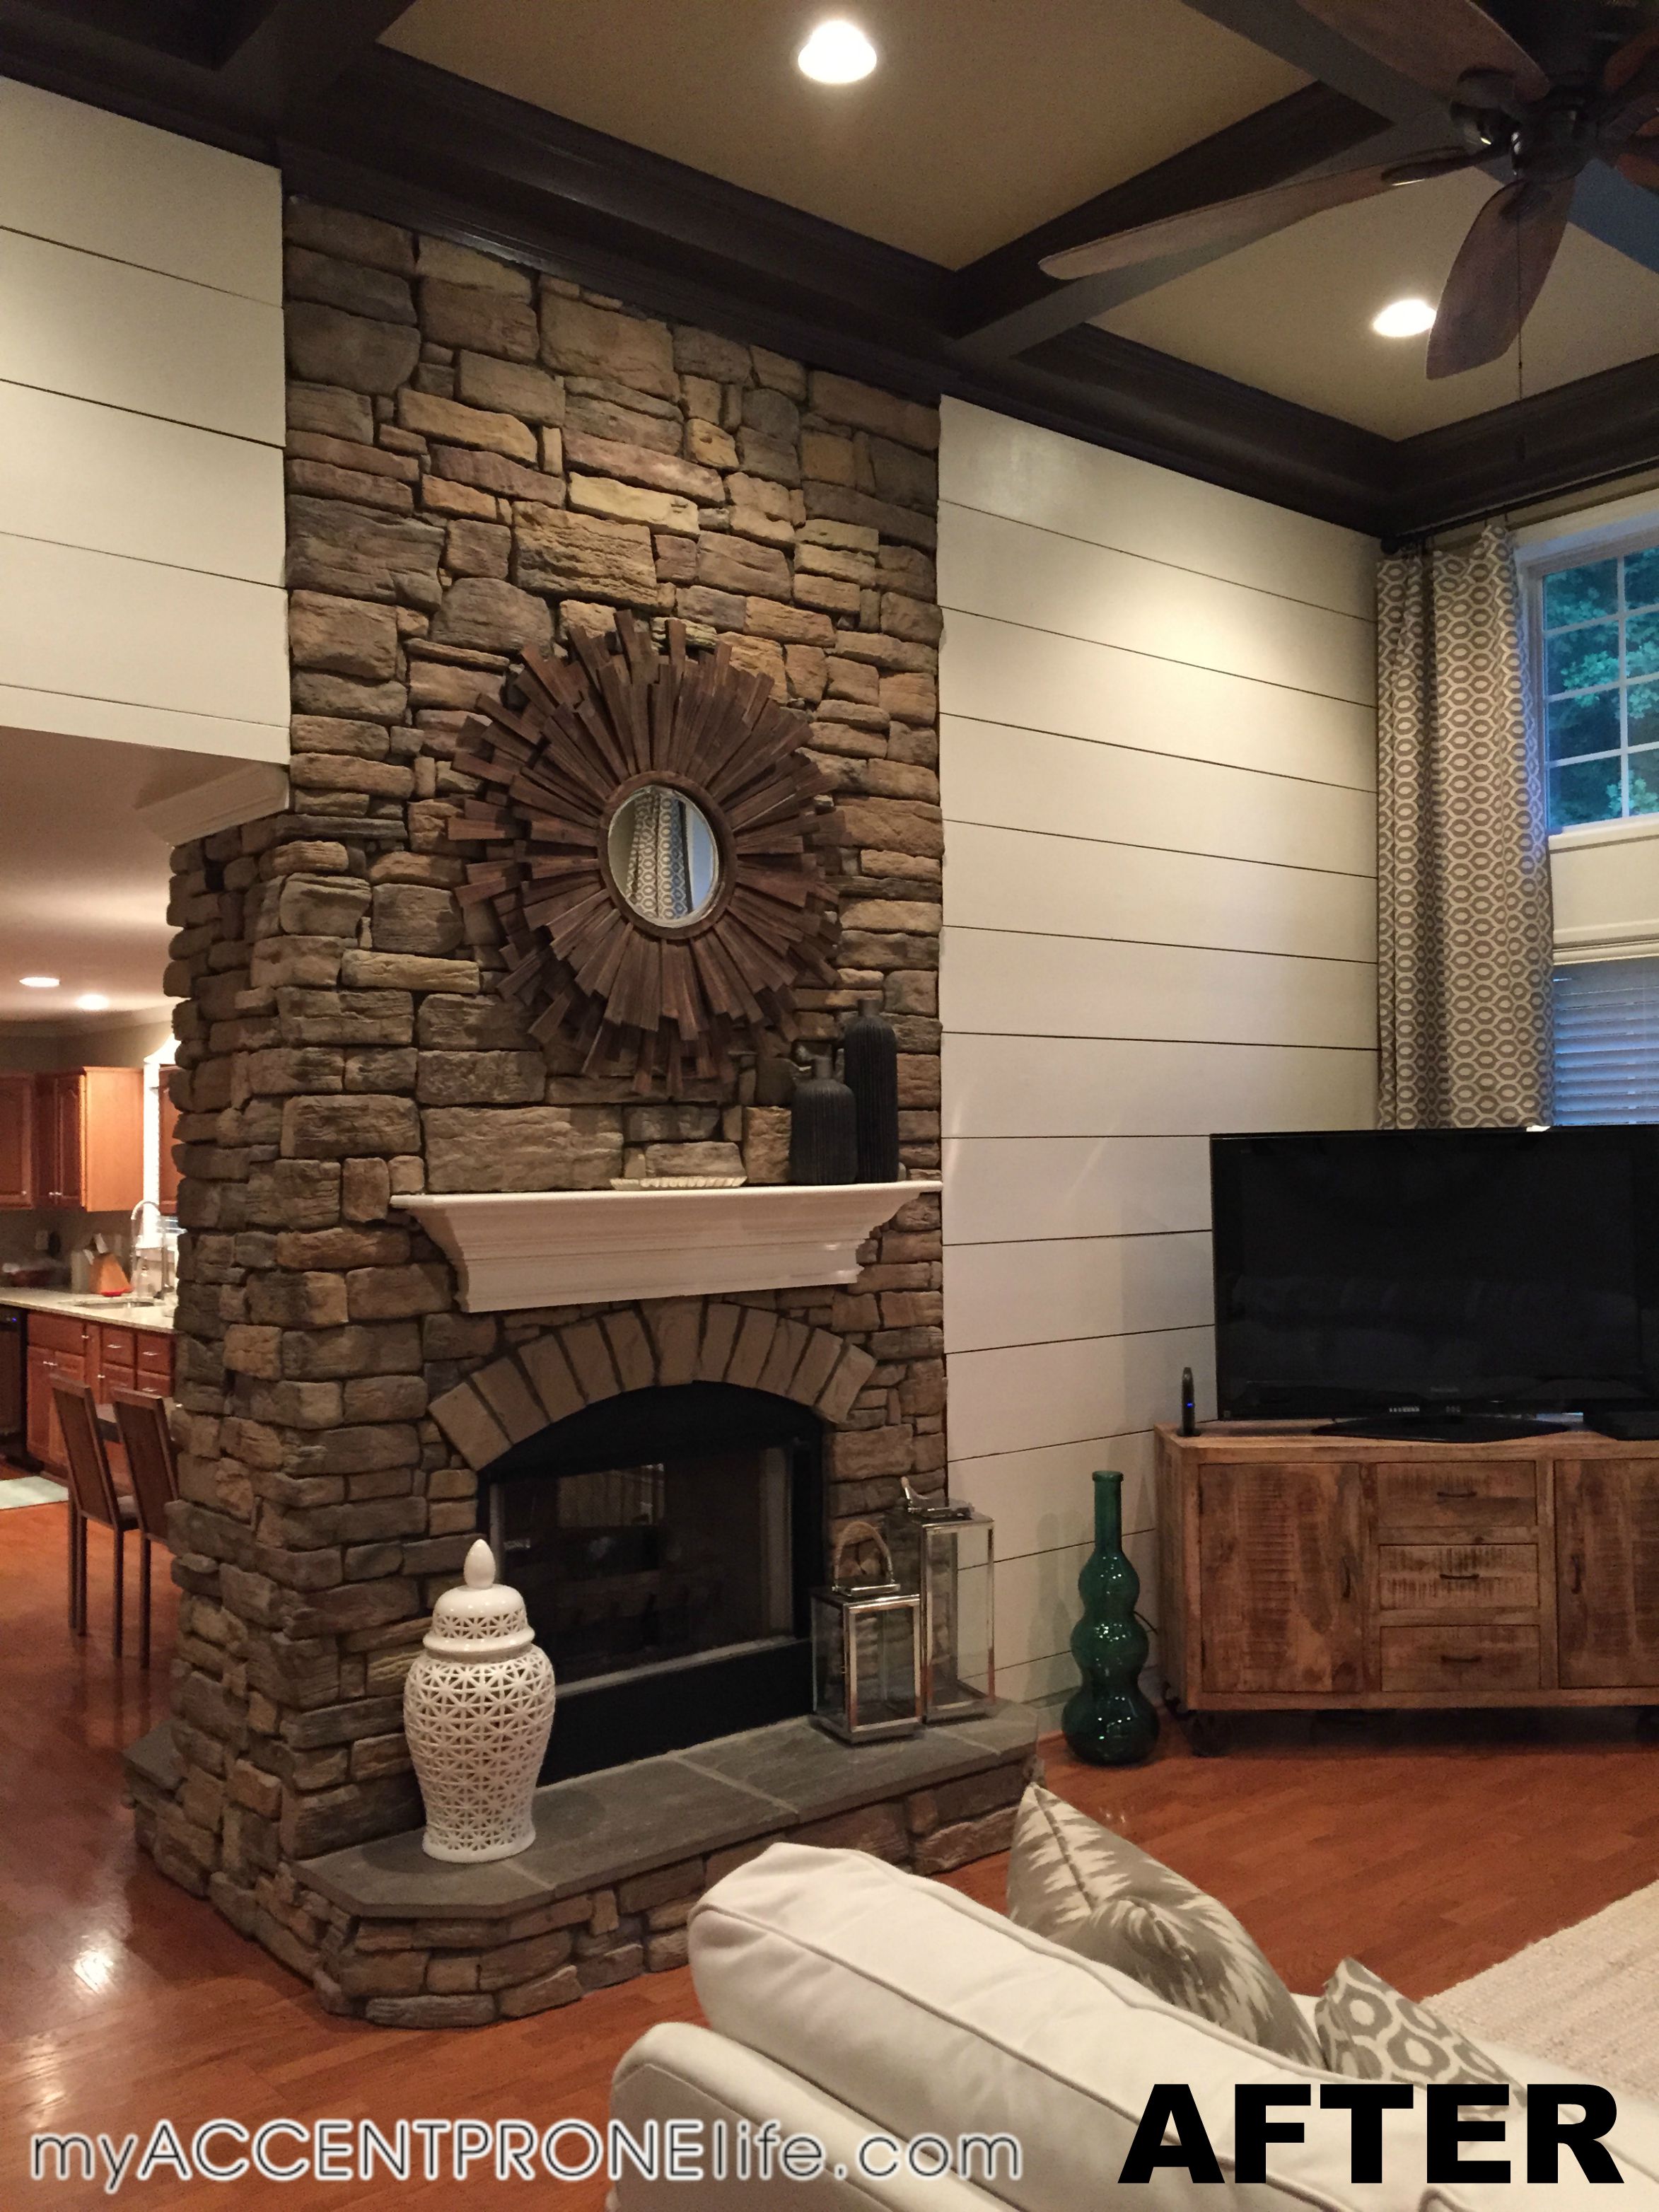
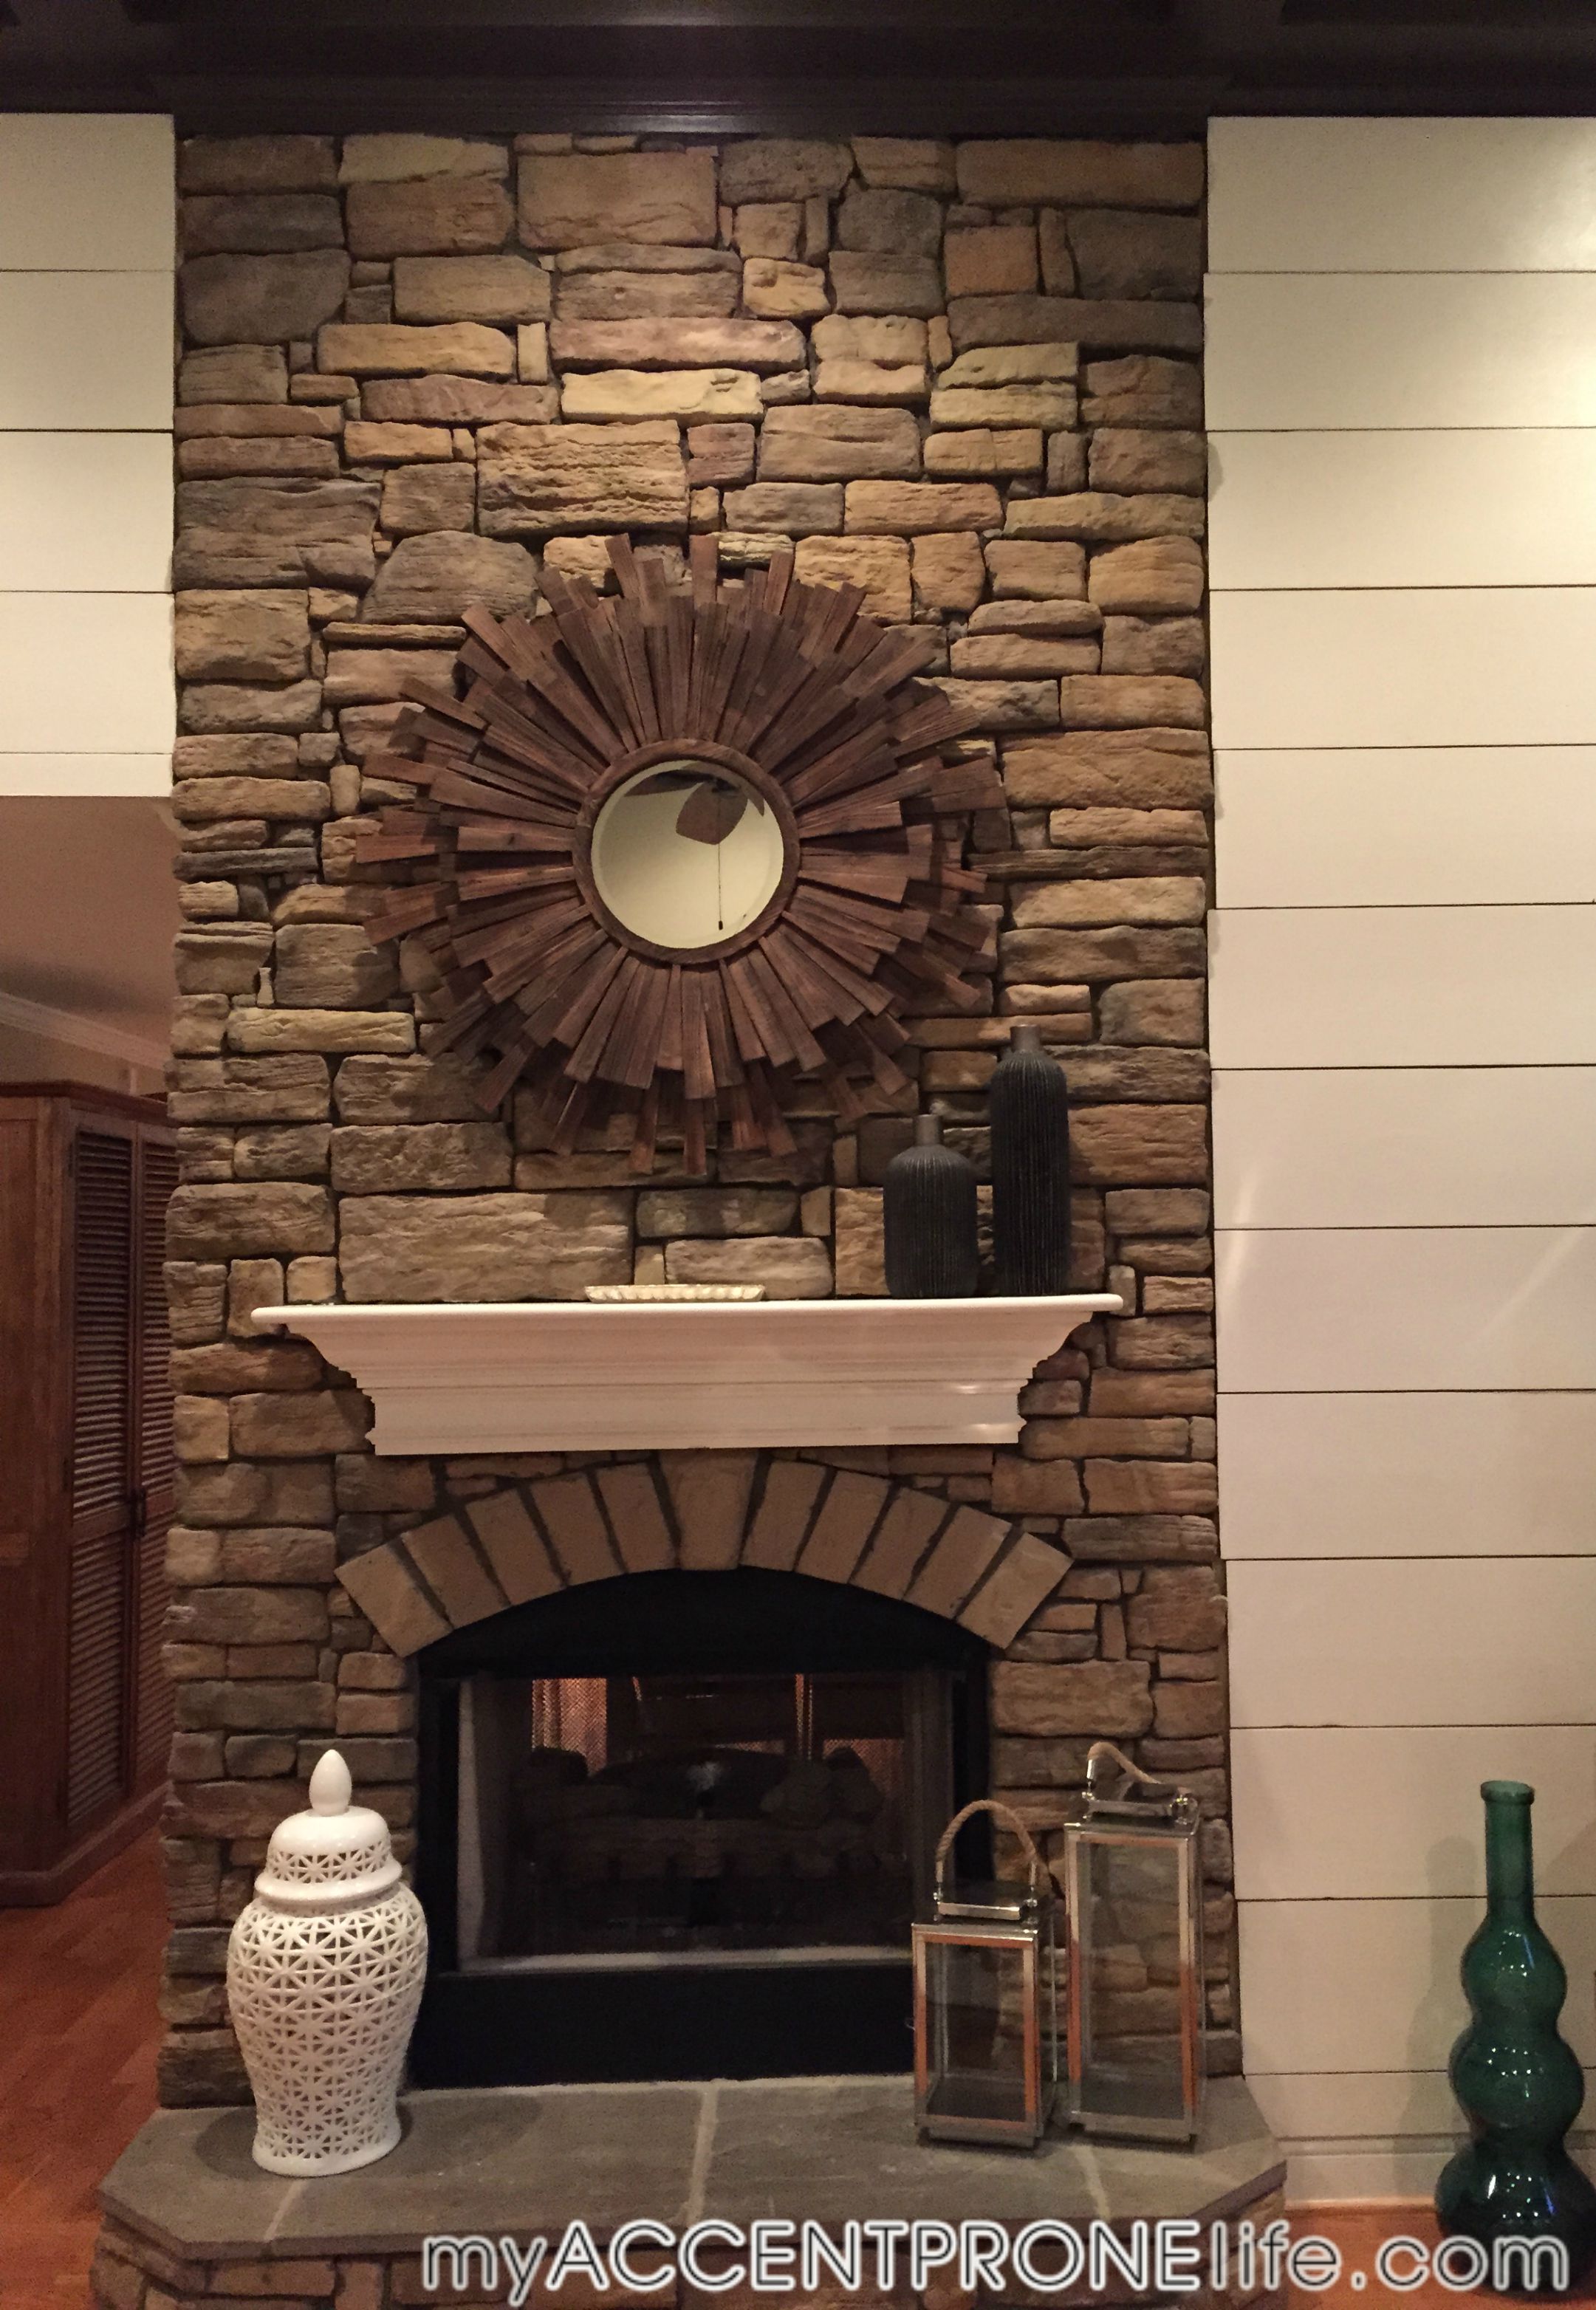
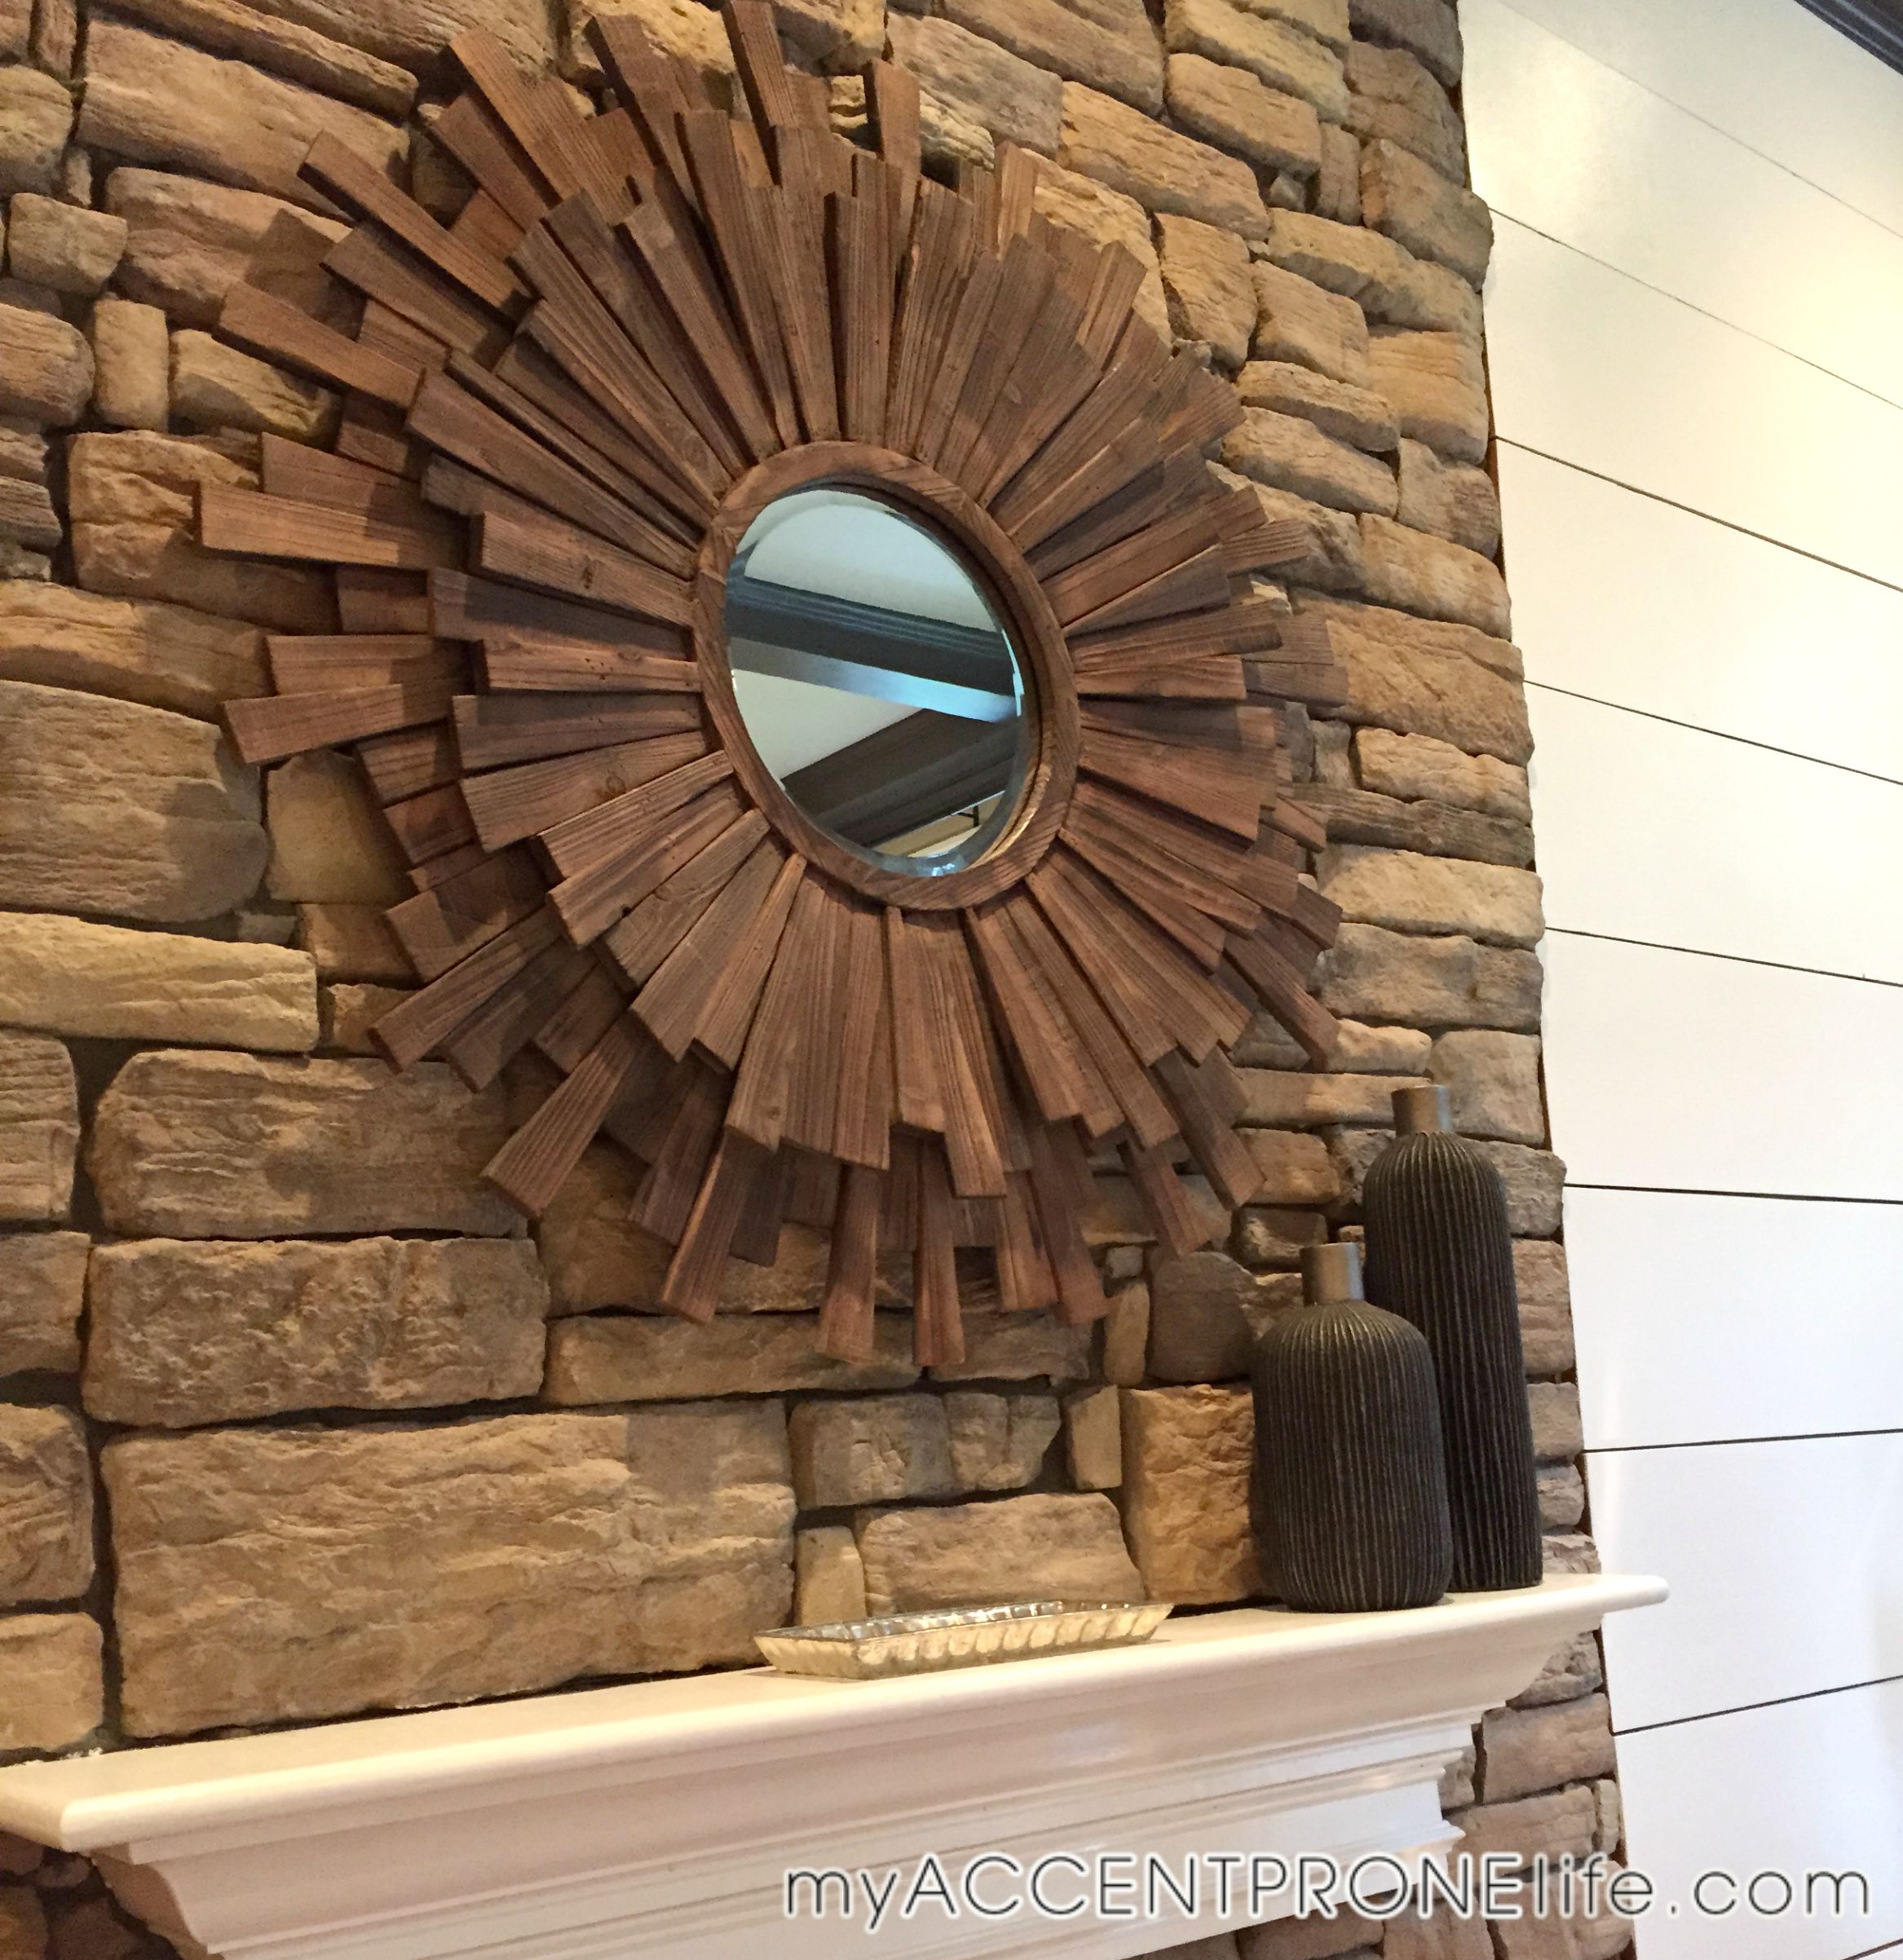
Yes, my mantle is MAJORLY lacking some accessories, but we just completed this project and haven’t quite made it that far yet! We also plan to add some darker wood art pieces onto the shiplap to combine the contrasting tones a little more. Mirror and accessories shown here are from my home furnishings boutique, Accent Prone.
Thanks for reading everyone! Stay tuned soon for the full reveal of our living room makeover!
On to the next,