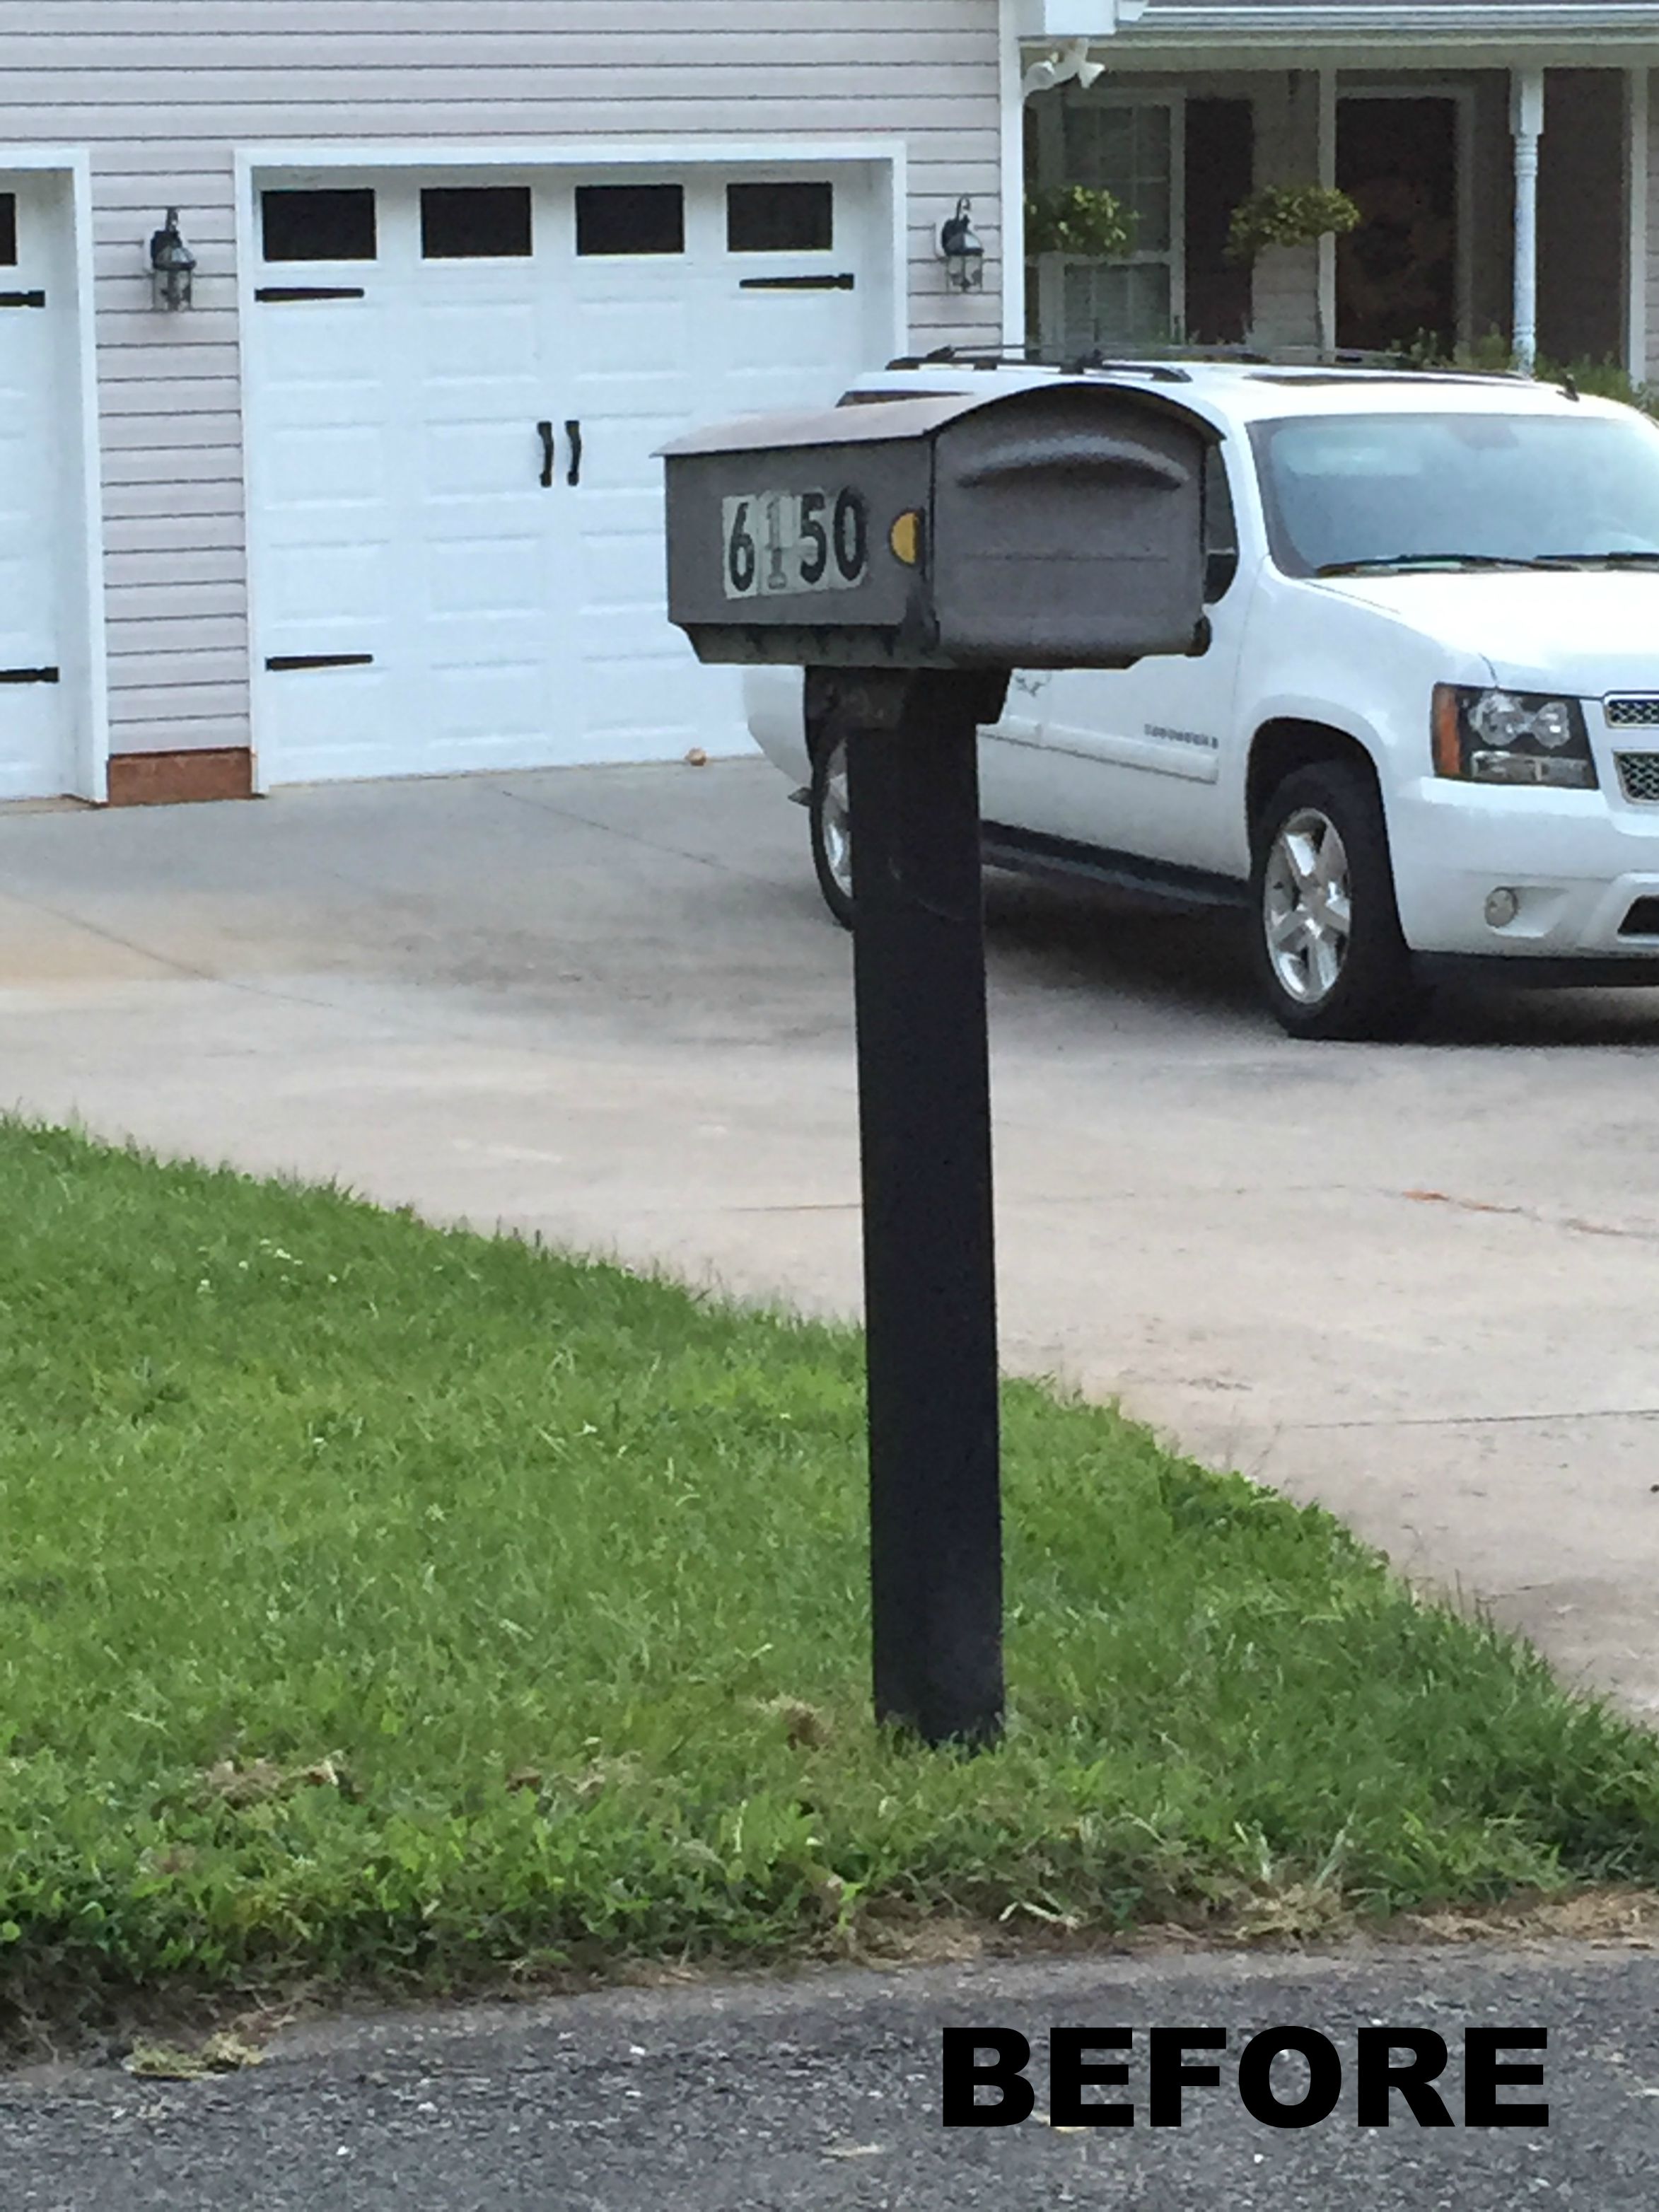
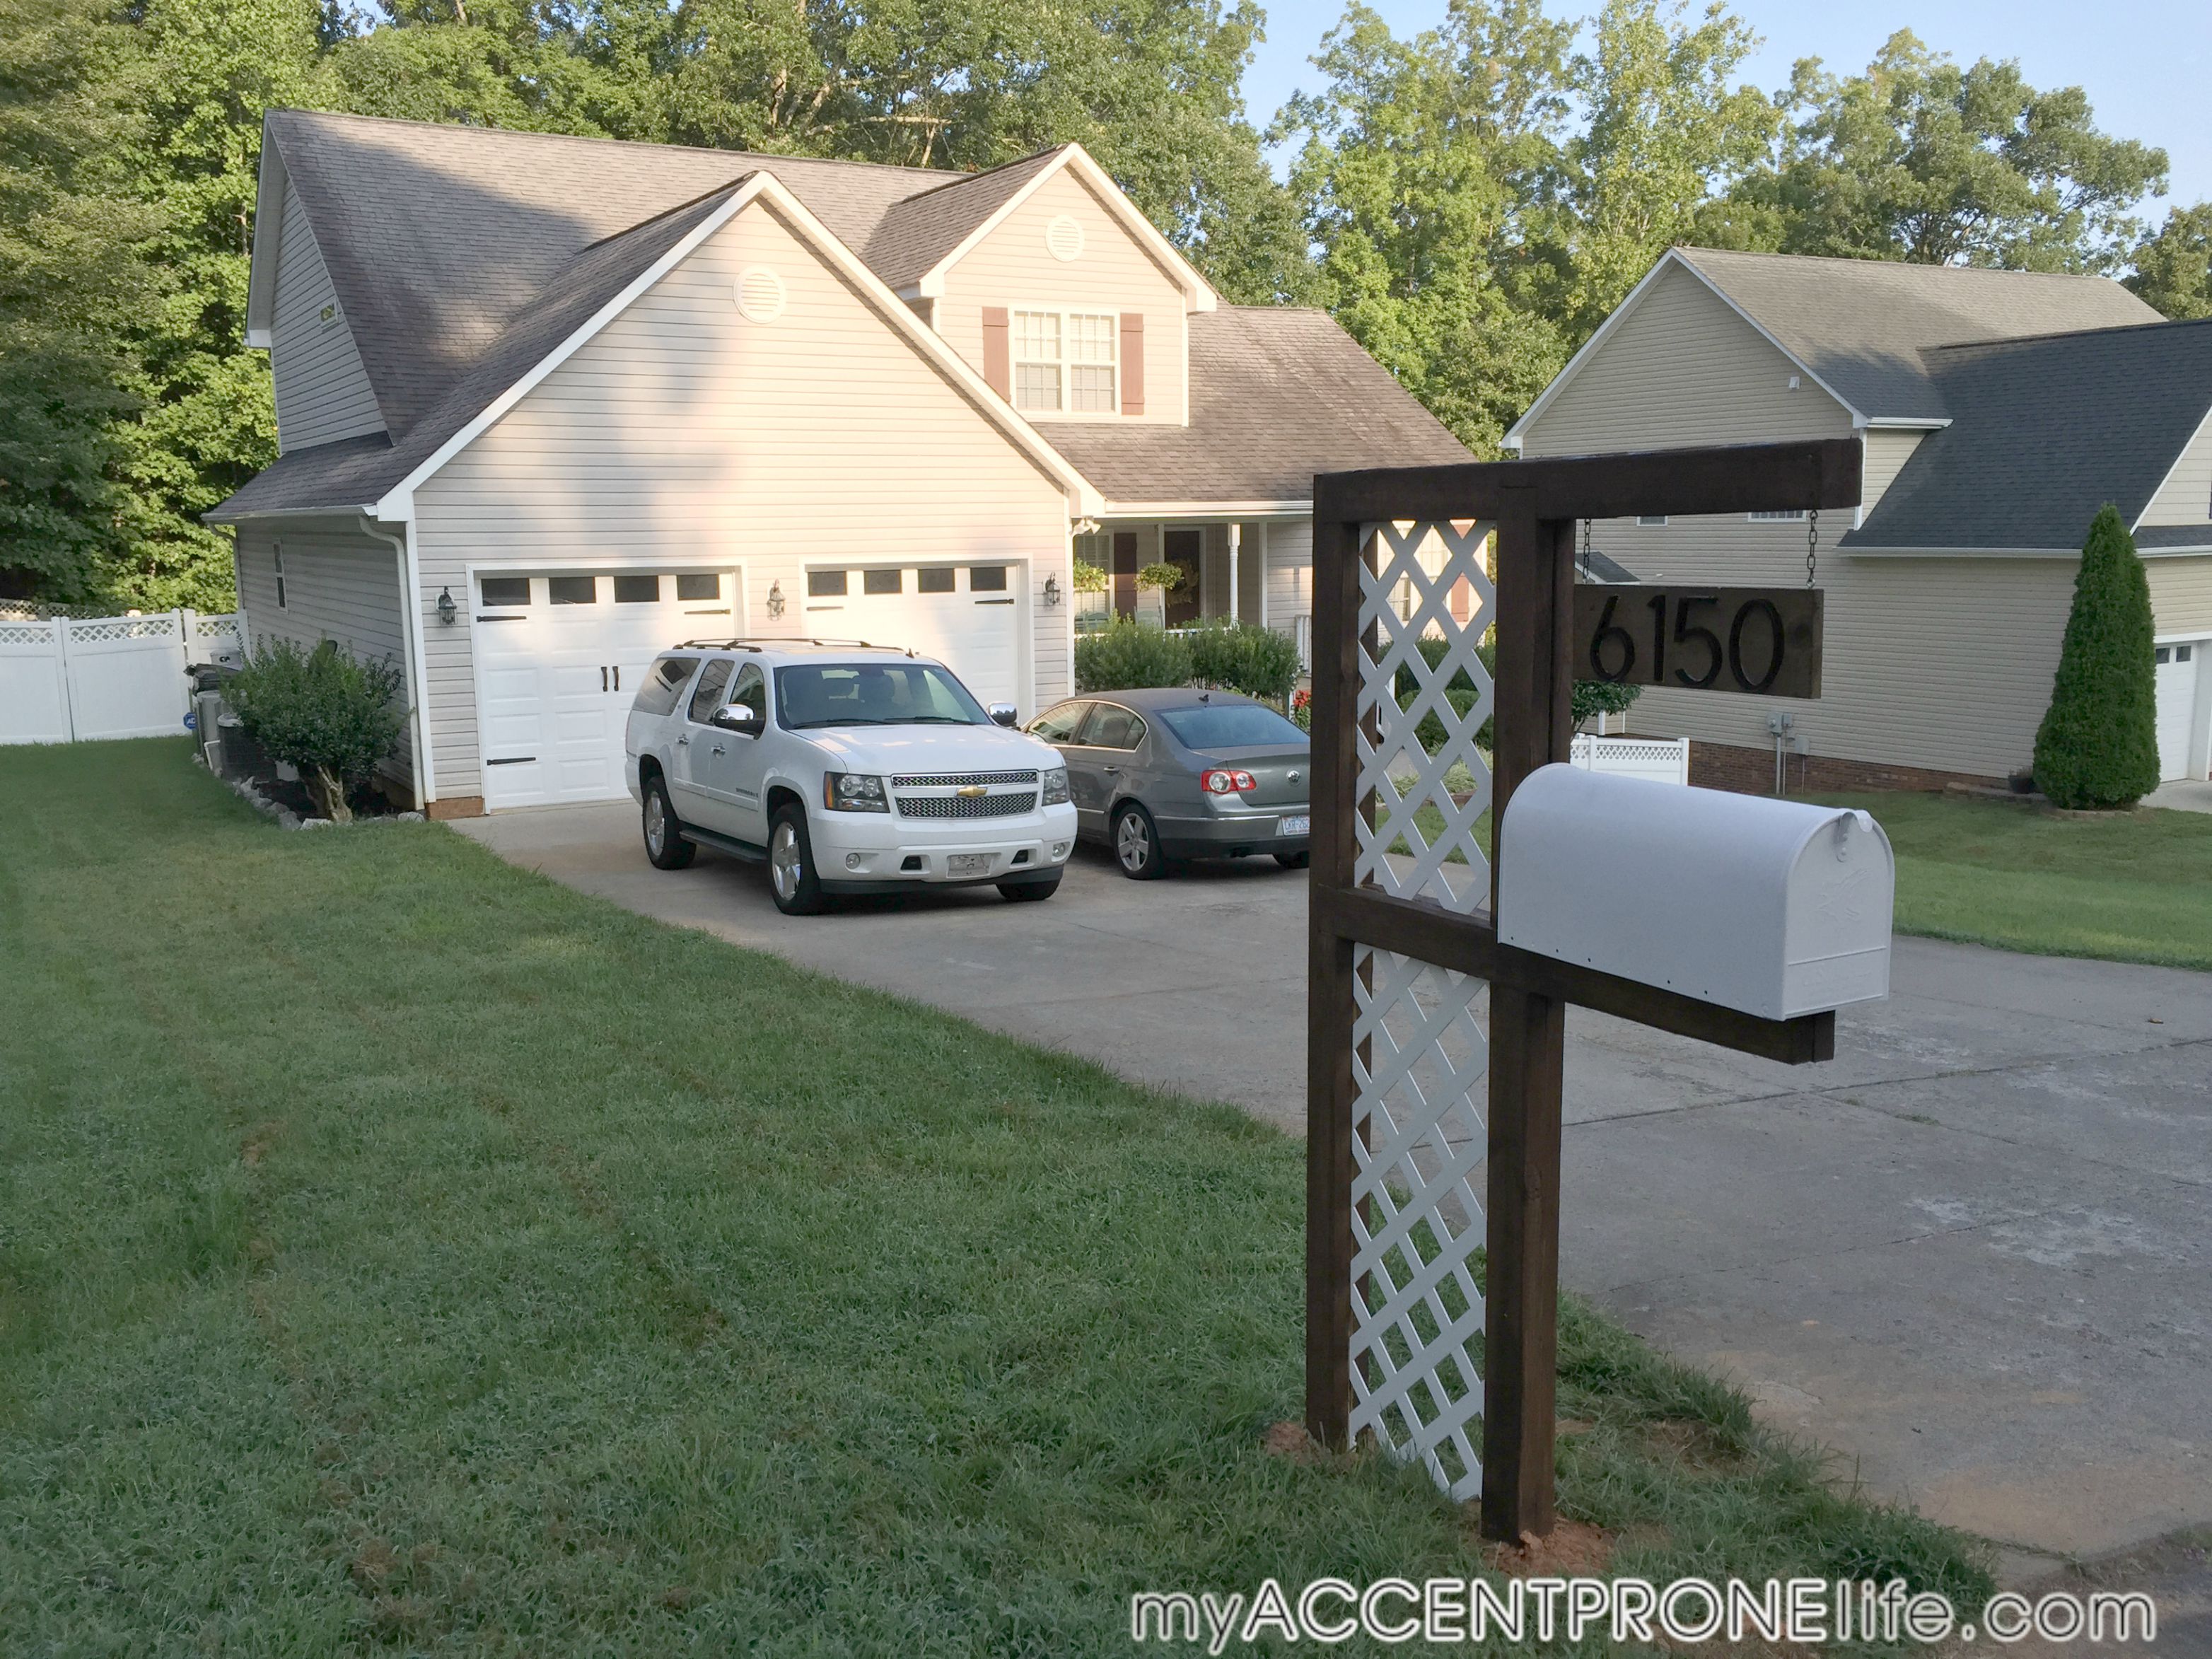
I don’t think we need much of an explanation as to why we wanted a new mailbox. Take one look and it’s pretty clear; we needed it!
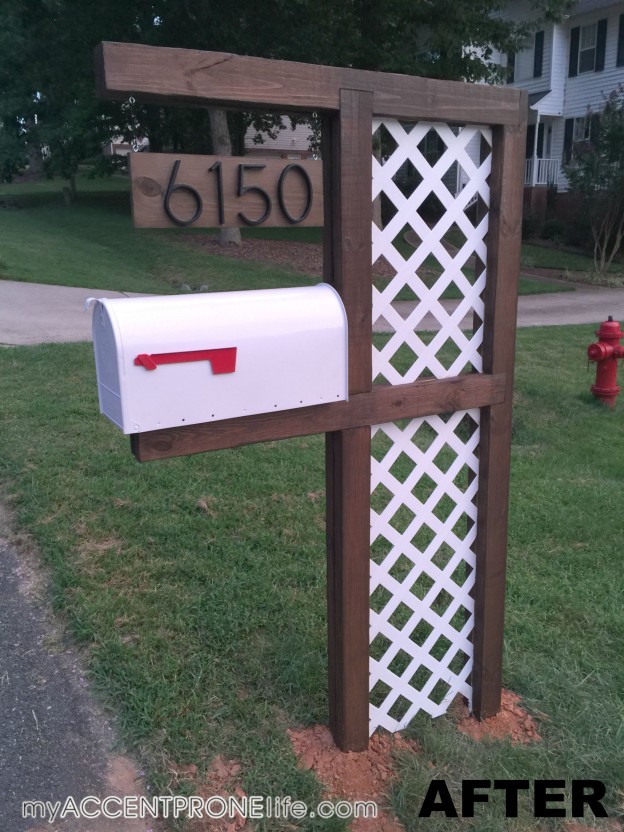
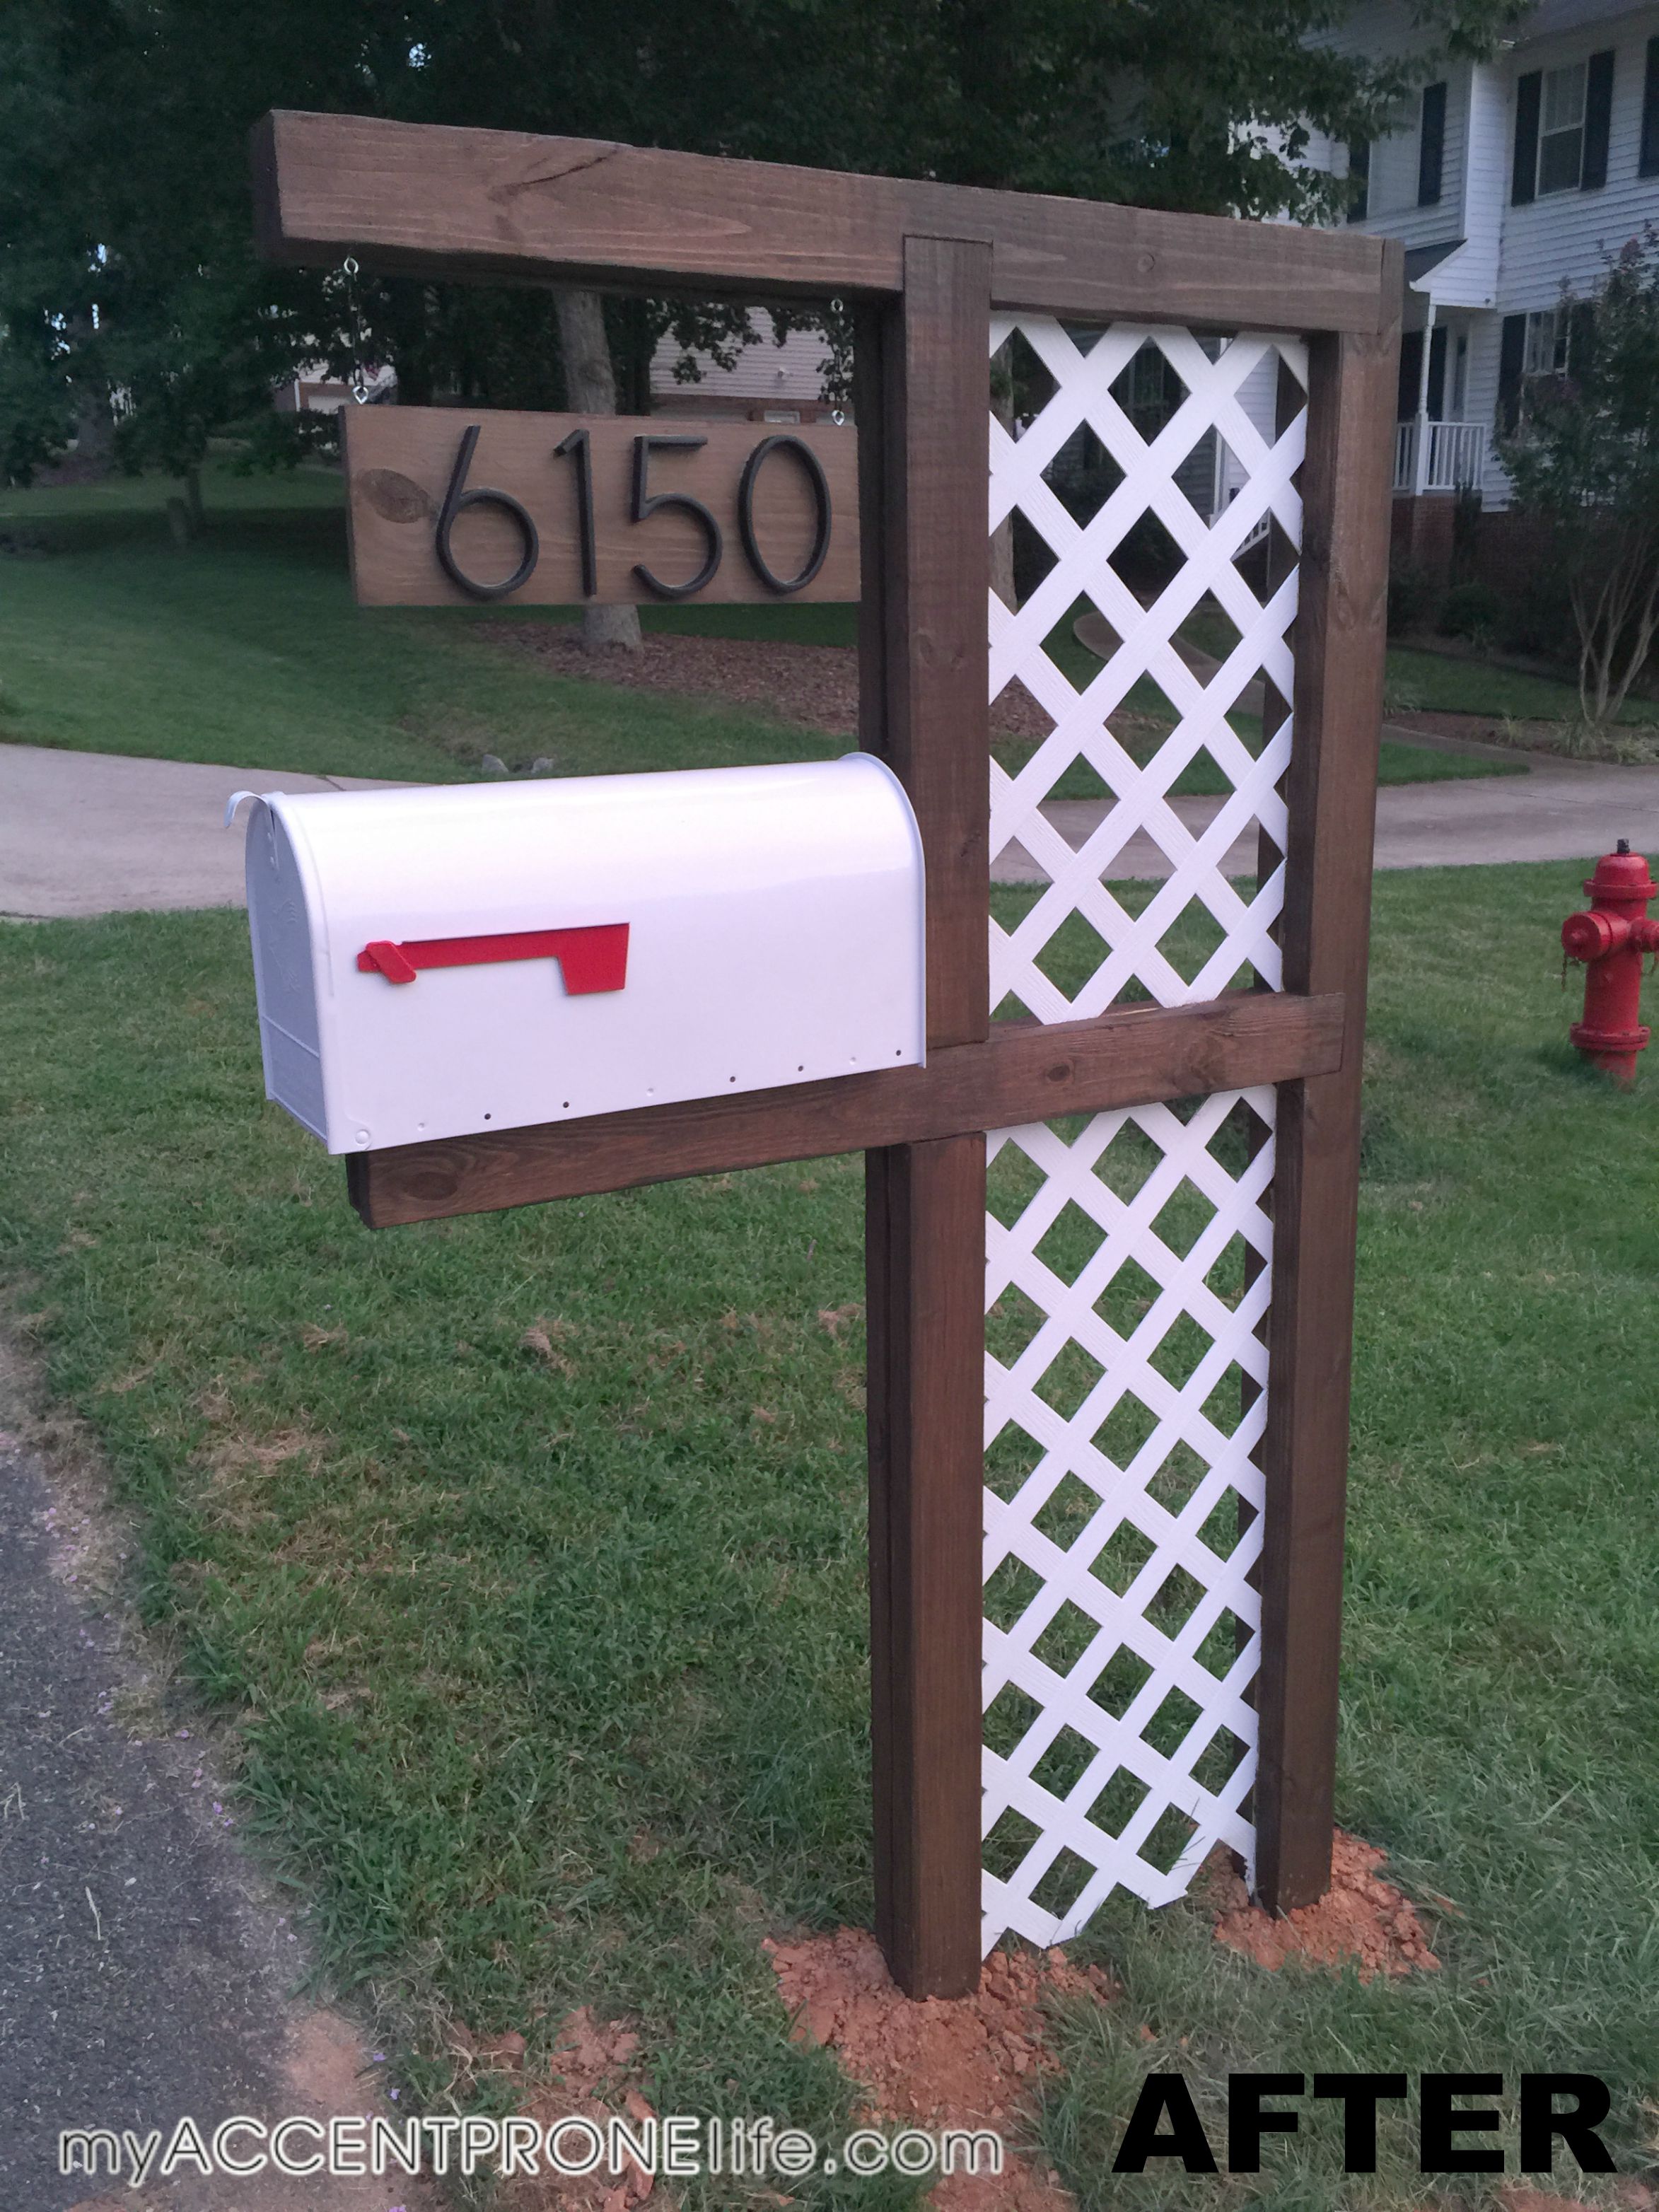
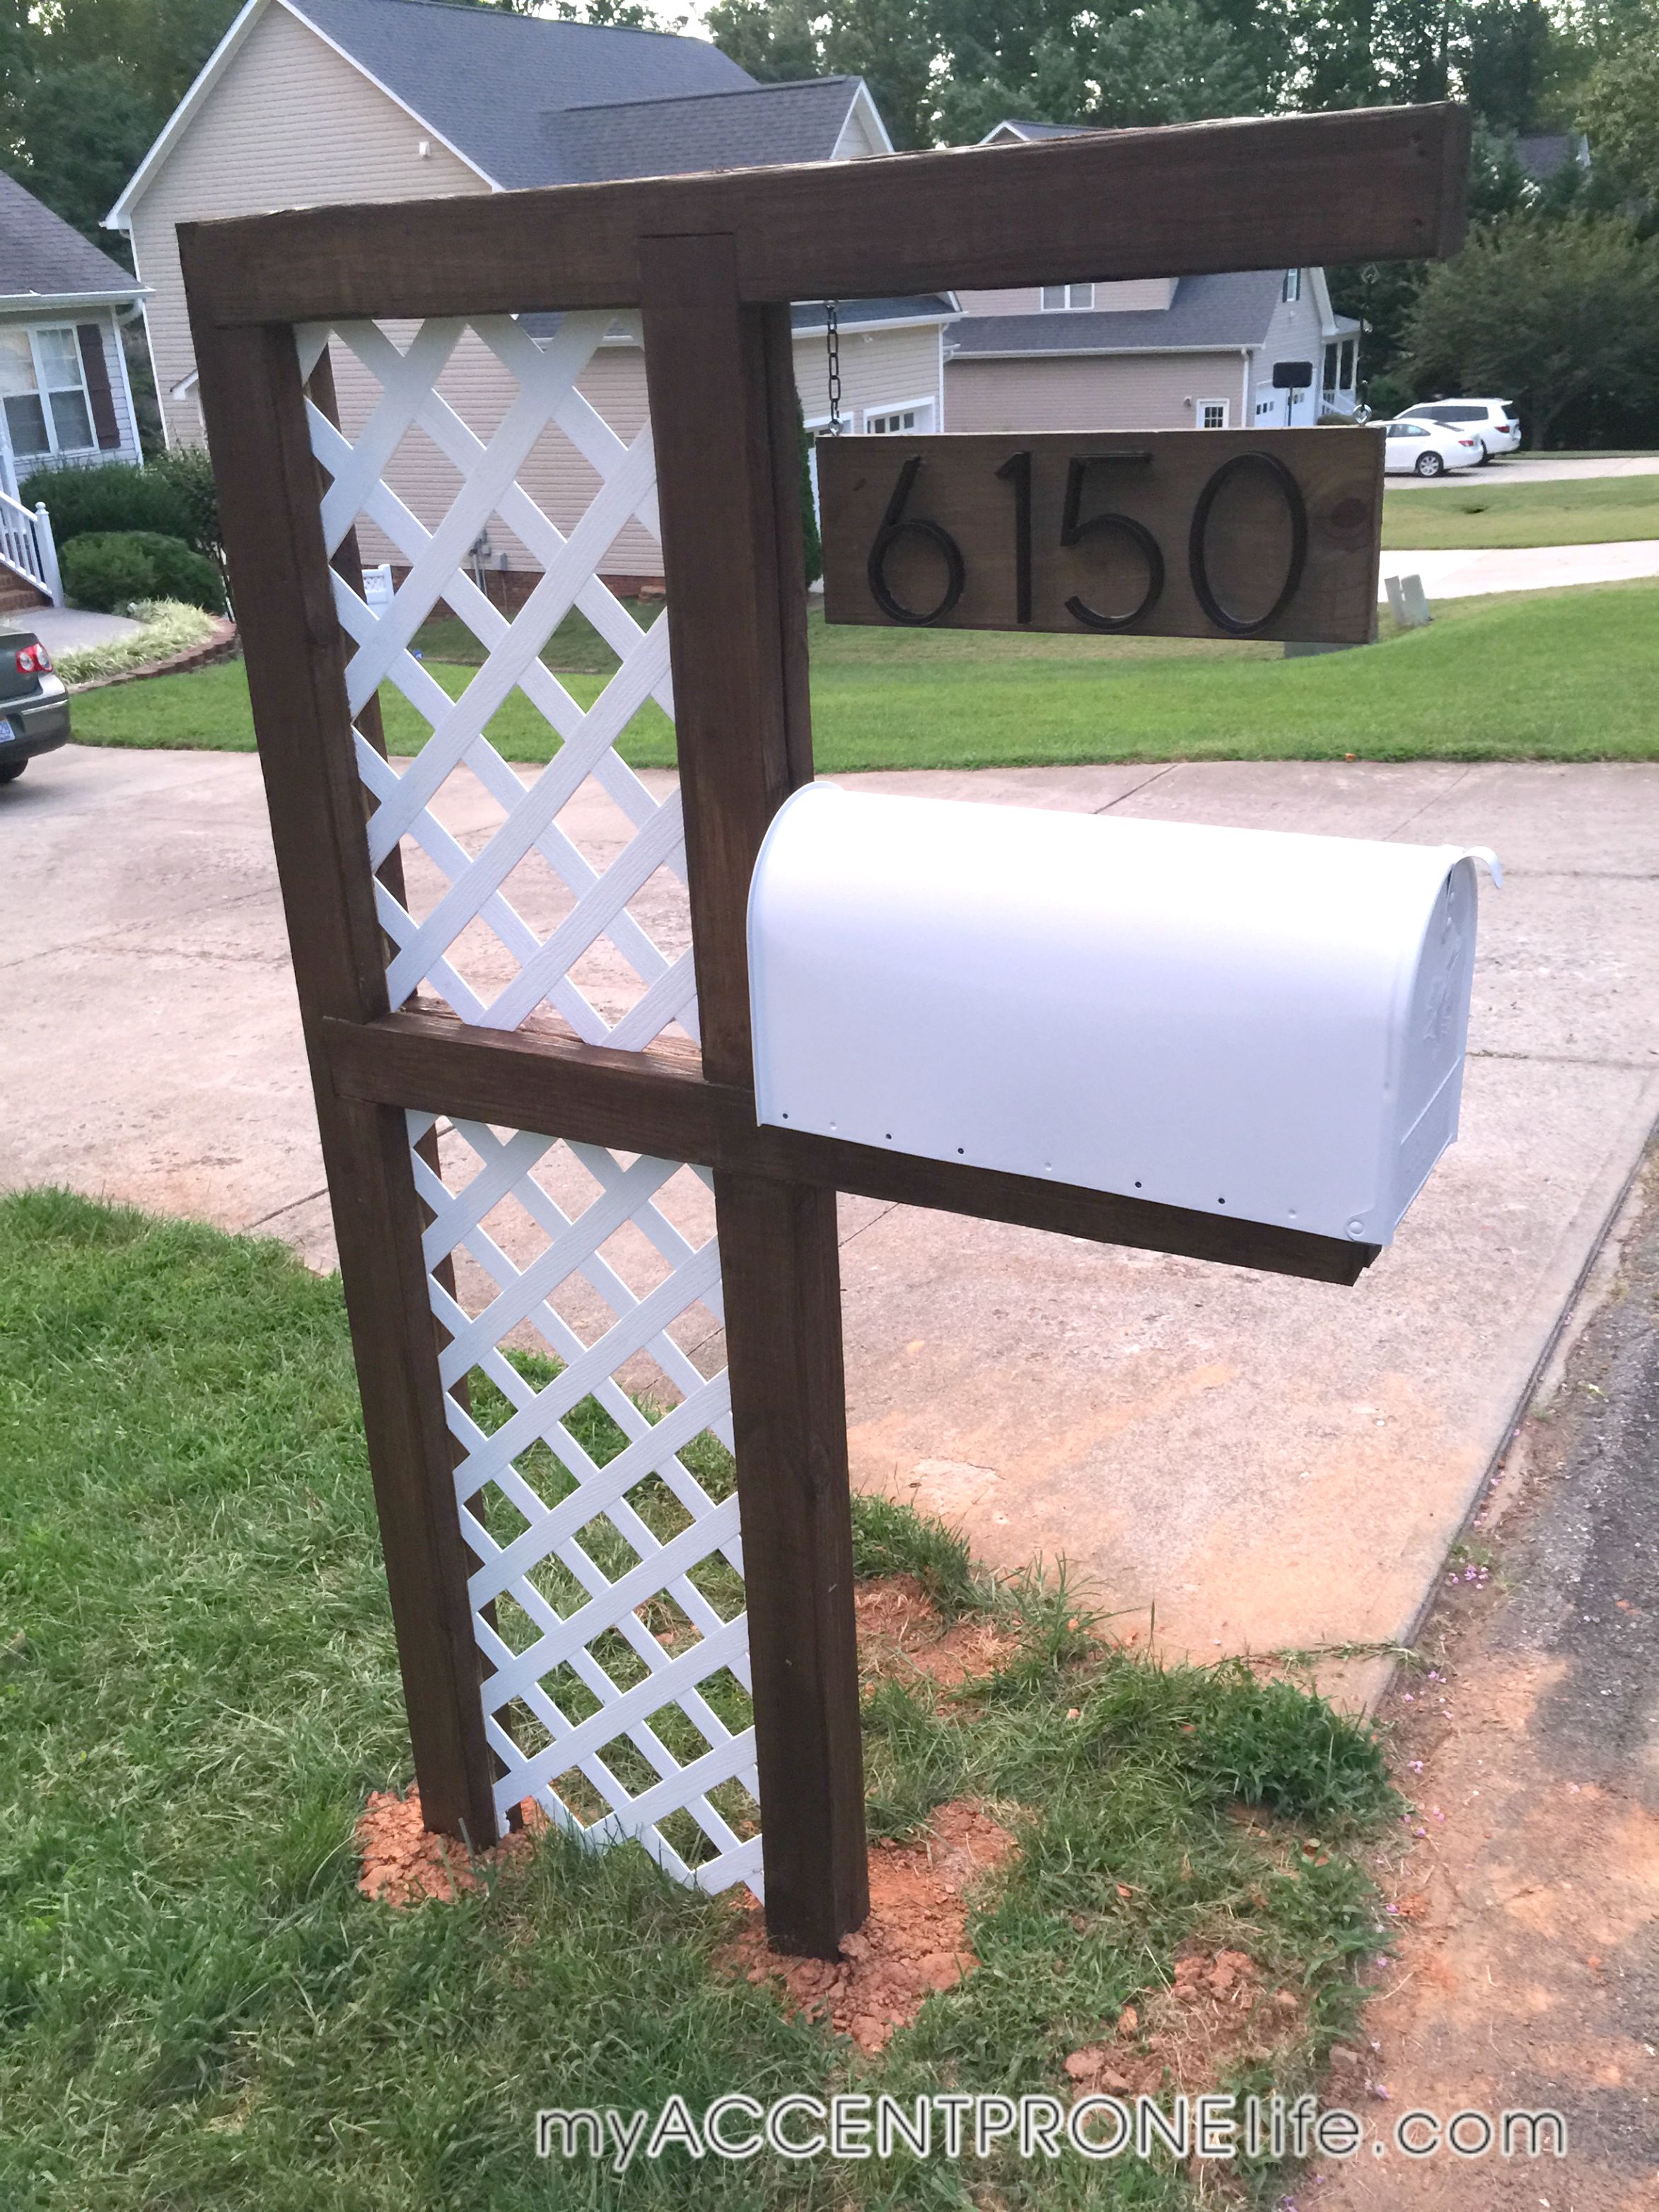
We chose to go with a more contemporary design, but added white lattice in between to make it a little more traditional, and to tie in our lattice fence in the background.
This mailbox consists of 2 sides with lattice in between, therefore, cutting boards in steps 1-7 will need to be done twice.
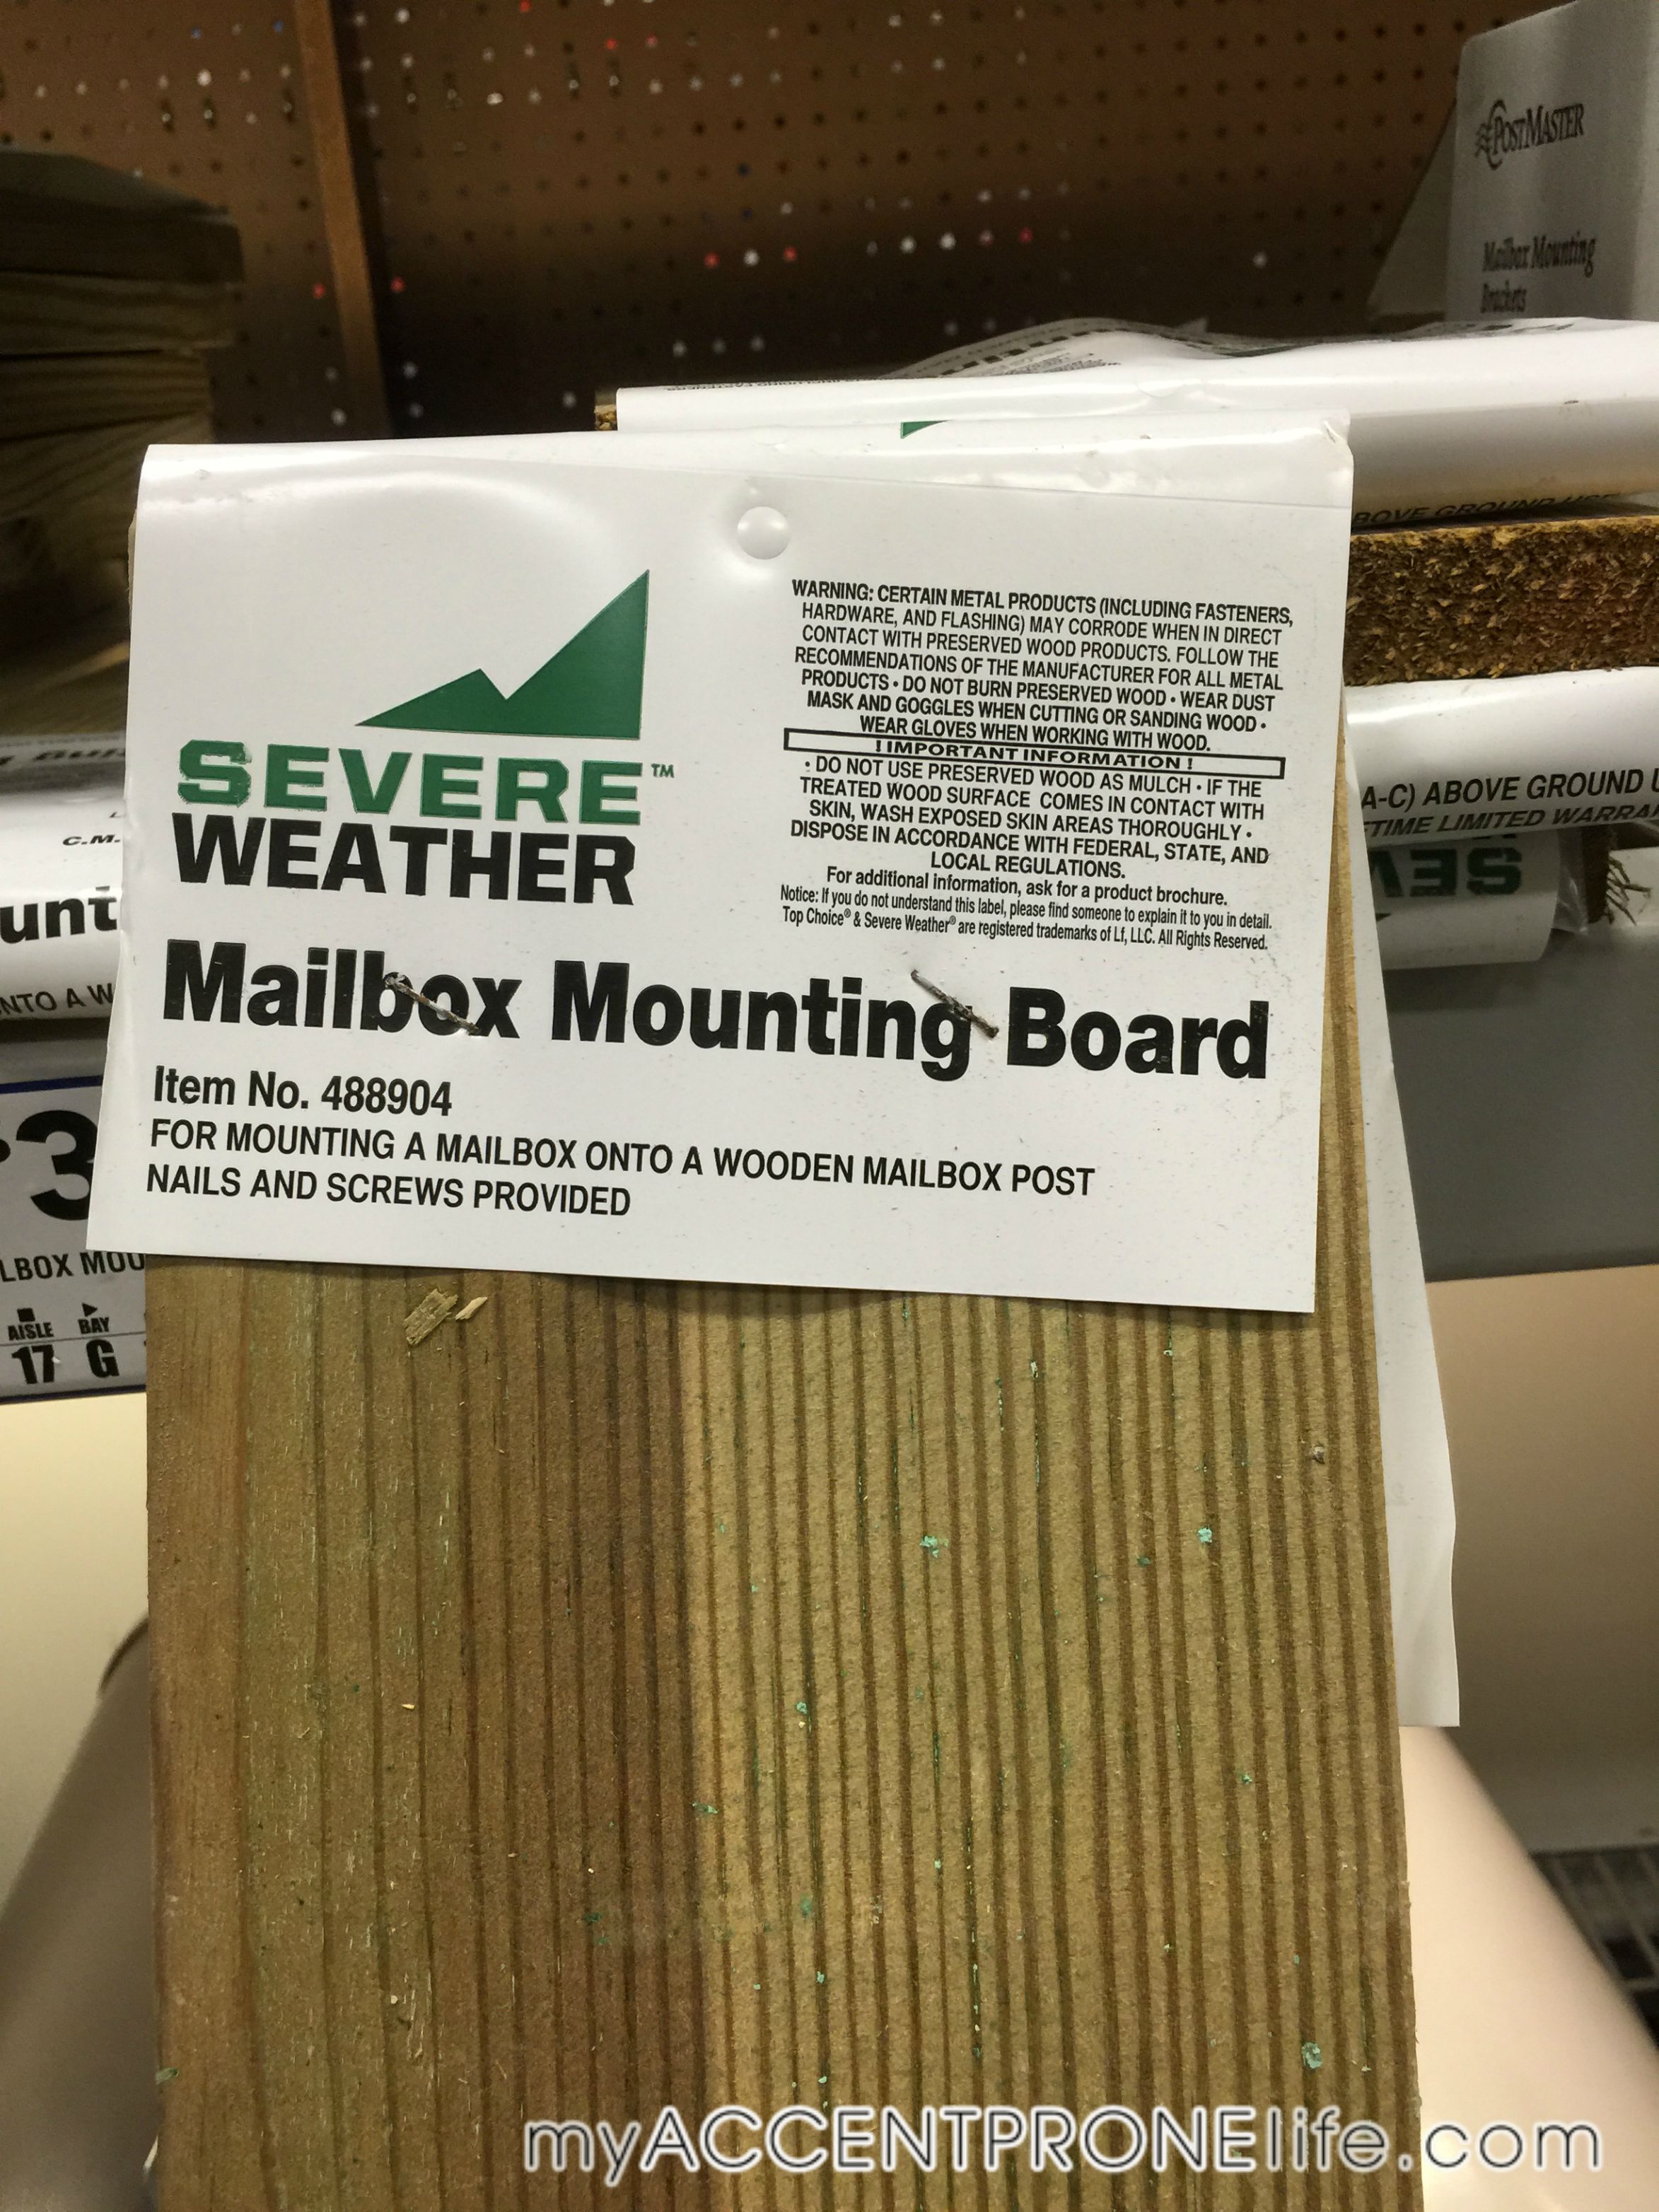
Materials needed: (8) 2x4x8 treated lumber boards. 1 Strip of lattice in 2ftx8ft. 2 mailbox mount boards. 1 classic postmaster mailbox. Walnut Deck Stain. 2 sets of Numbers. Chain and 4 eye hooks. Wood screws. Power Grab Silicon.
All of the materials cost us around $120.
Tools Needed- pencil, speed square,safety goggles, tape measurer, brad nailer (optional for hammer), jig saw, circular saw (optional for hand saw), chop saw, pocket hole jig, post hole digger. The optional tools can be substituted for less expensive tools, but the optional tools will make the job easier.
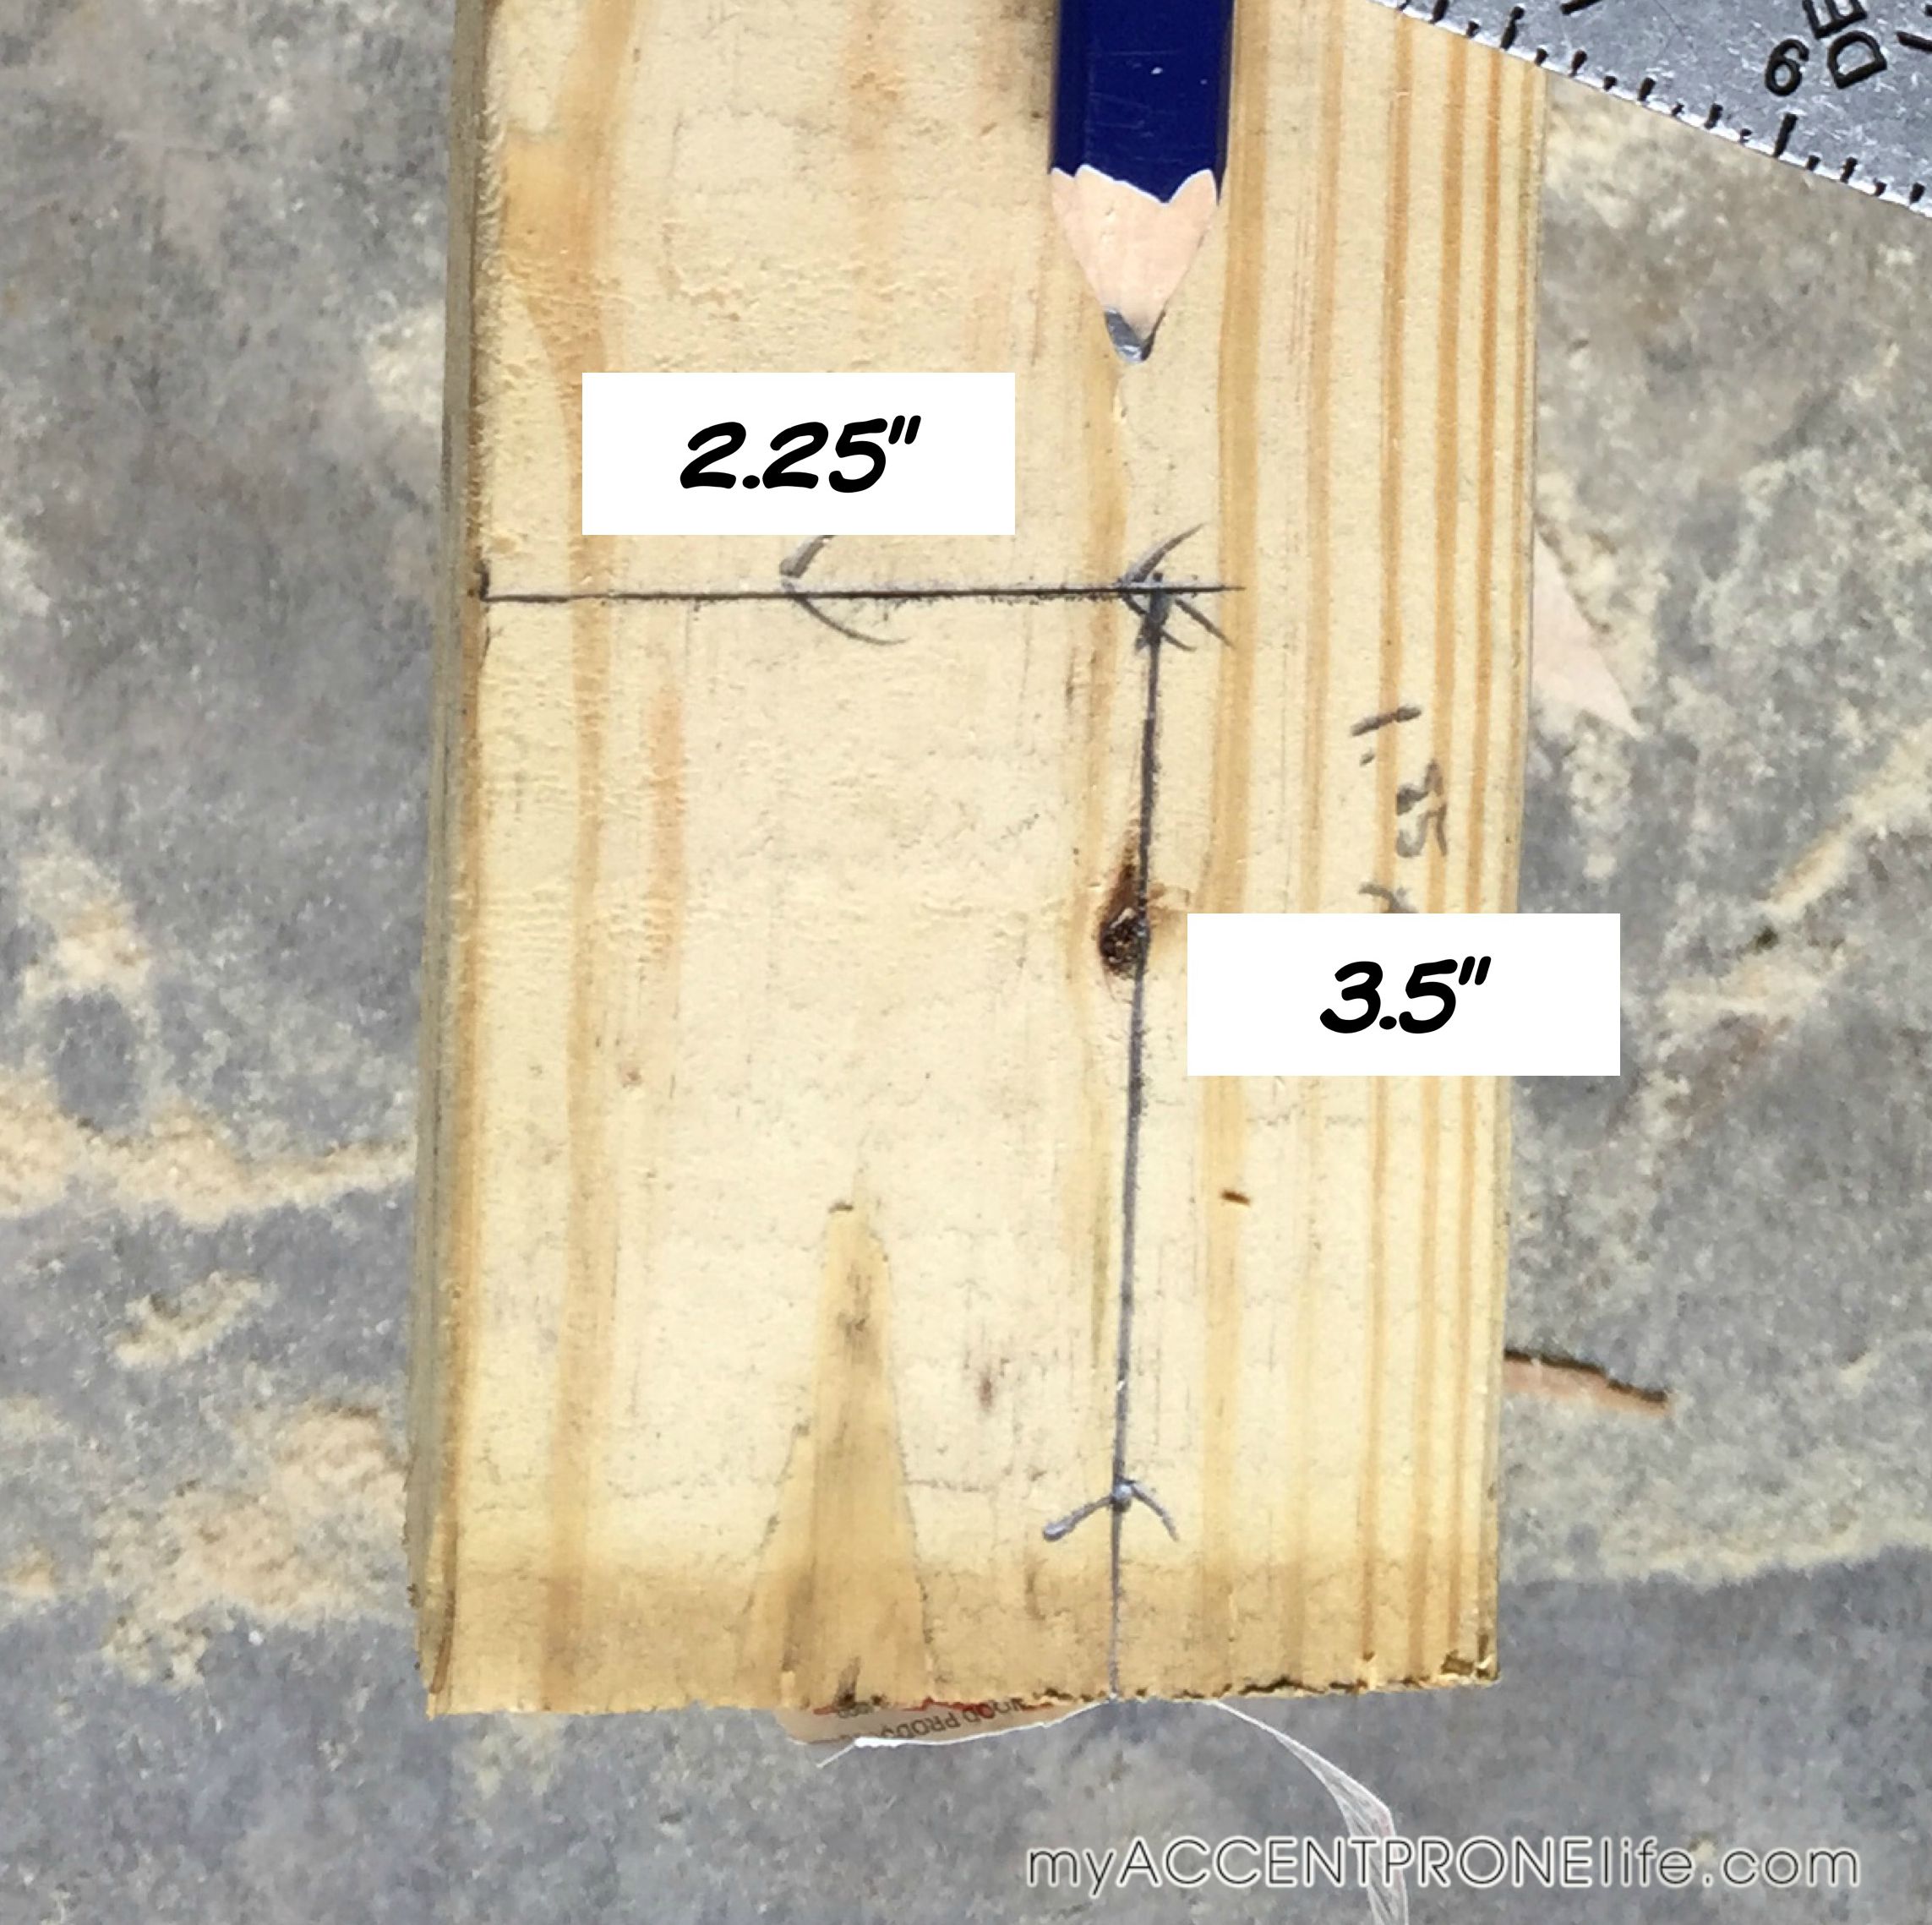
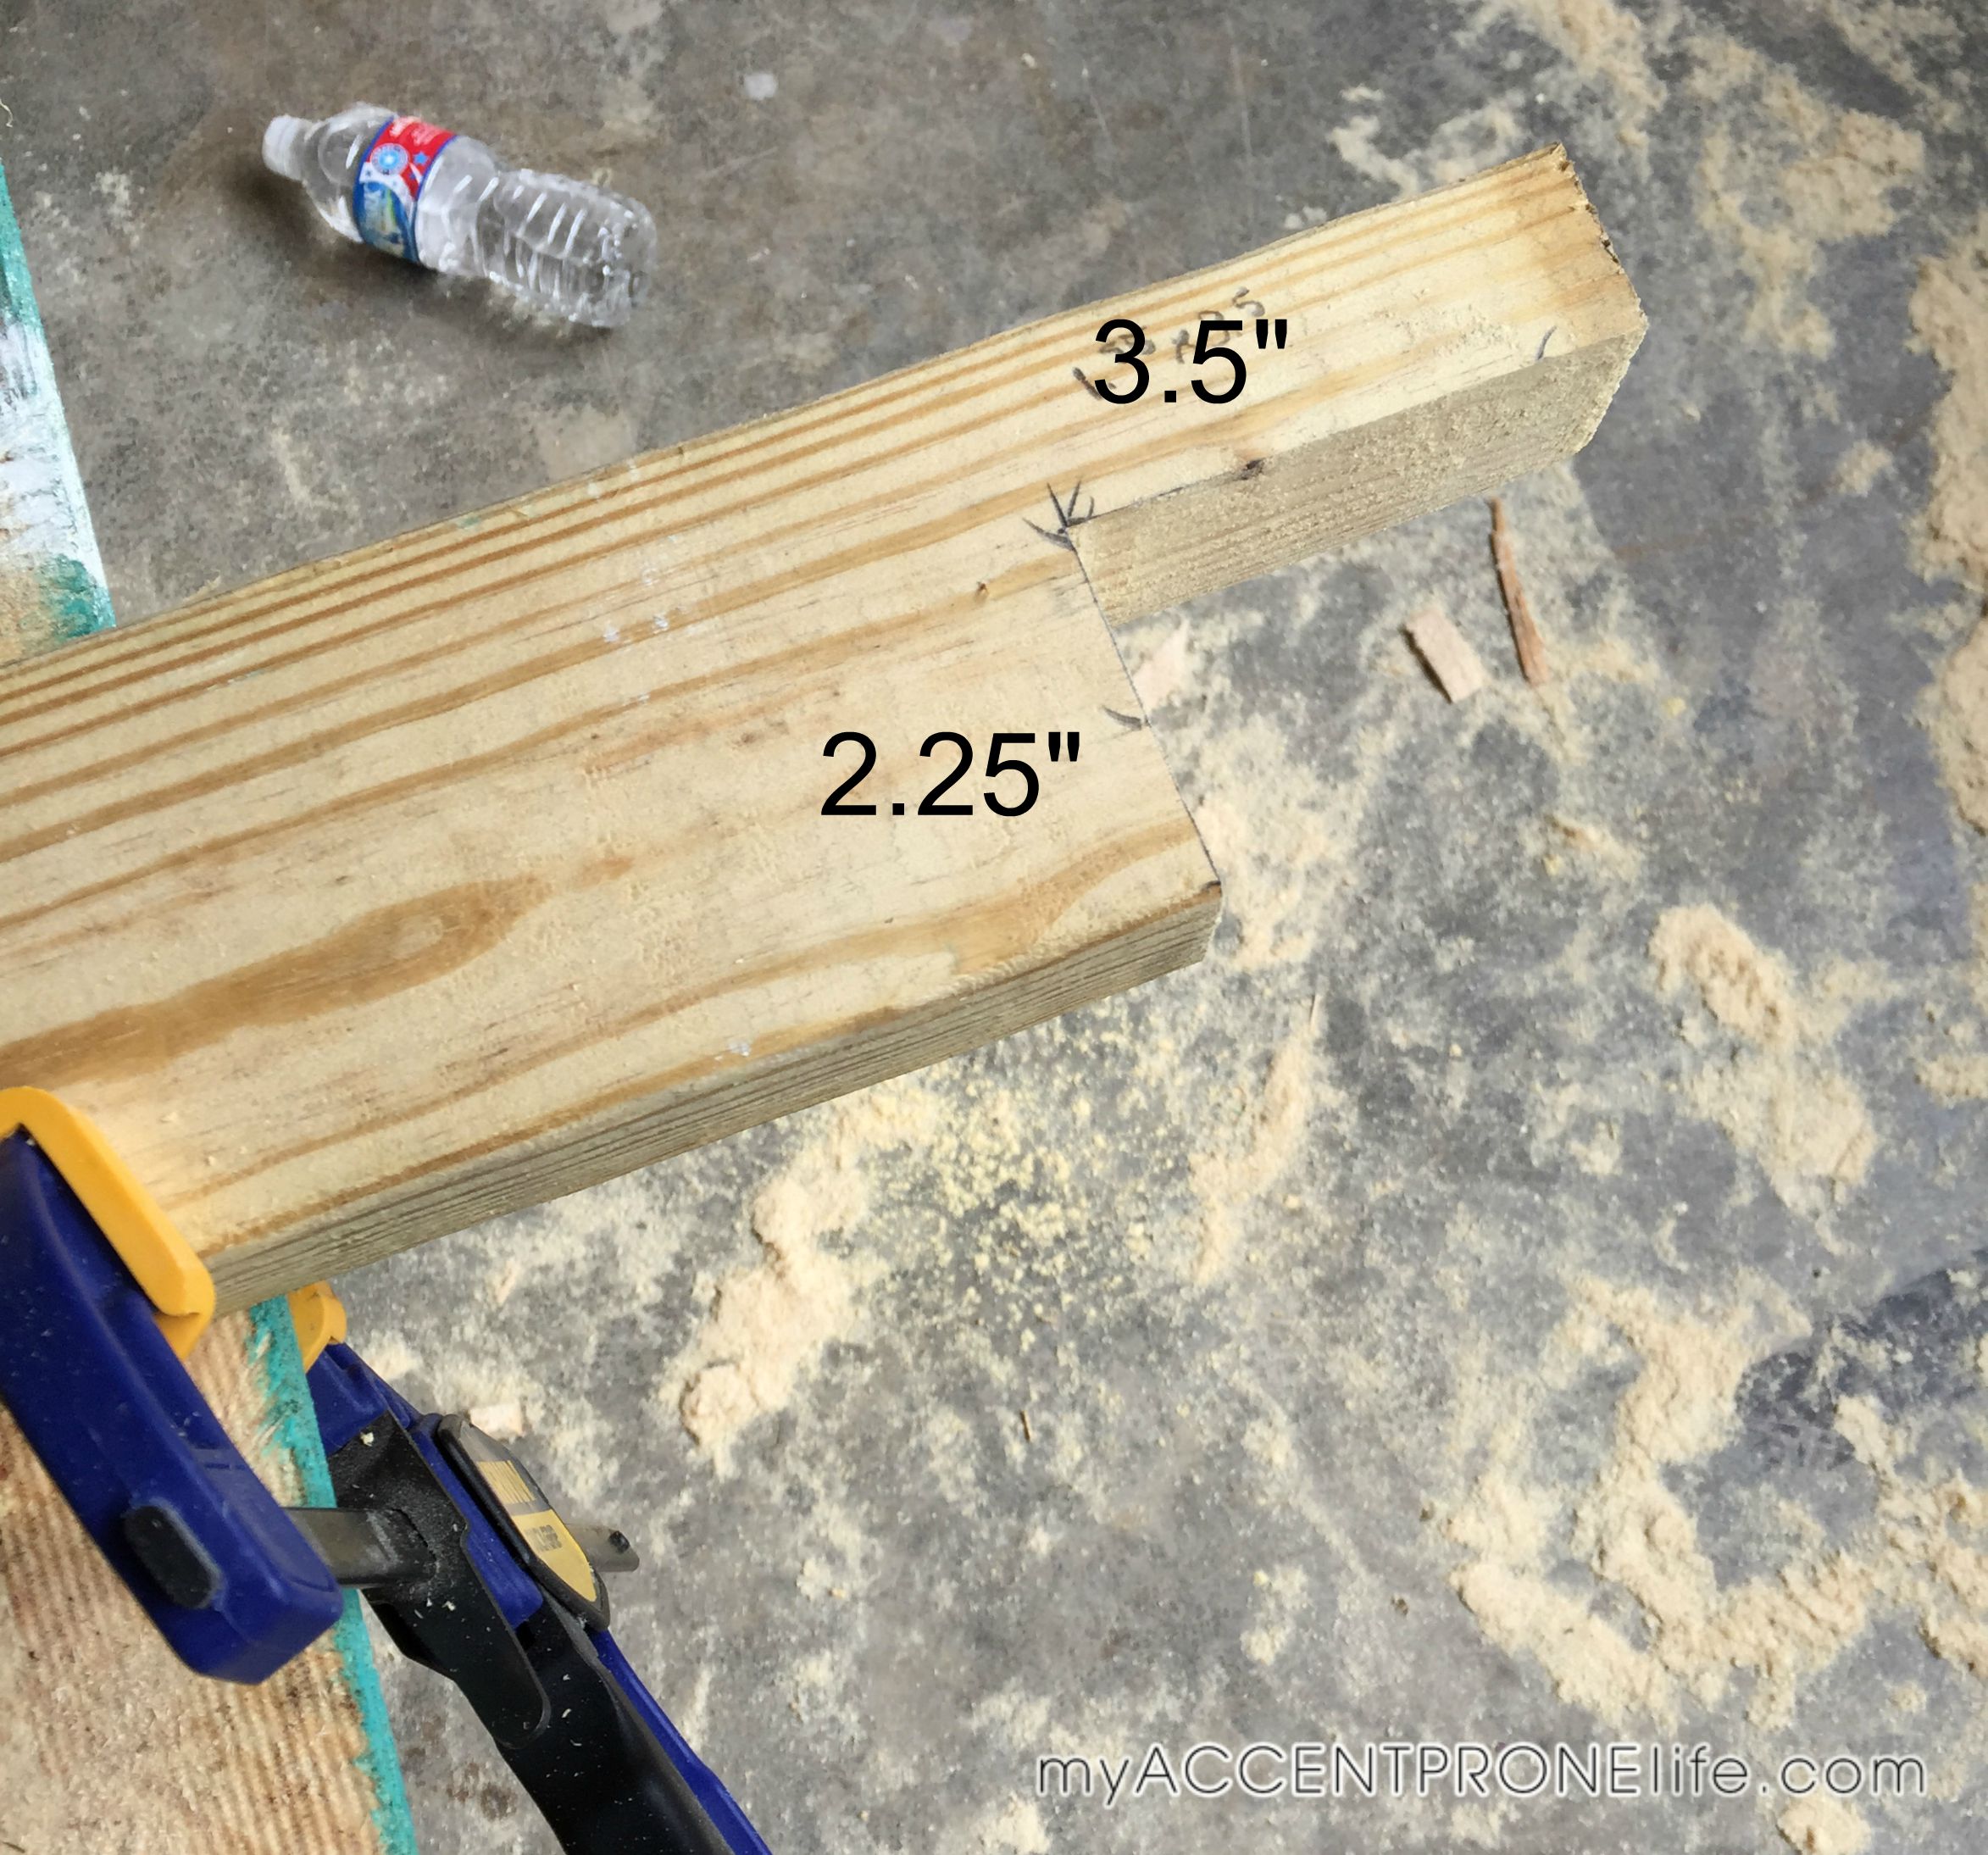
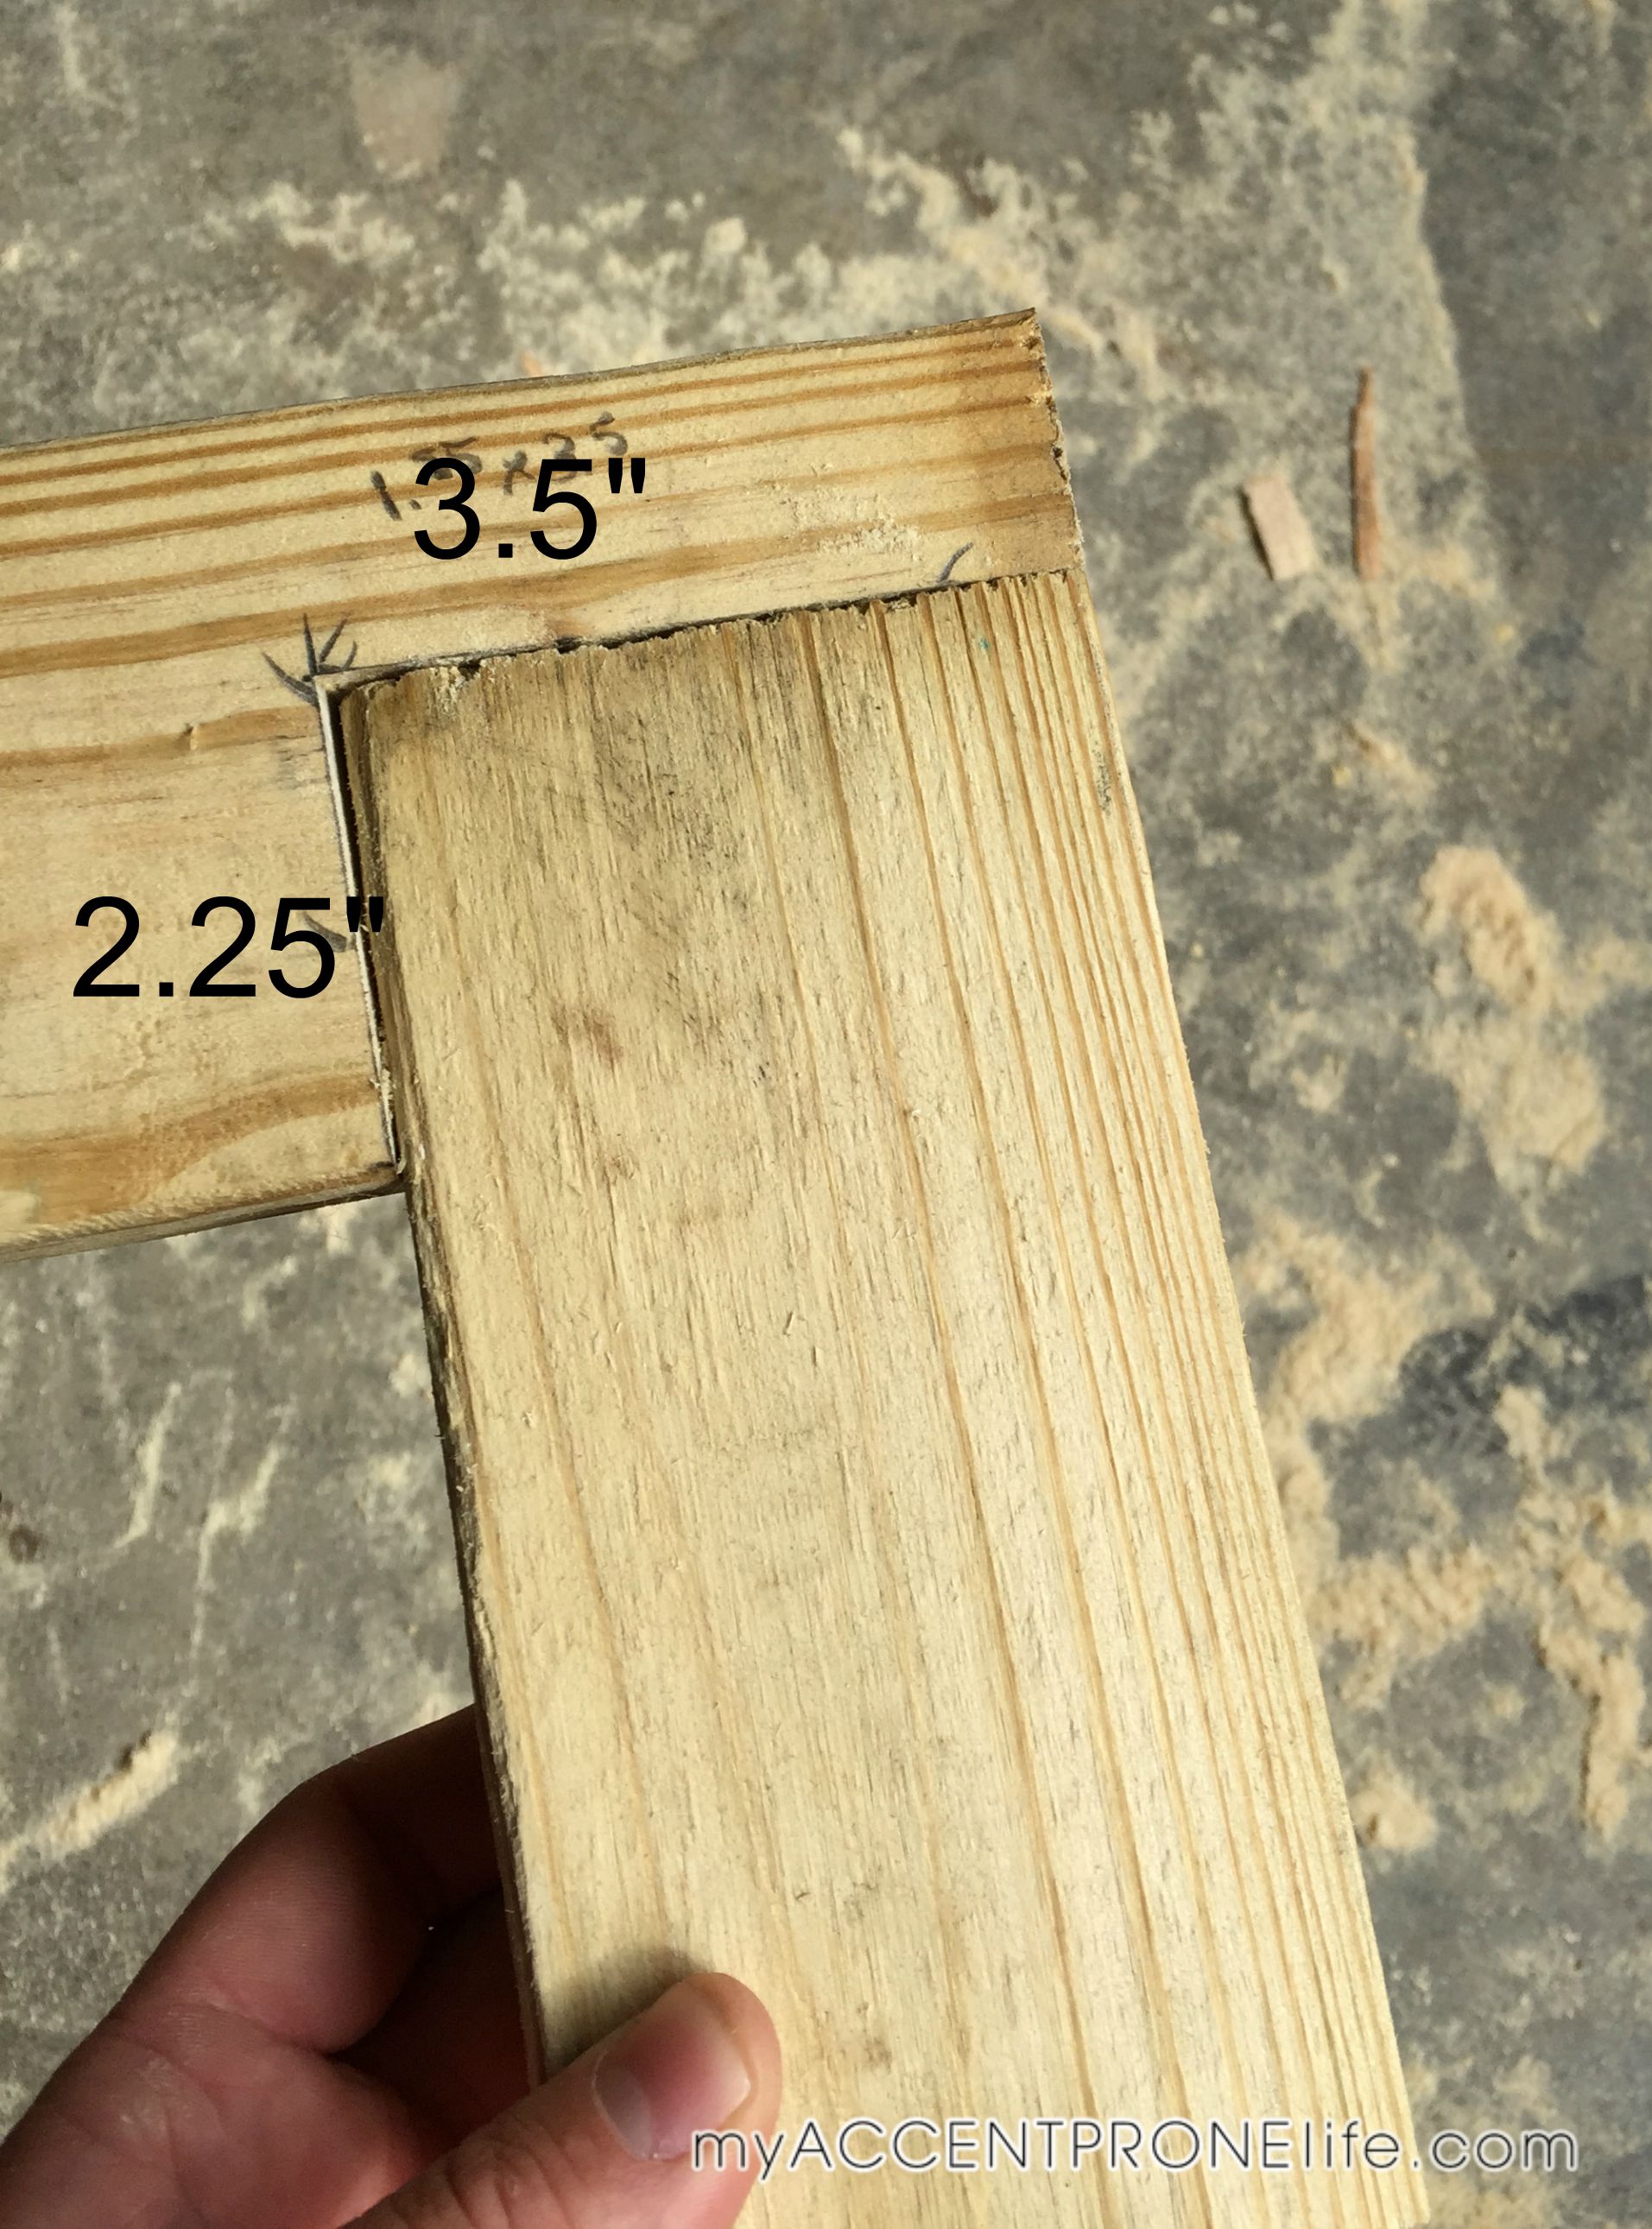
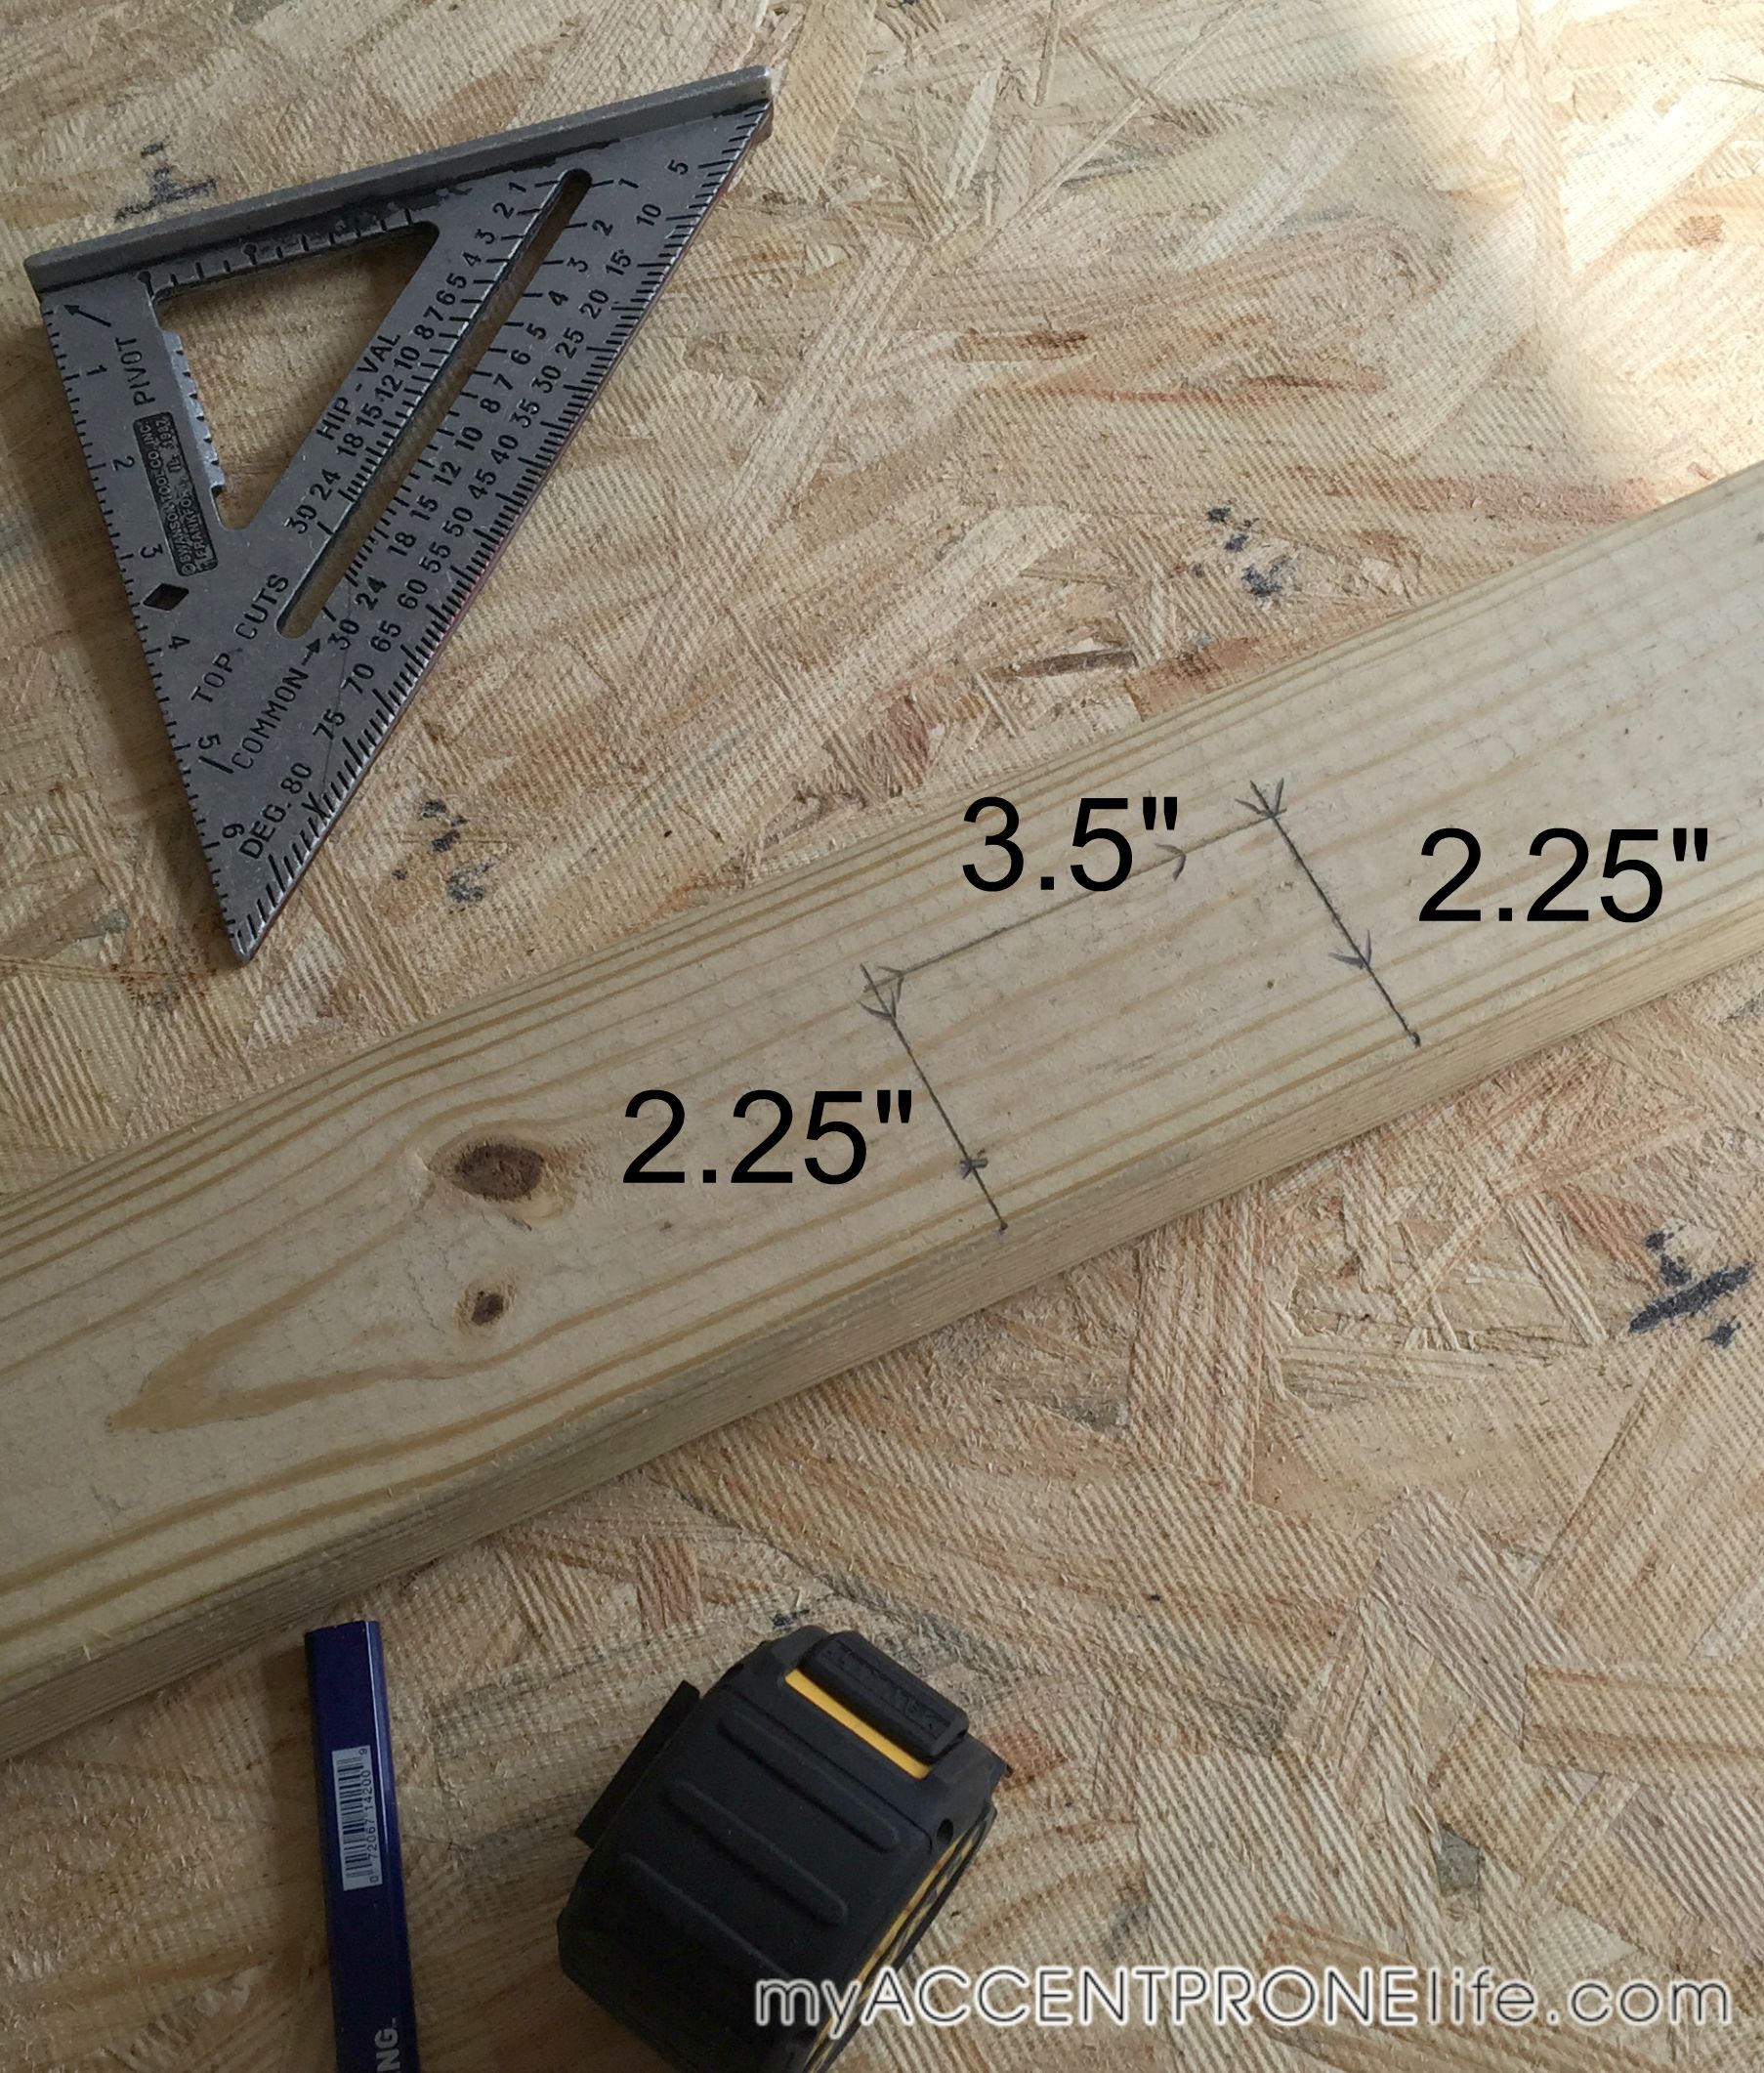
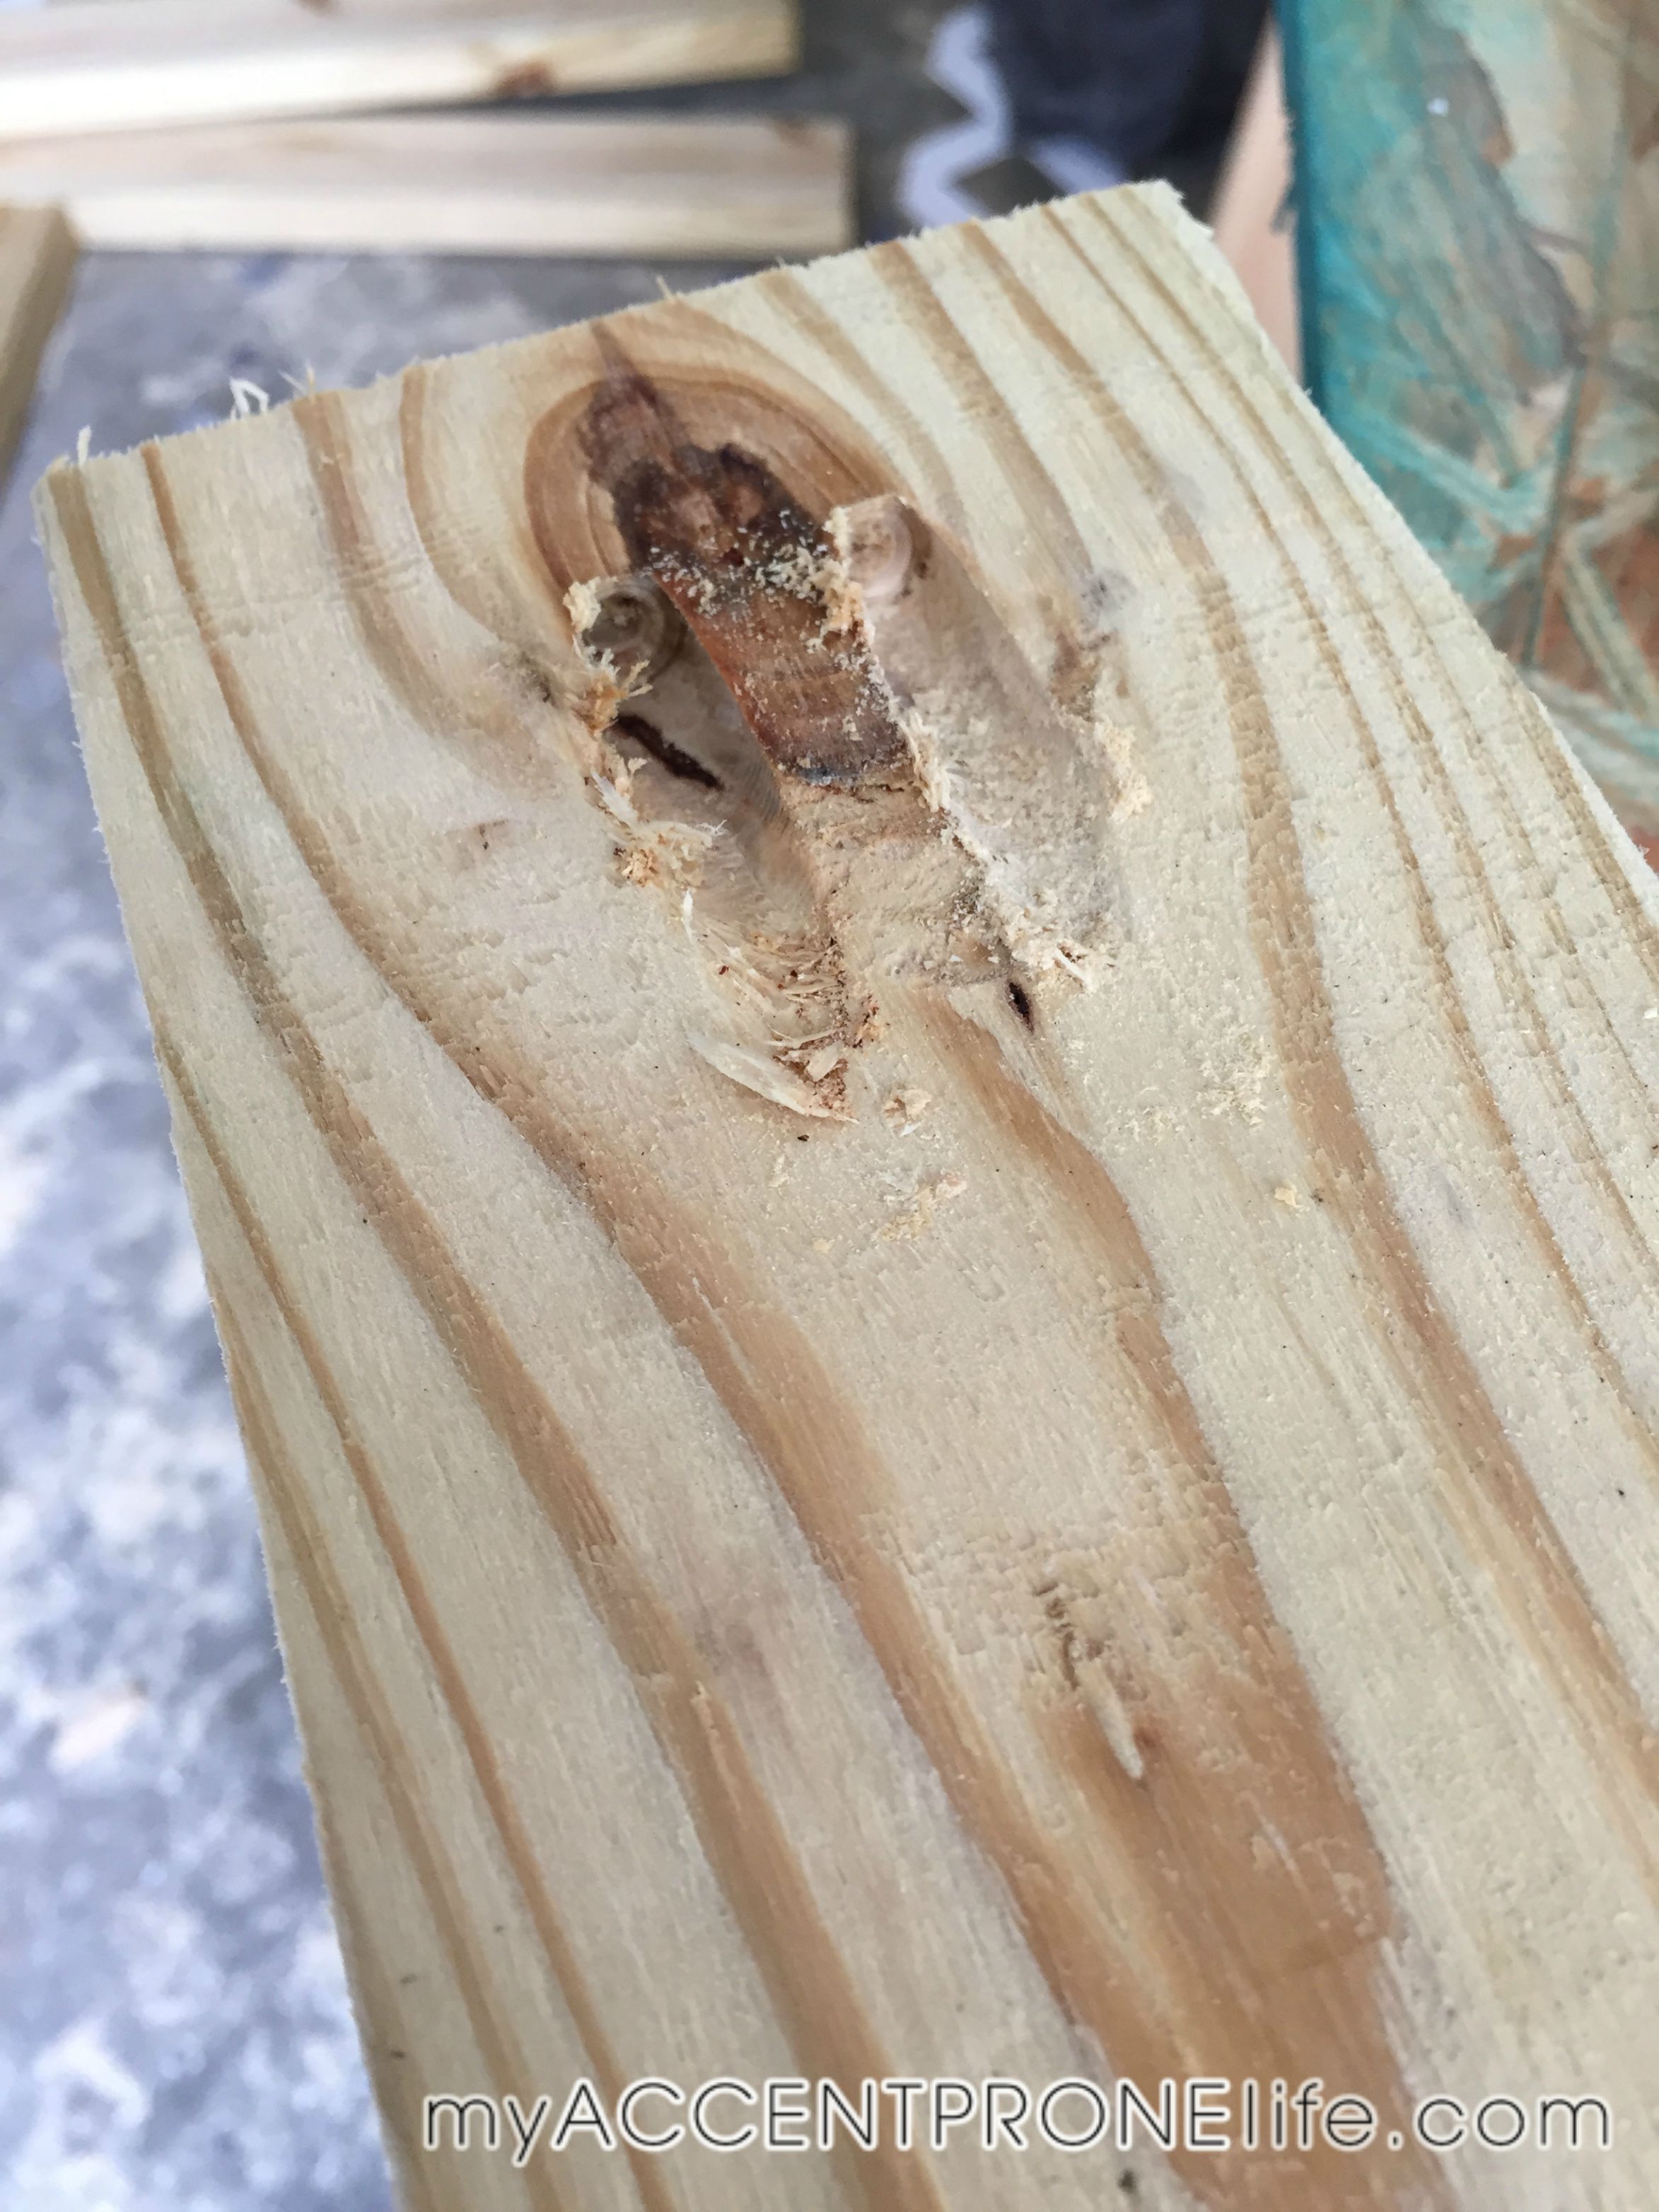
Step 1- Using the chop saw, cut 6″ off of 2 of the 8 ft boards which will become the backposts. Take these 2 boards and use a jigsaw to cut notches out of each of them. At the top of the post you will want to measure out a 3.5 high x 2.25 wide rectangle. This notch will be used for holding the top horizontal post. This needs to be done to both of the backposts, which will be connected later on.
(the picture above shows why you are cutting out the notch, and how the top post will fit into the back post.)
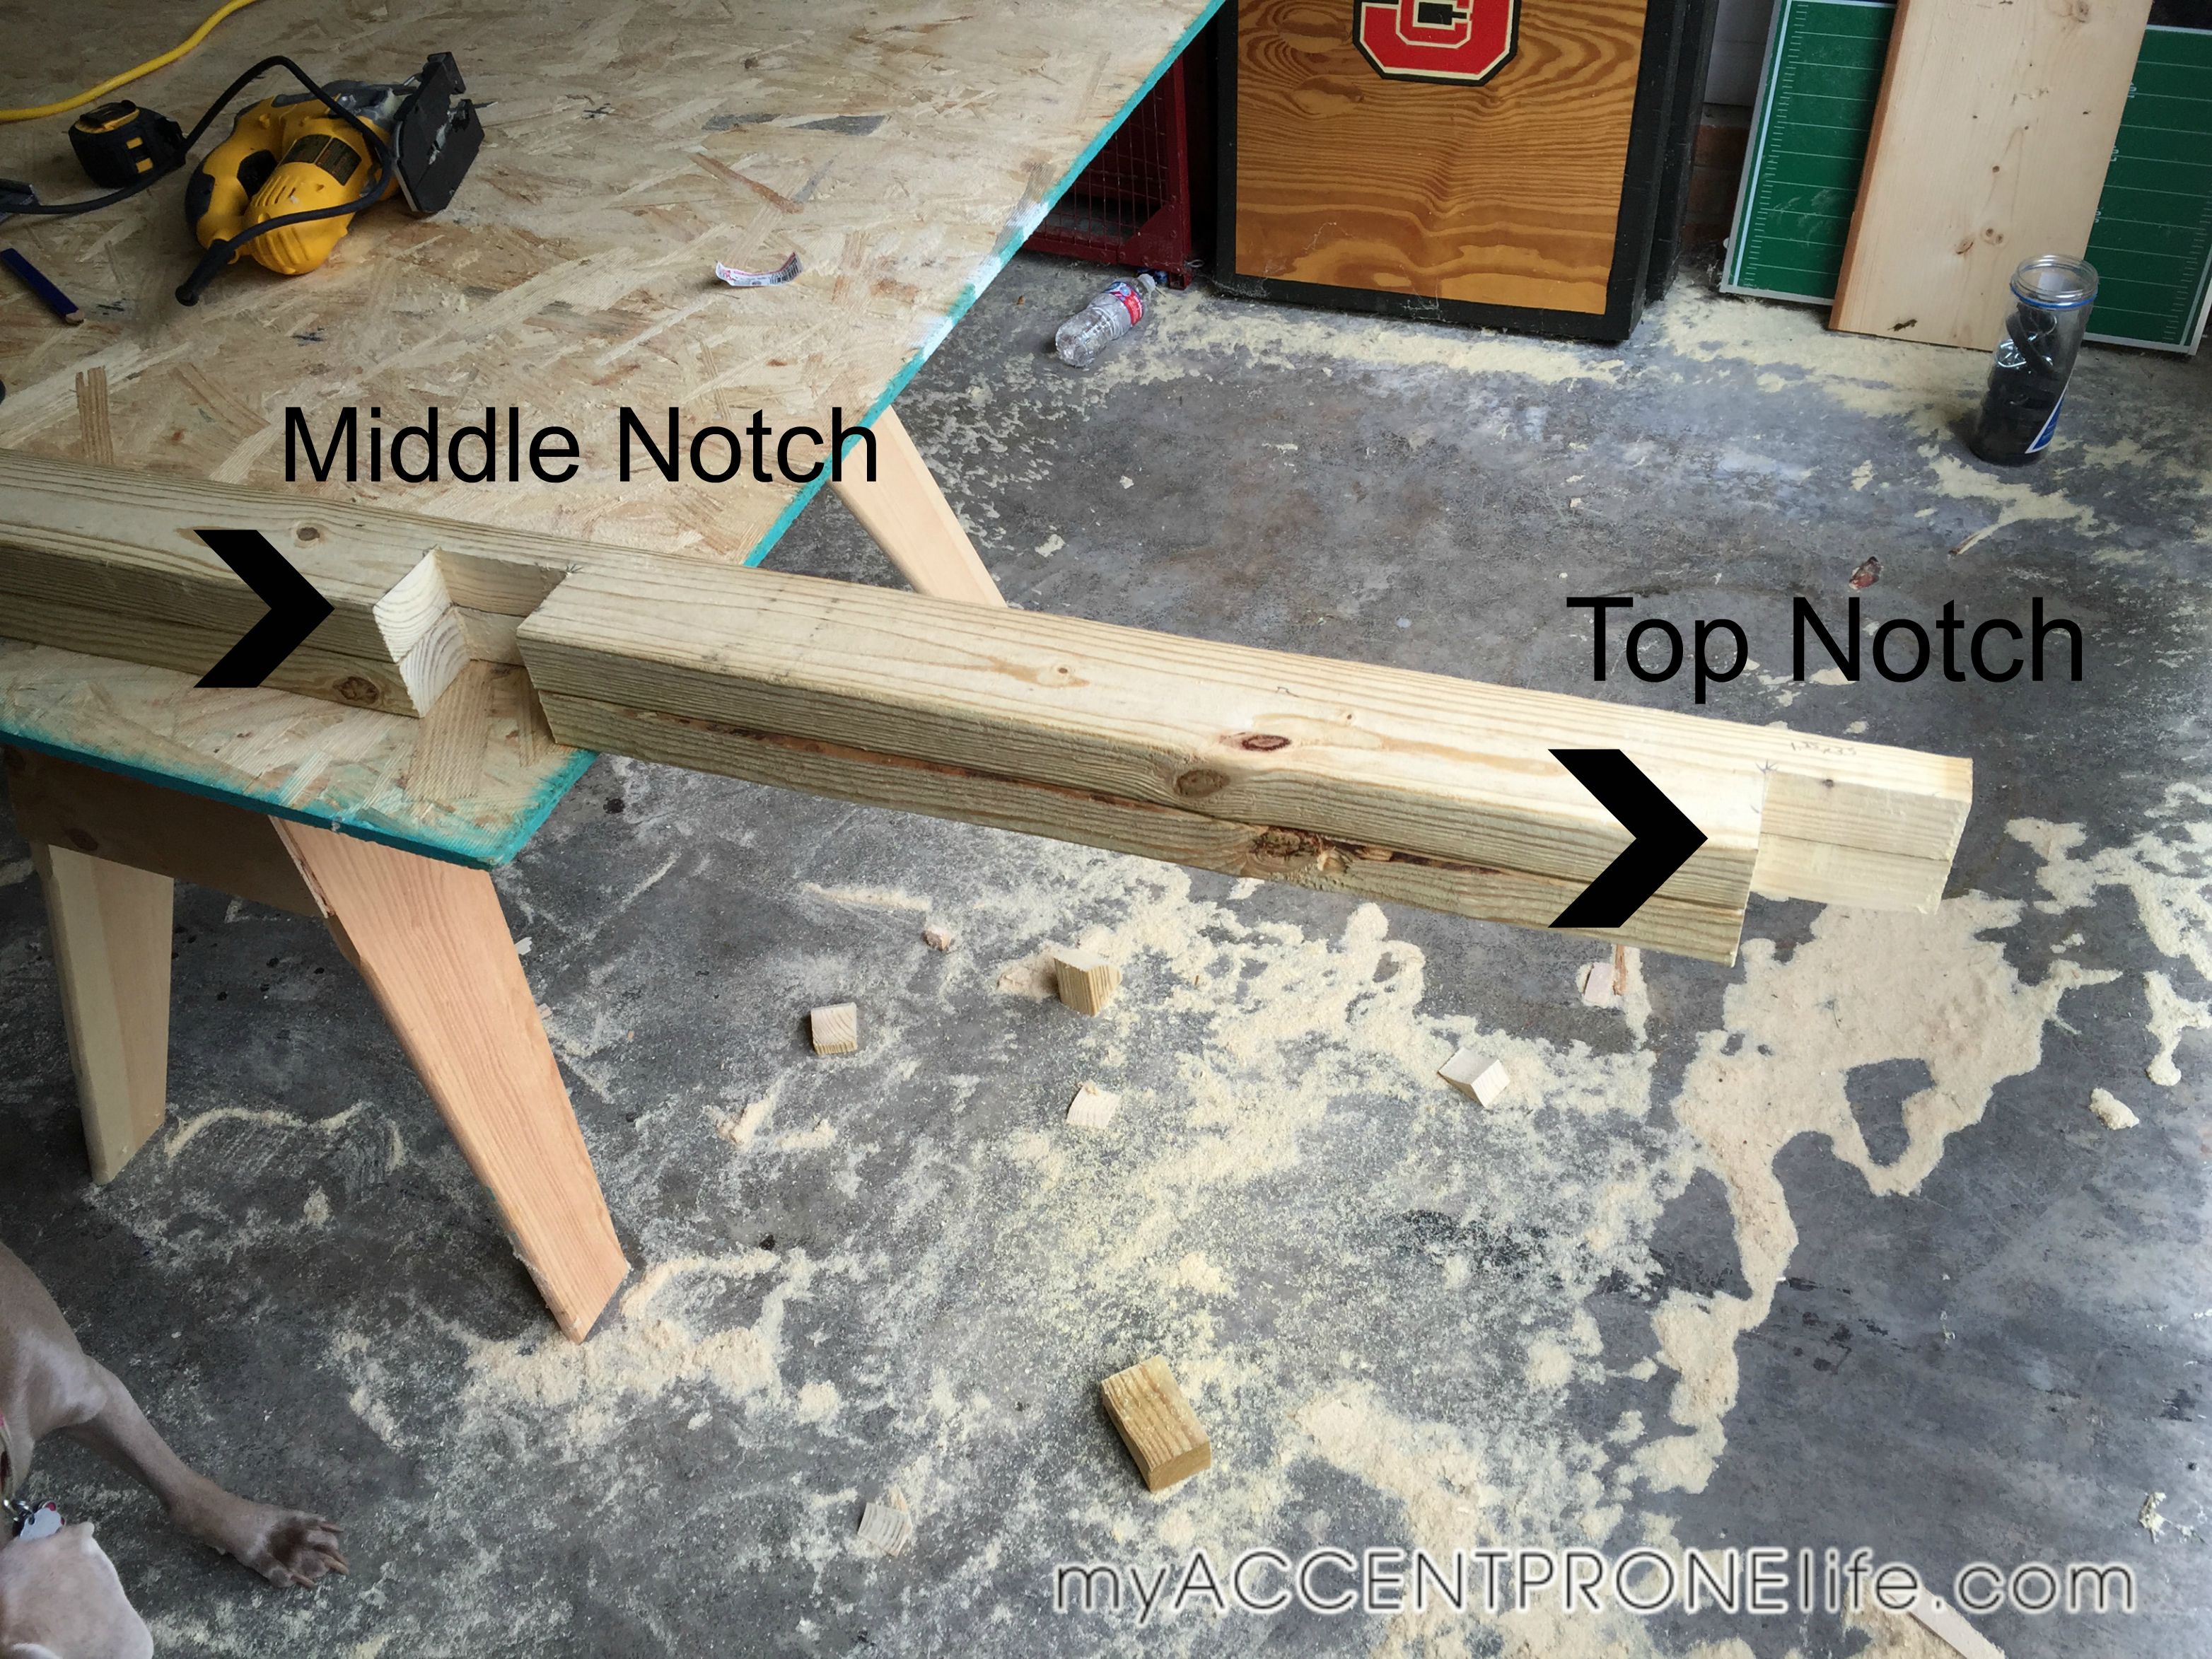
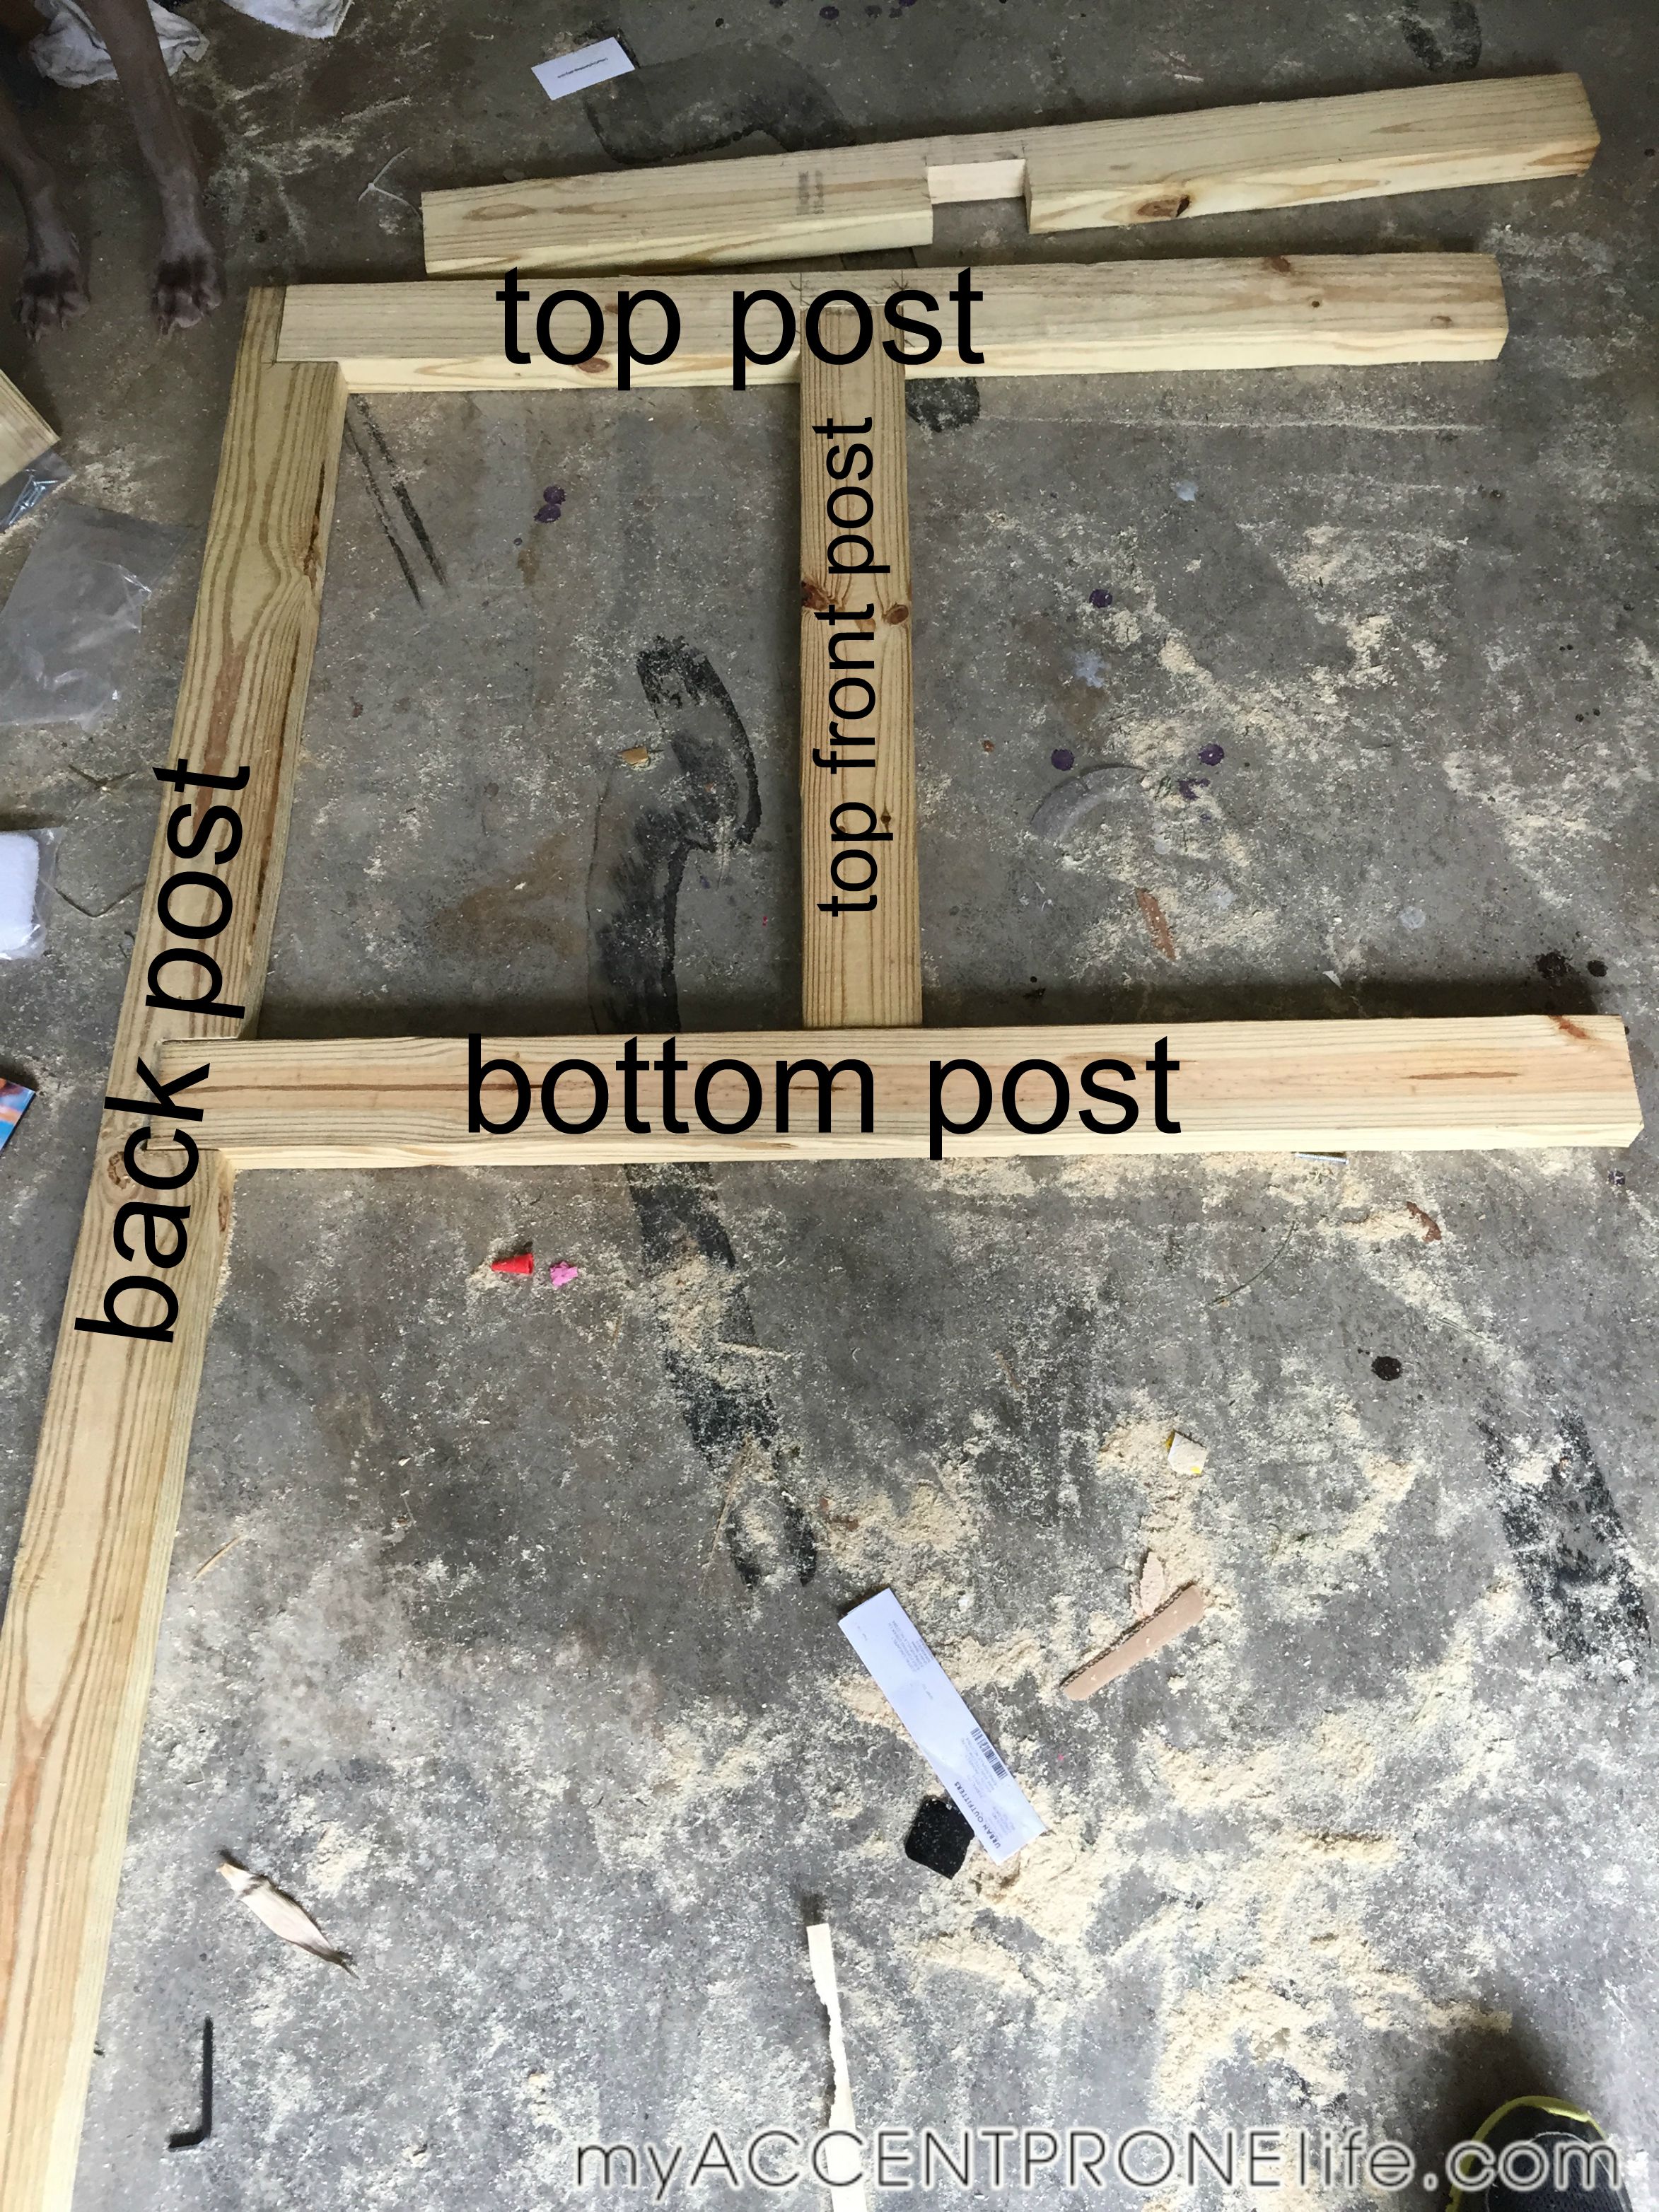
Step 2- Cut the middle notches out of the same back posts. 29″ down from the top of the post, cut a 3.5″ down x 2.25″ wide notch. So you will start the notch at 29″ from the top of the post, down to 32.5″ from the top of the post. You will do this step twice on the 2 different boards from step 1.
(After completing steps 1 and 2, you should have 2 boards that line up with the same notches cut out as shown in the picture below.)
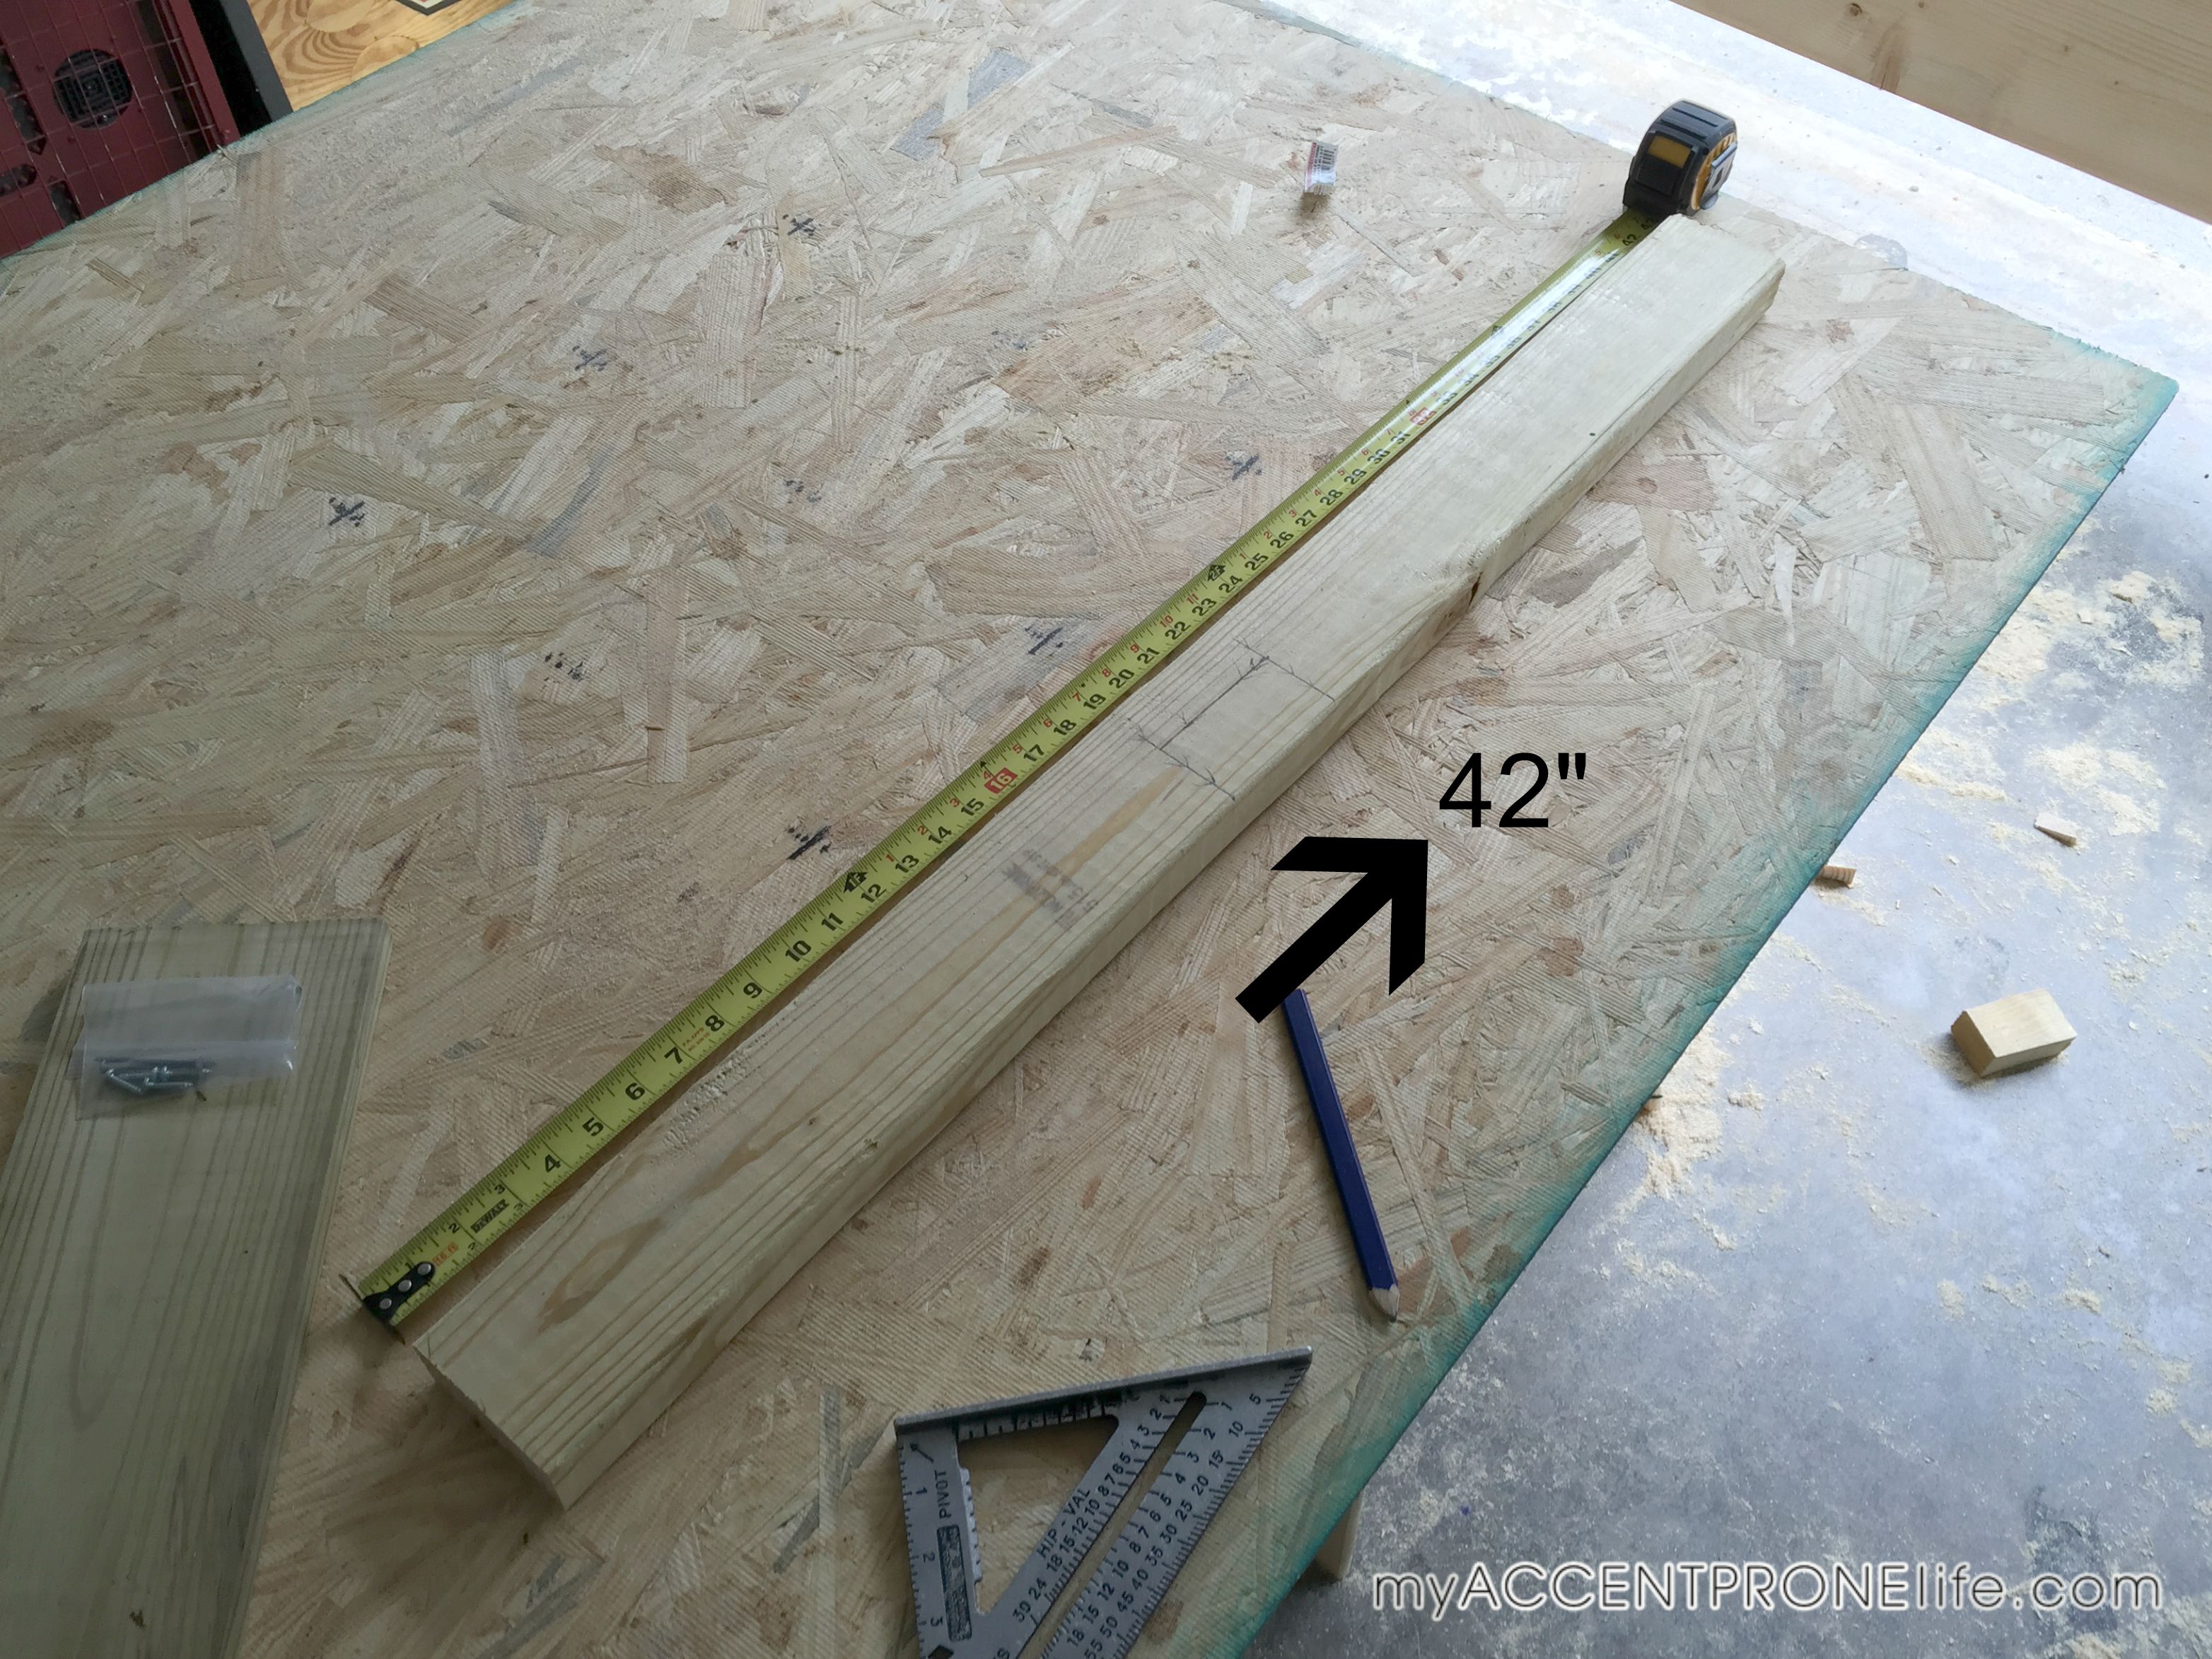
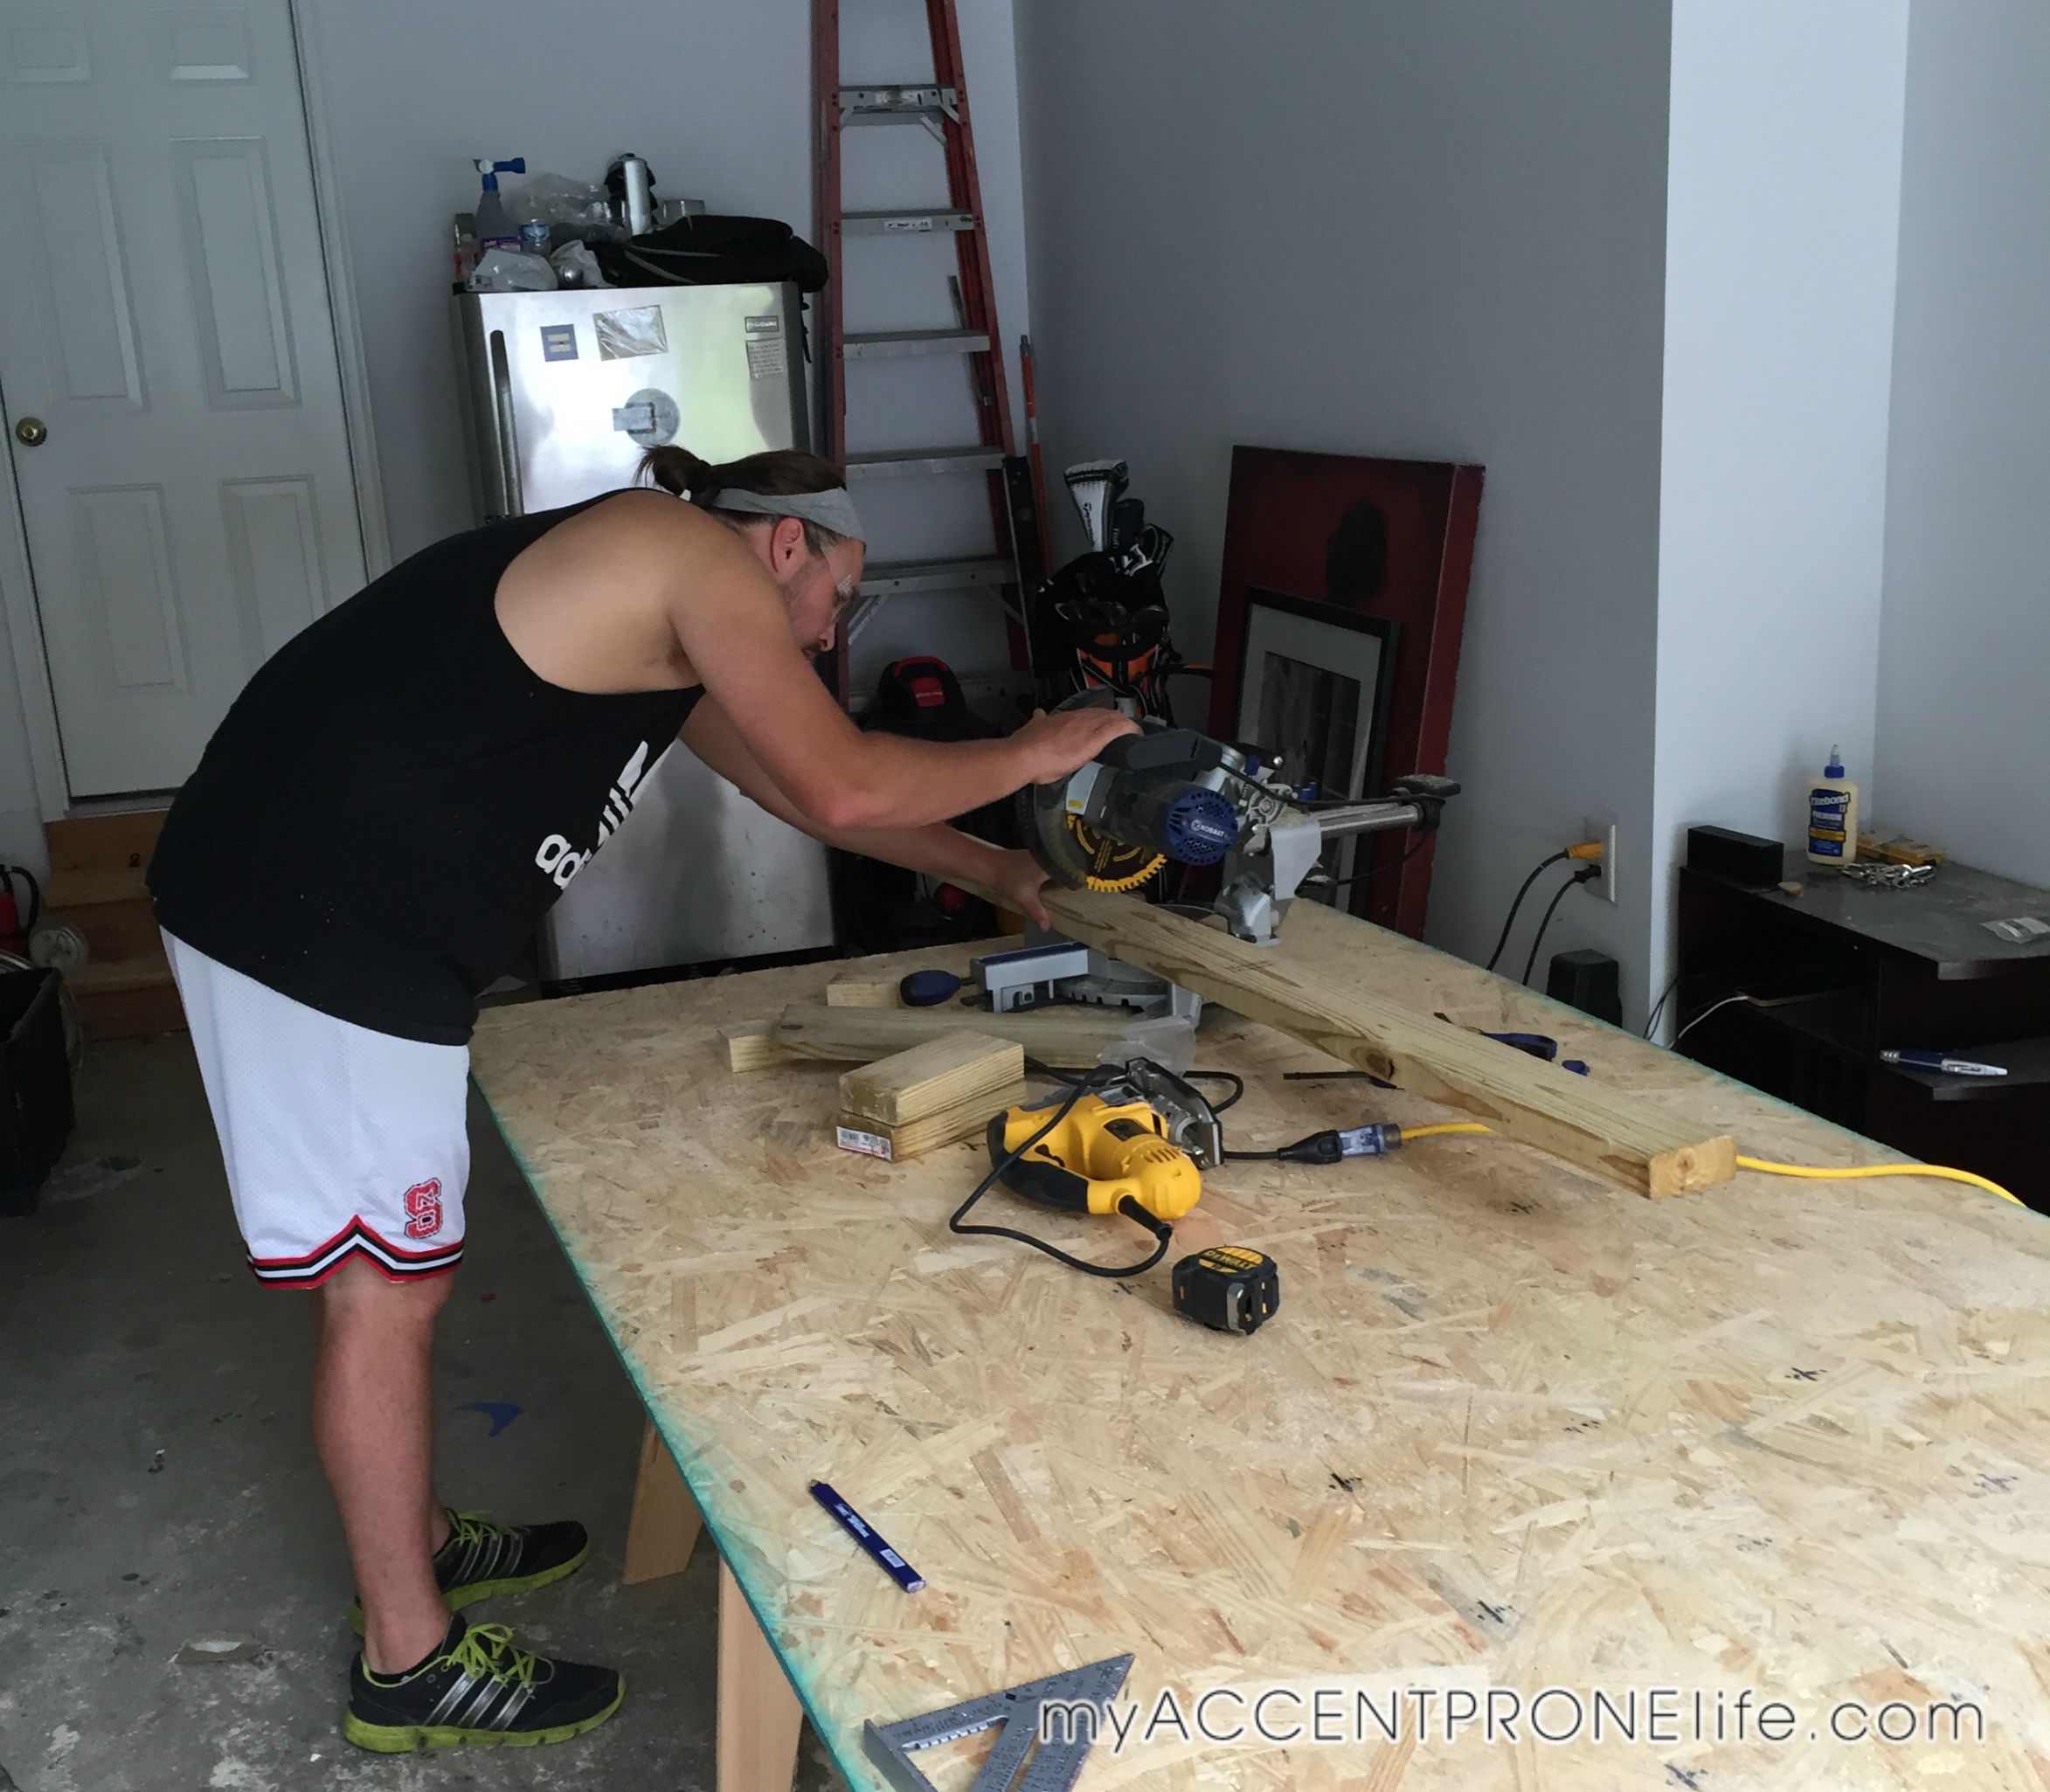
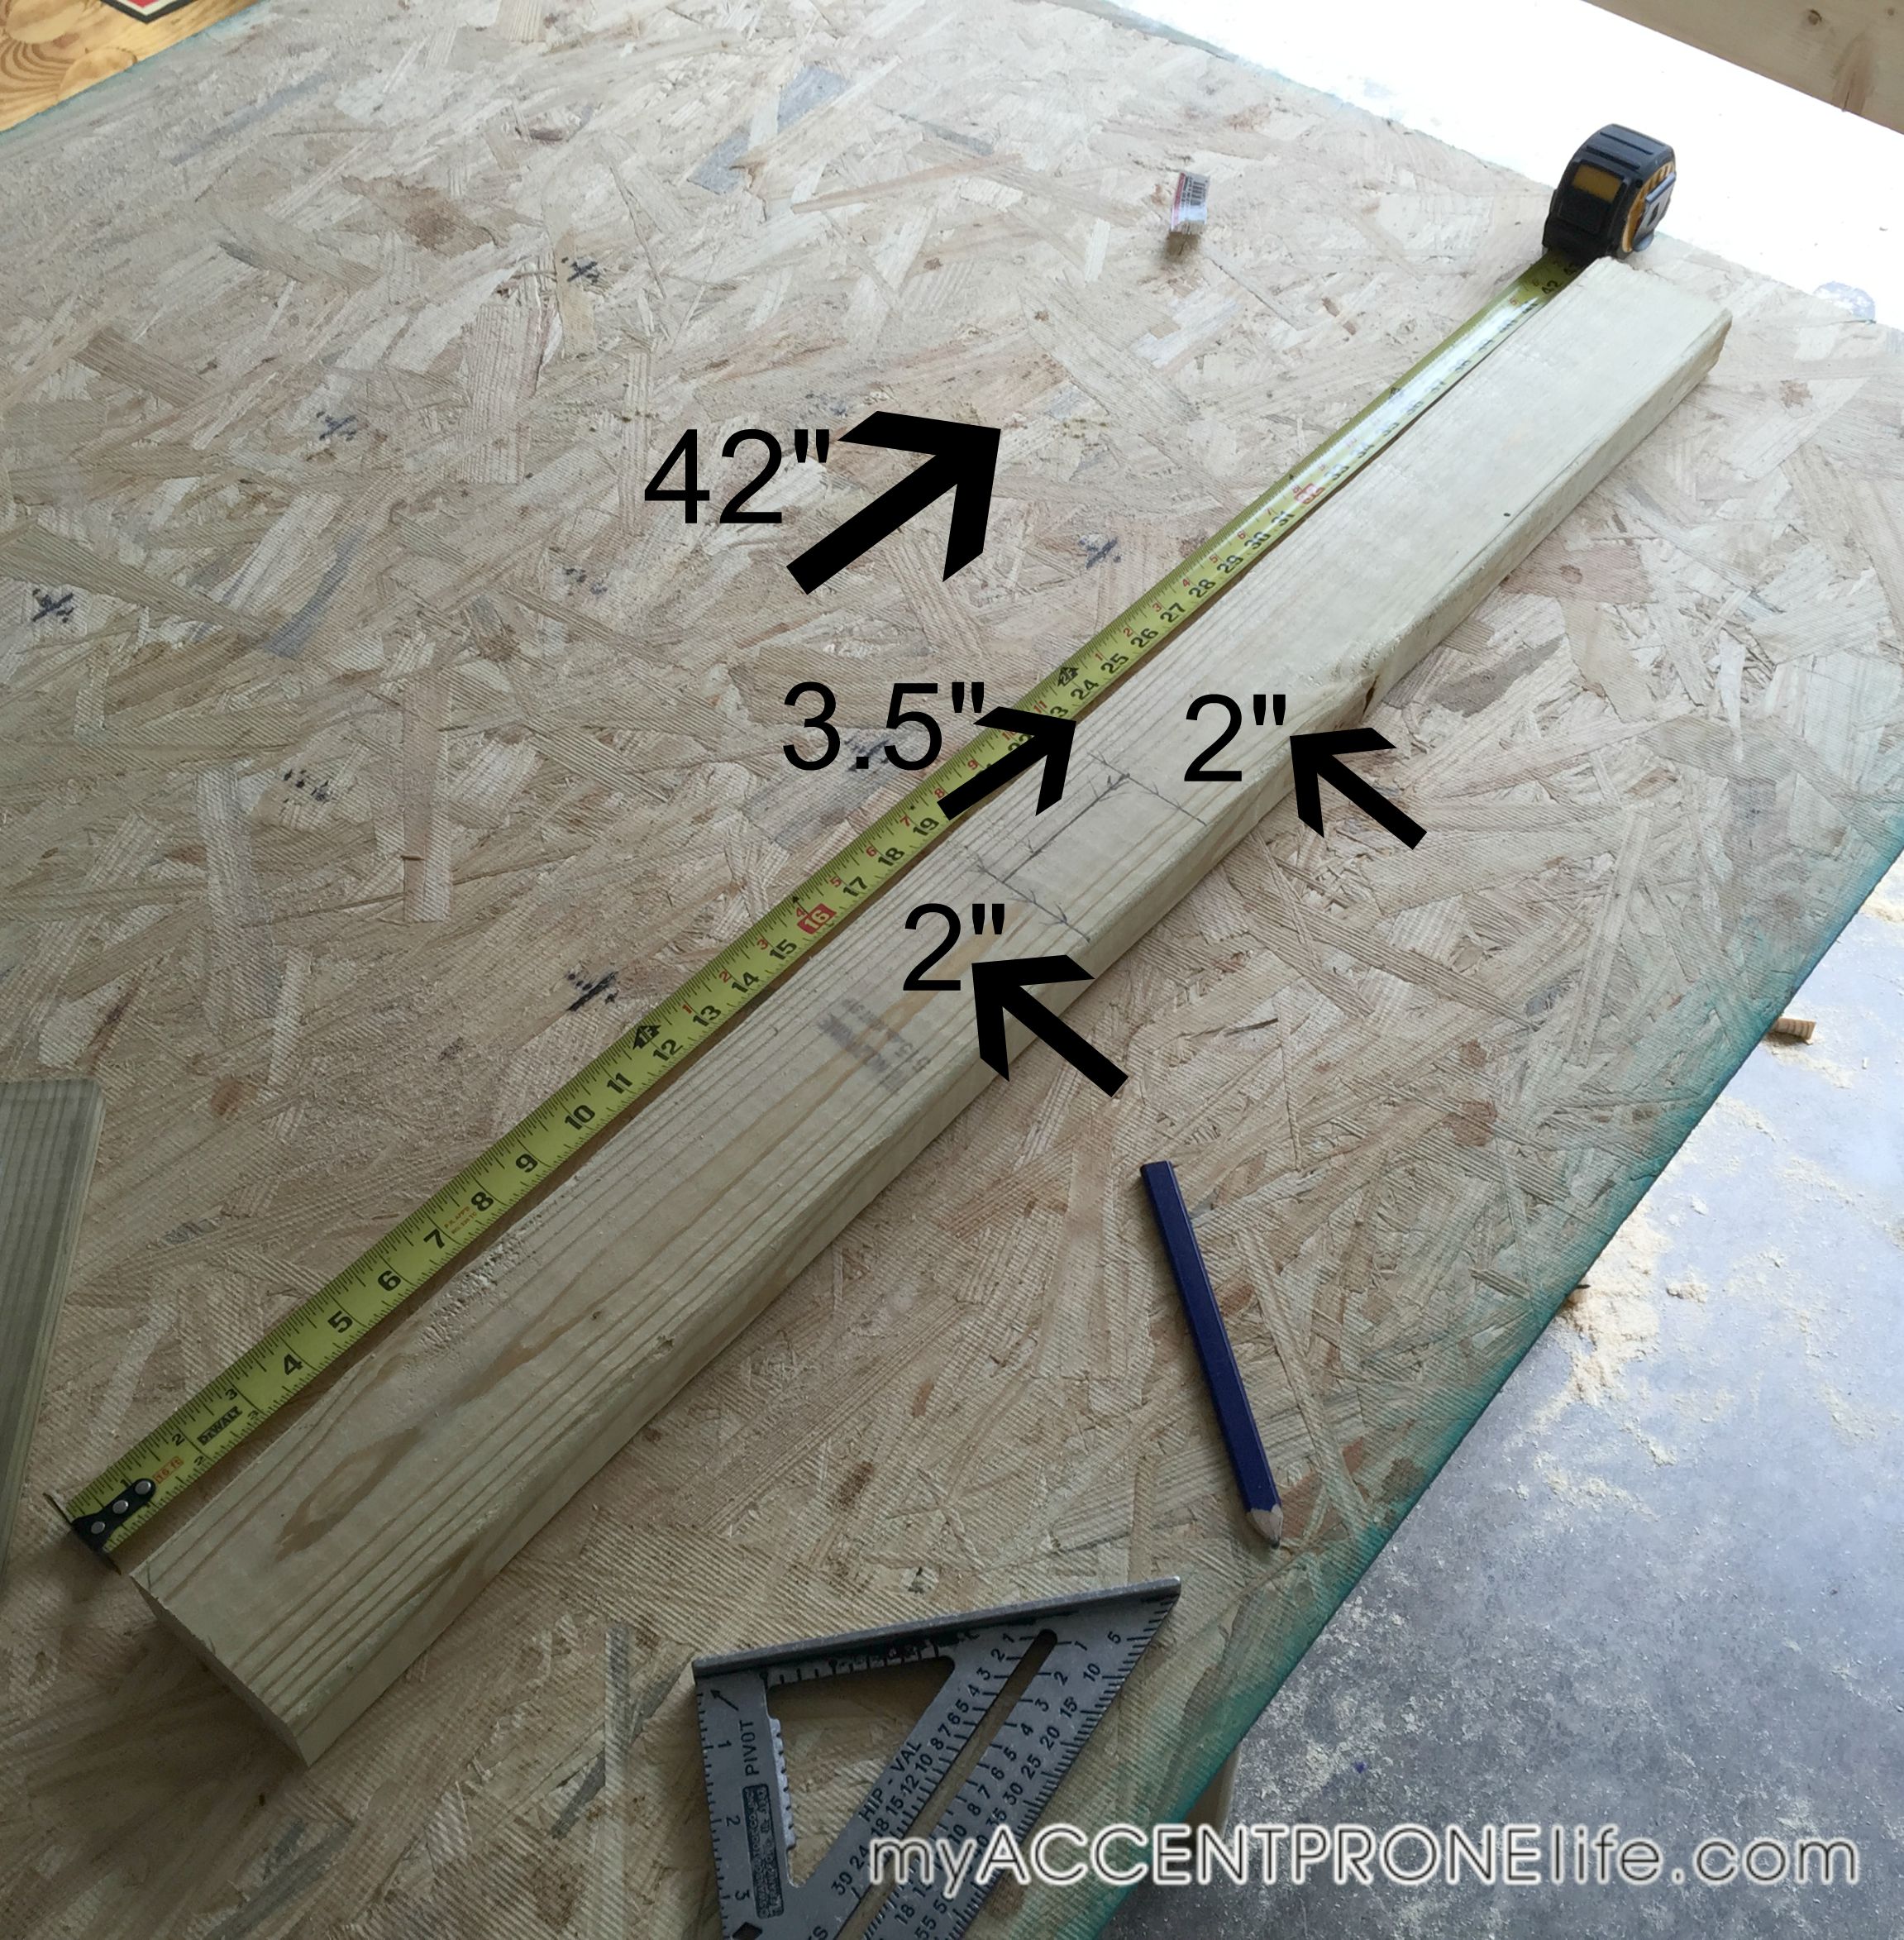
Step 3- Using the chop saw, cut 2 horizontal top posts. These will be cut 42″ boards.
Step 4- Using the 42″ boards, starting at 20.5″ down, cut a 3.5″x 2″ notch. You will do this twice on both of the 42″ boards.
Step 5- Cut 2 more 42″ boards. These are used to hold up the mailbox. You do not need to make any other cuts out of these.
Step 6- Cut 2 60″ boards. These are the front bottom posts.
Step 7- Using a chop saw, cut 2 boards at 27.5″. These are the top front posts.
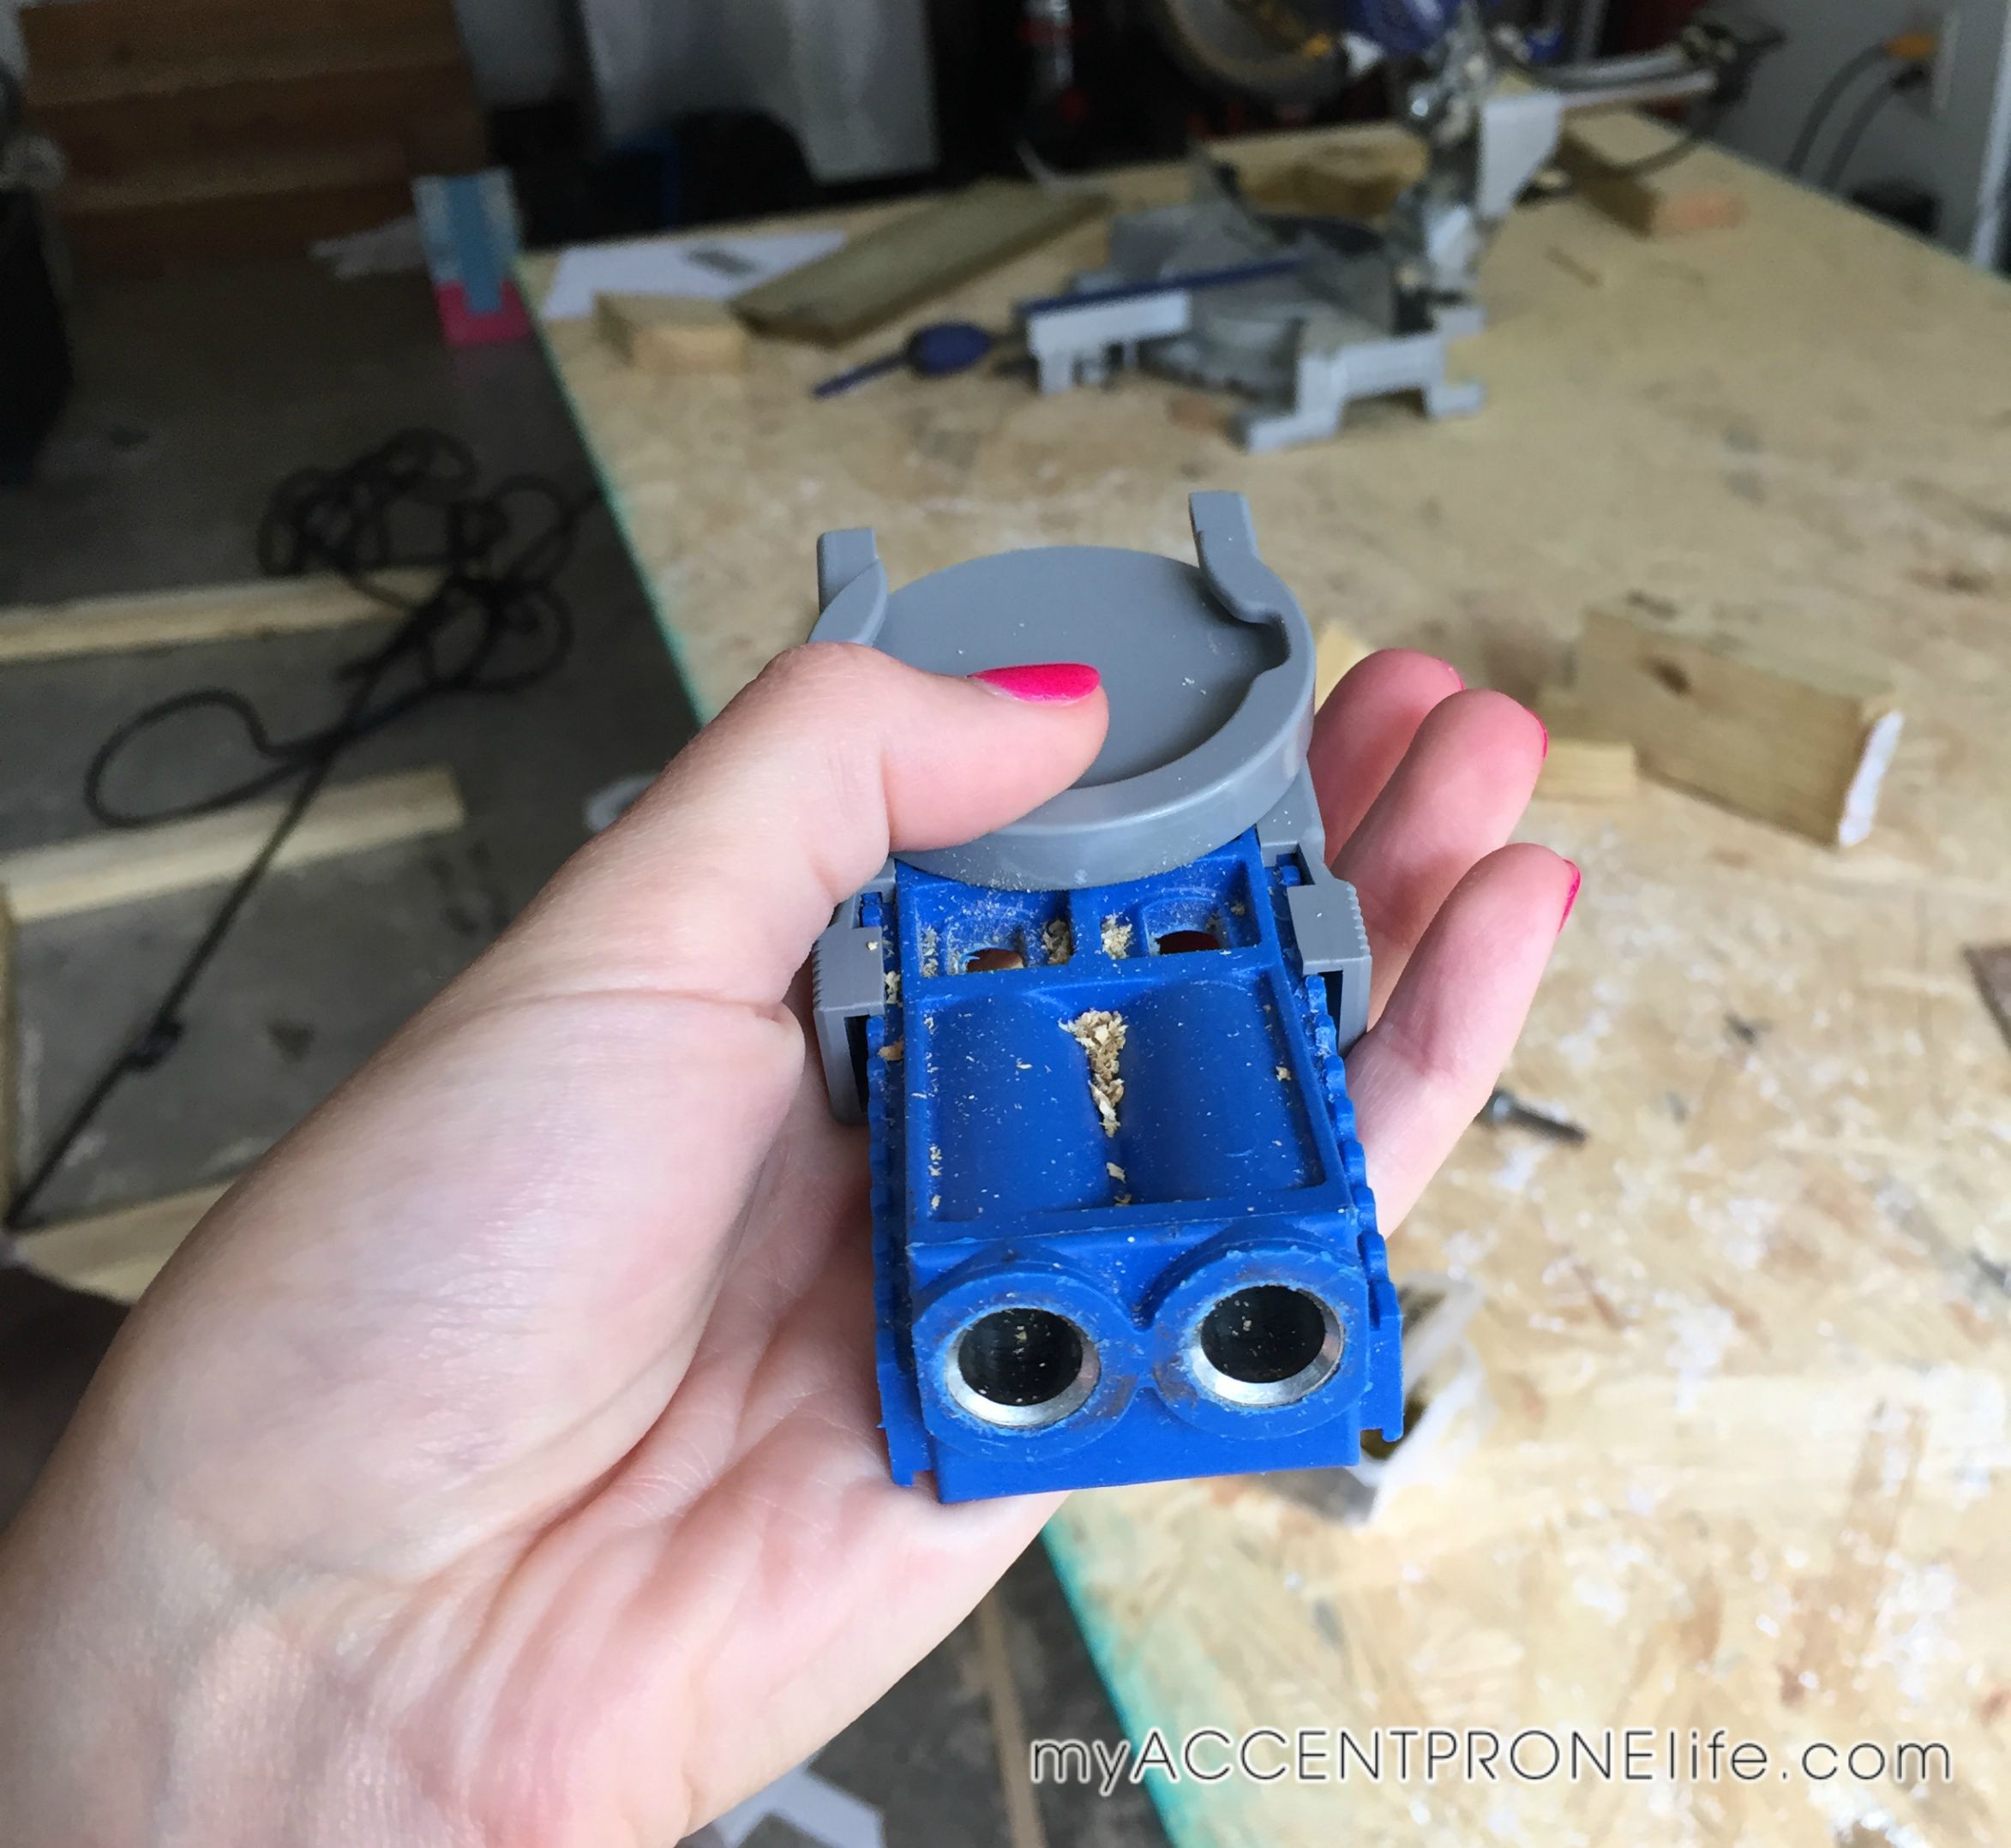
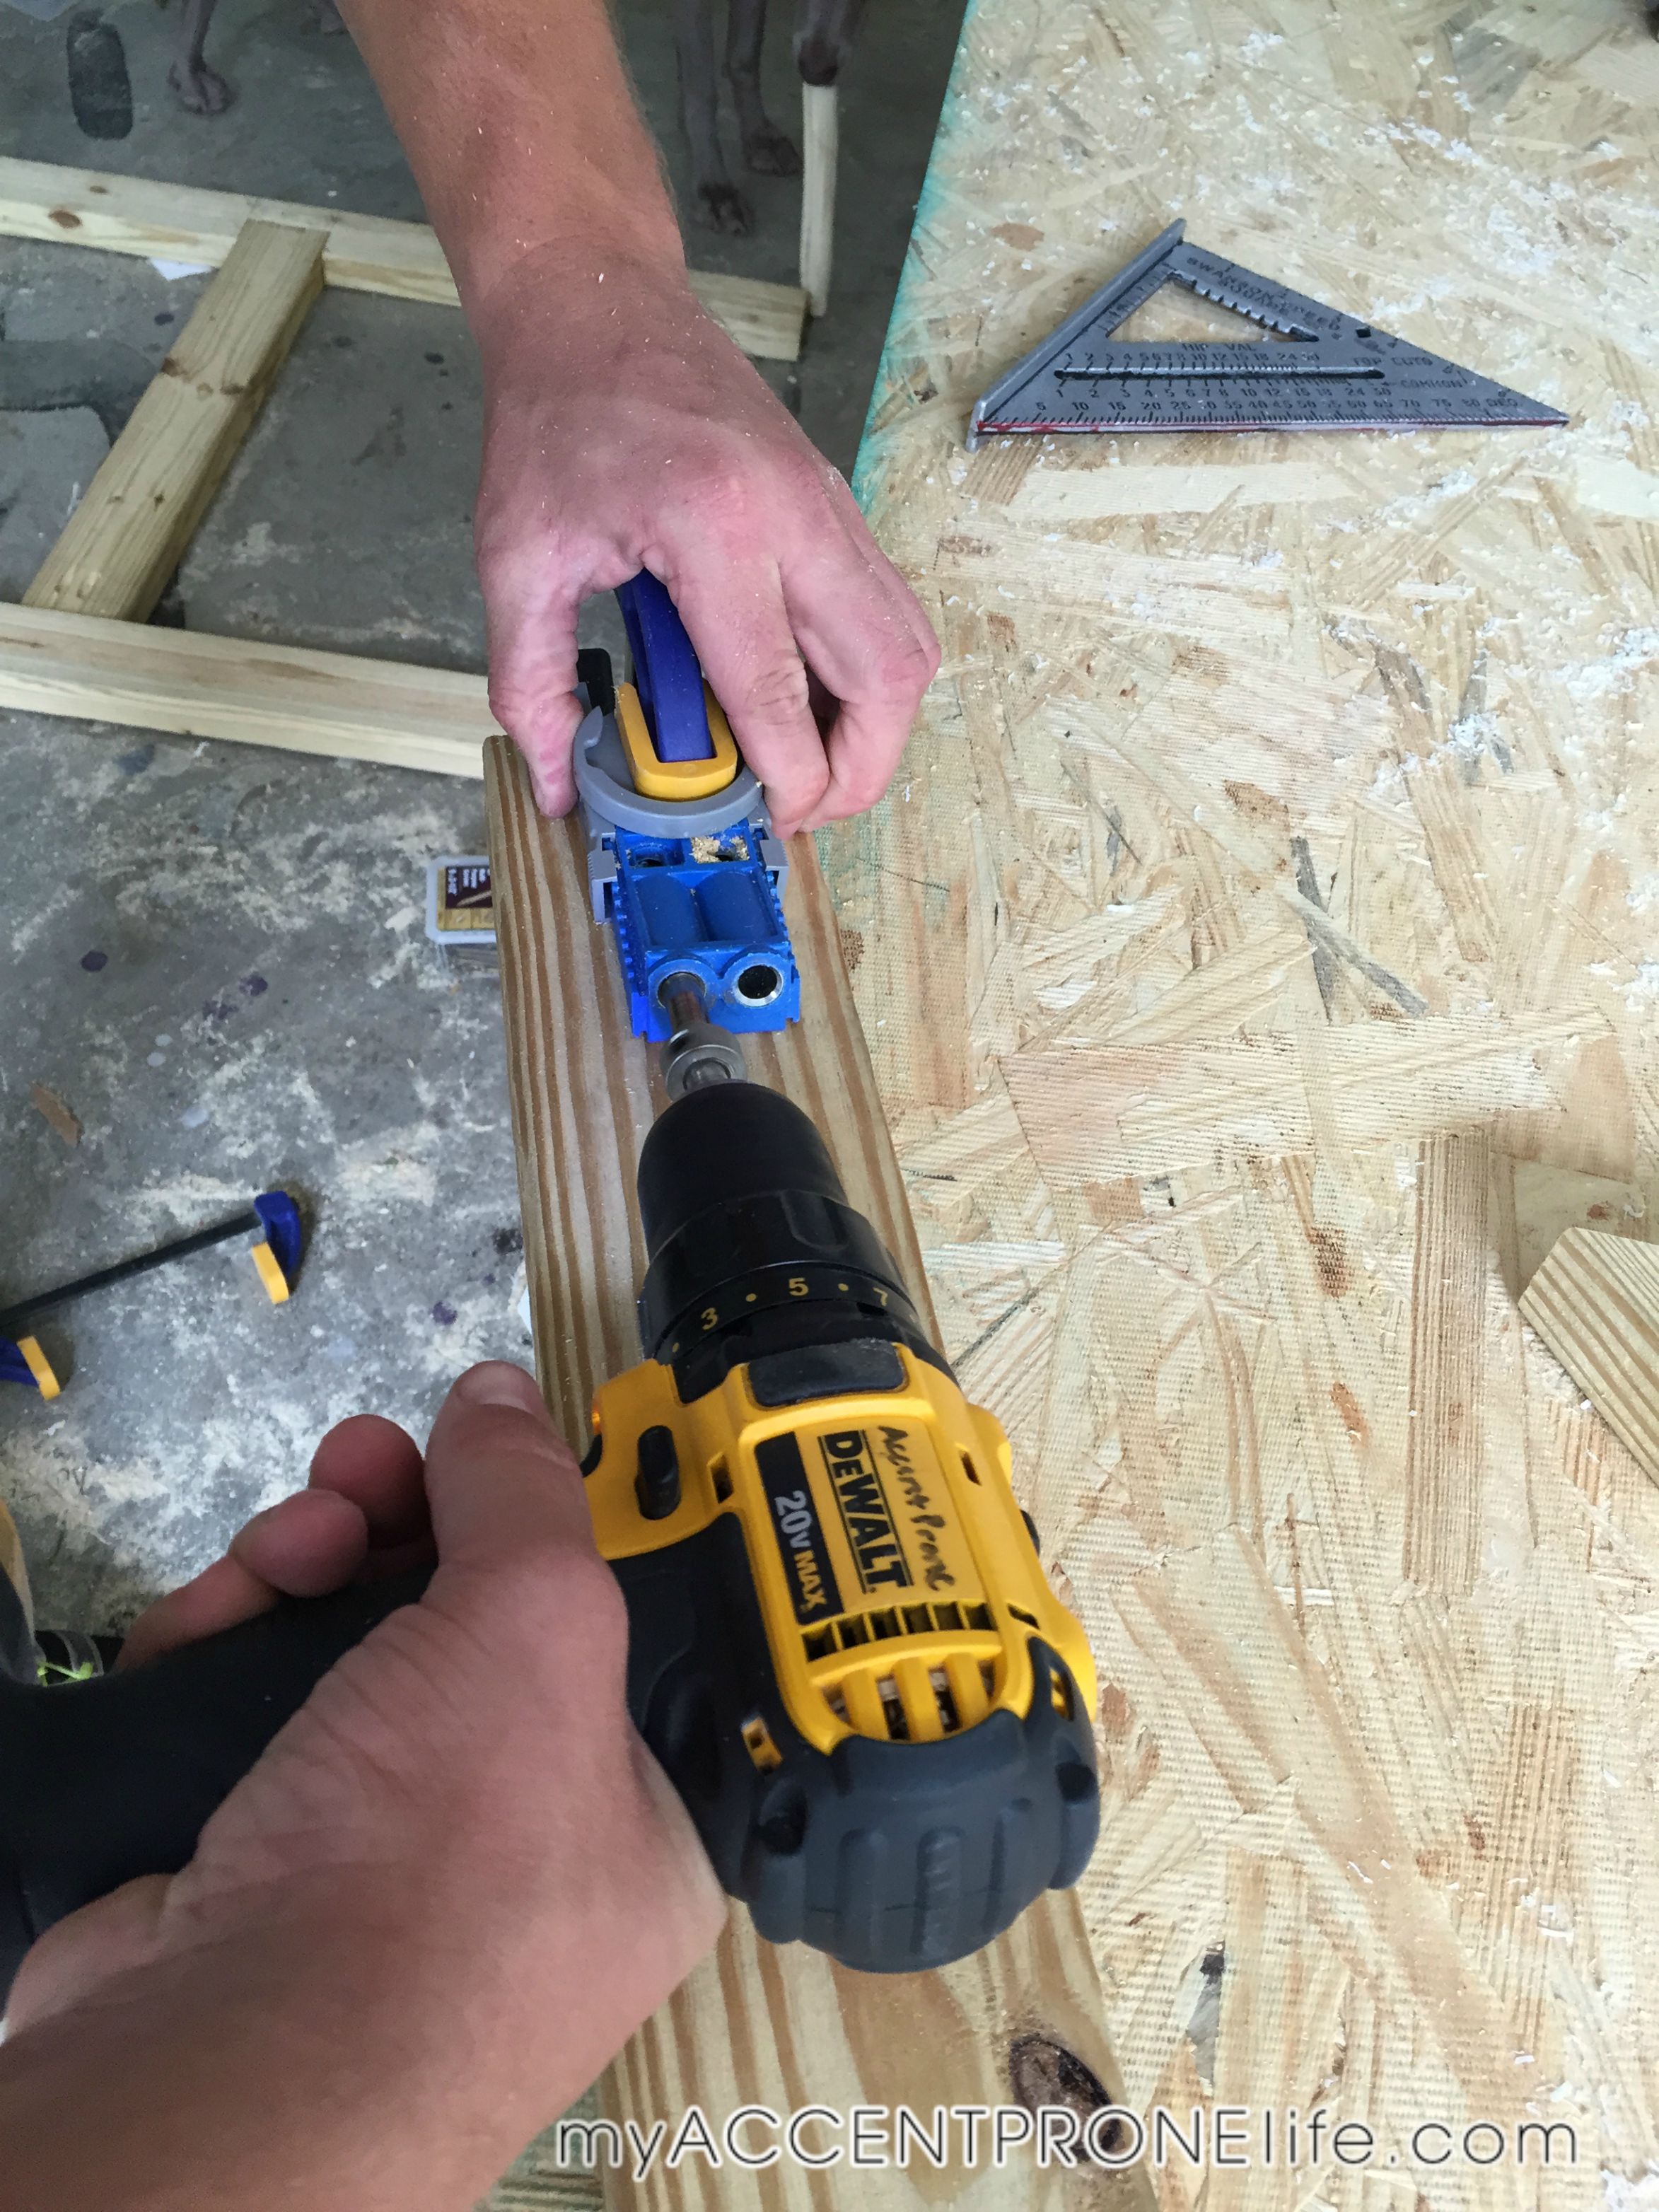
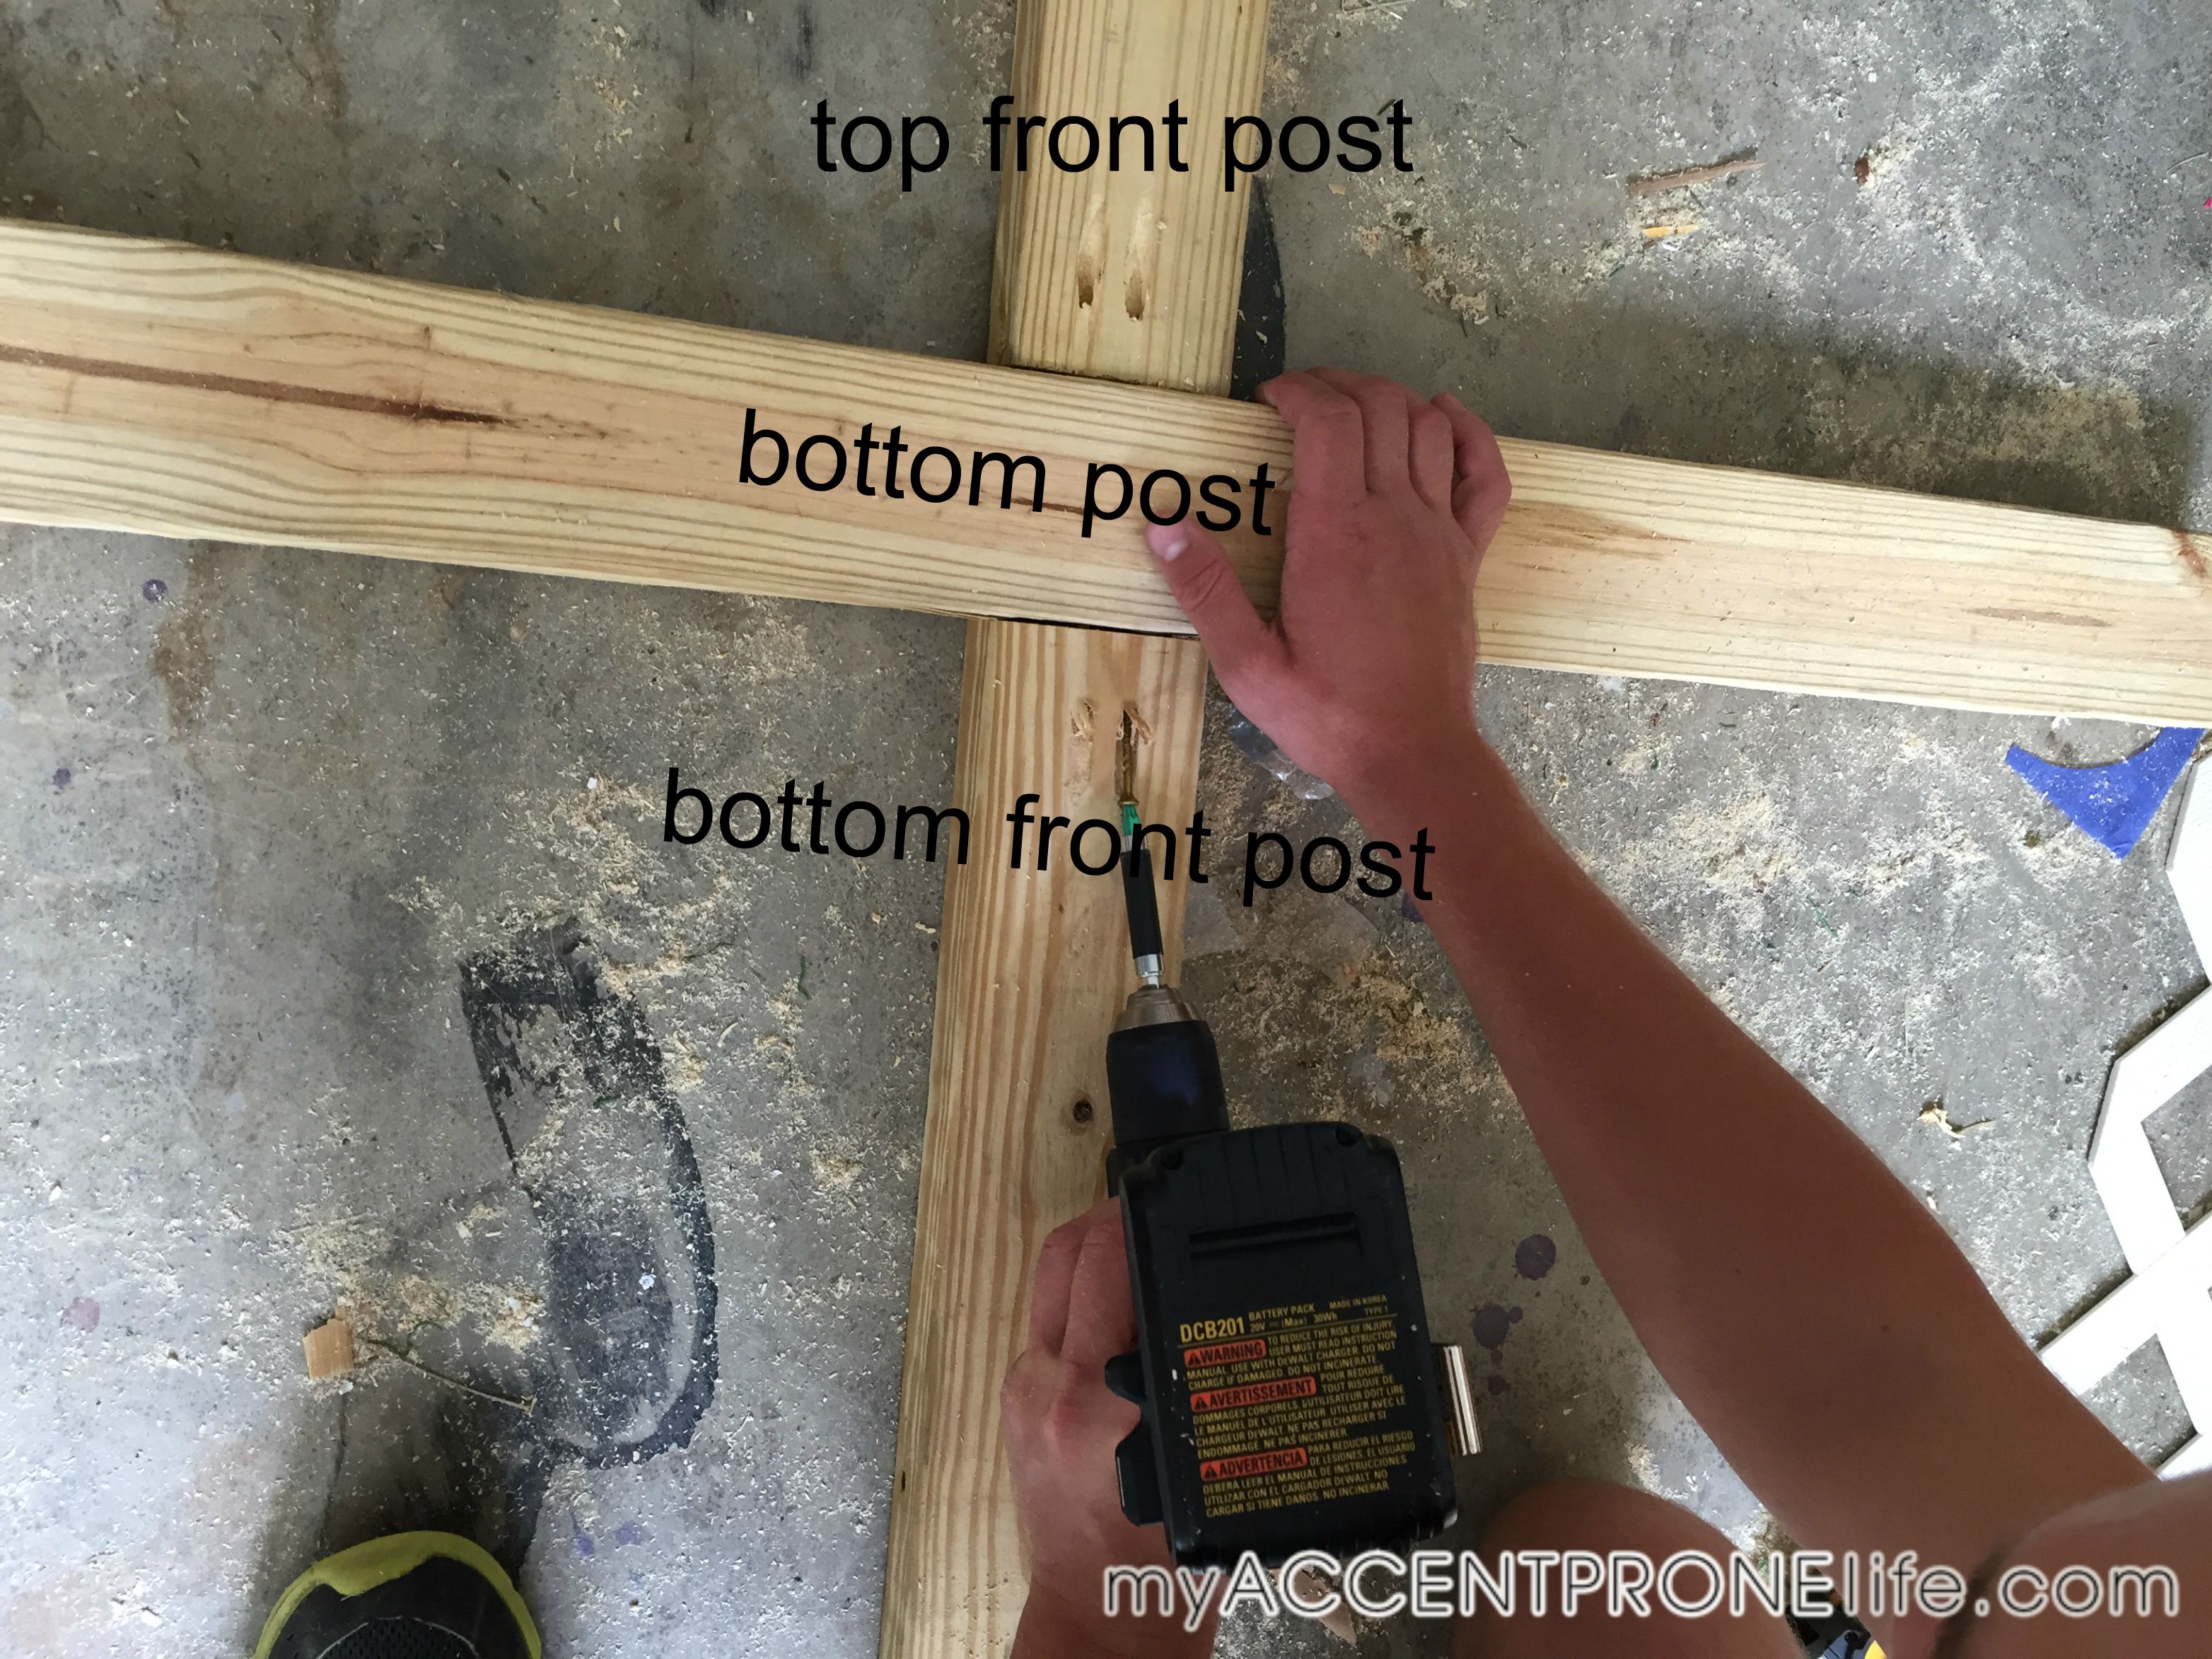
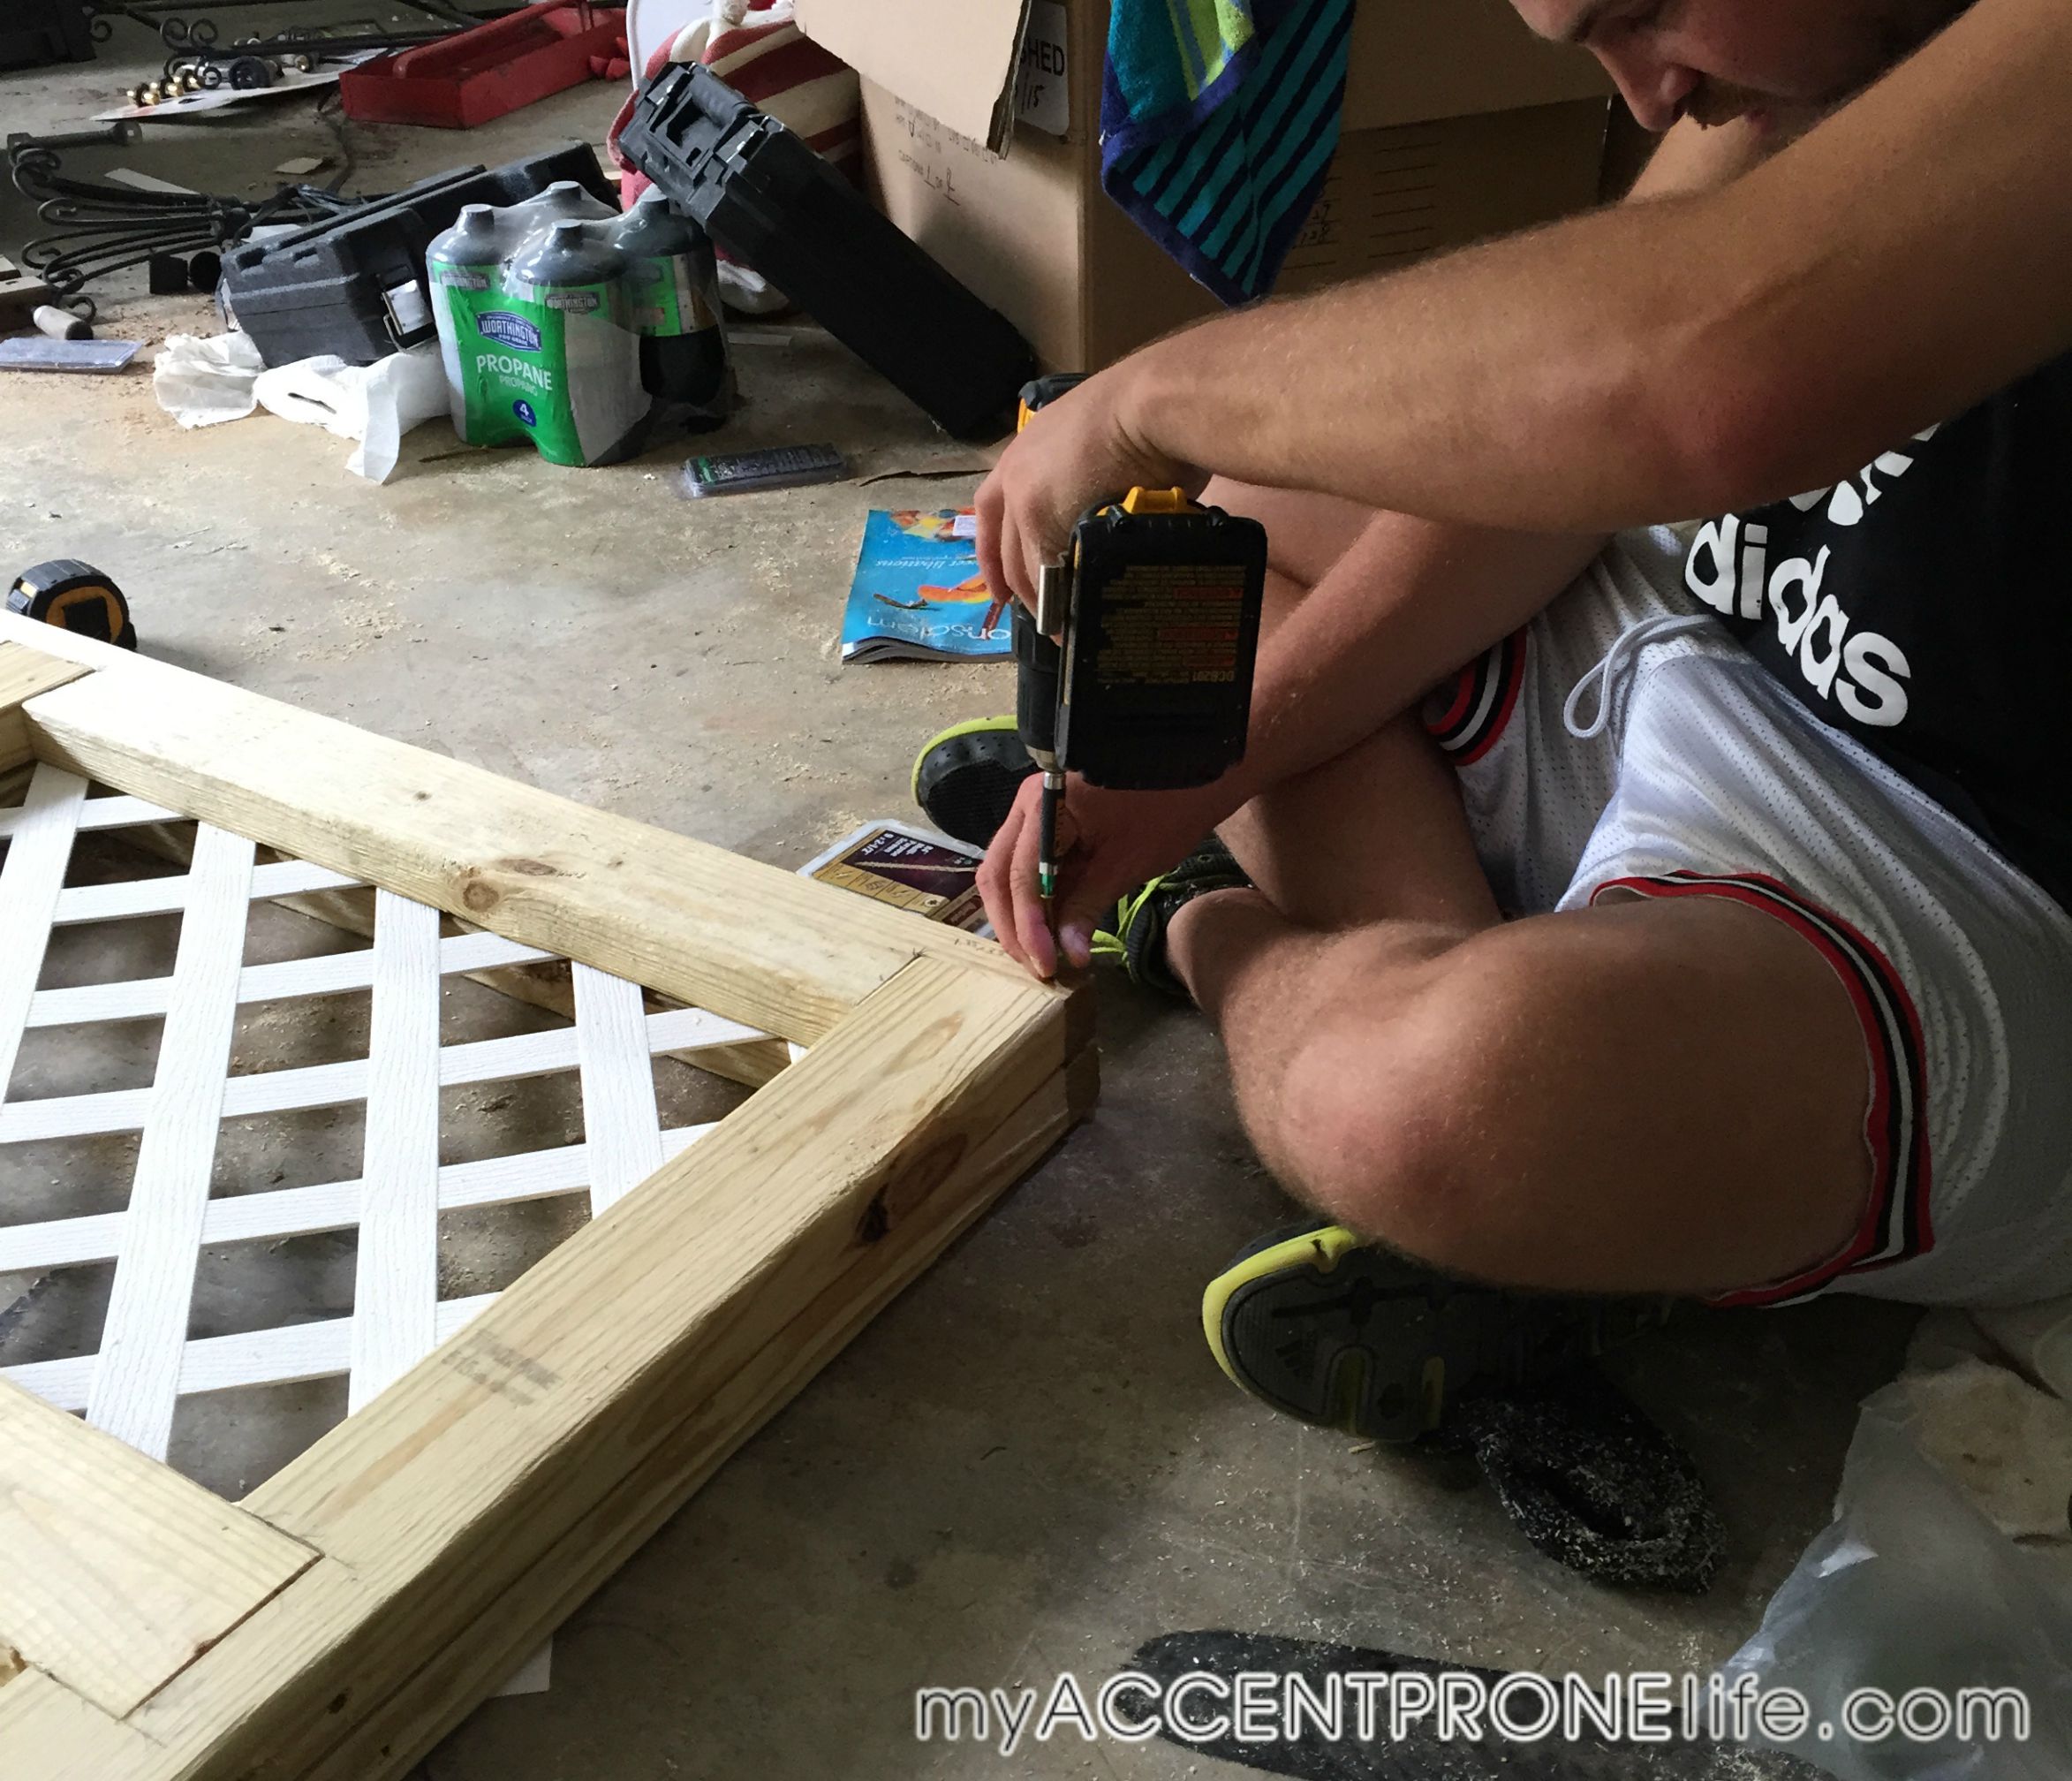
Step 8- Now you are going to cut pocket holes using a pocket hole jig into the ends of the 27.5″ boards and the 60″ boards. Pocket holes are used to join boards without brackets.
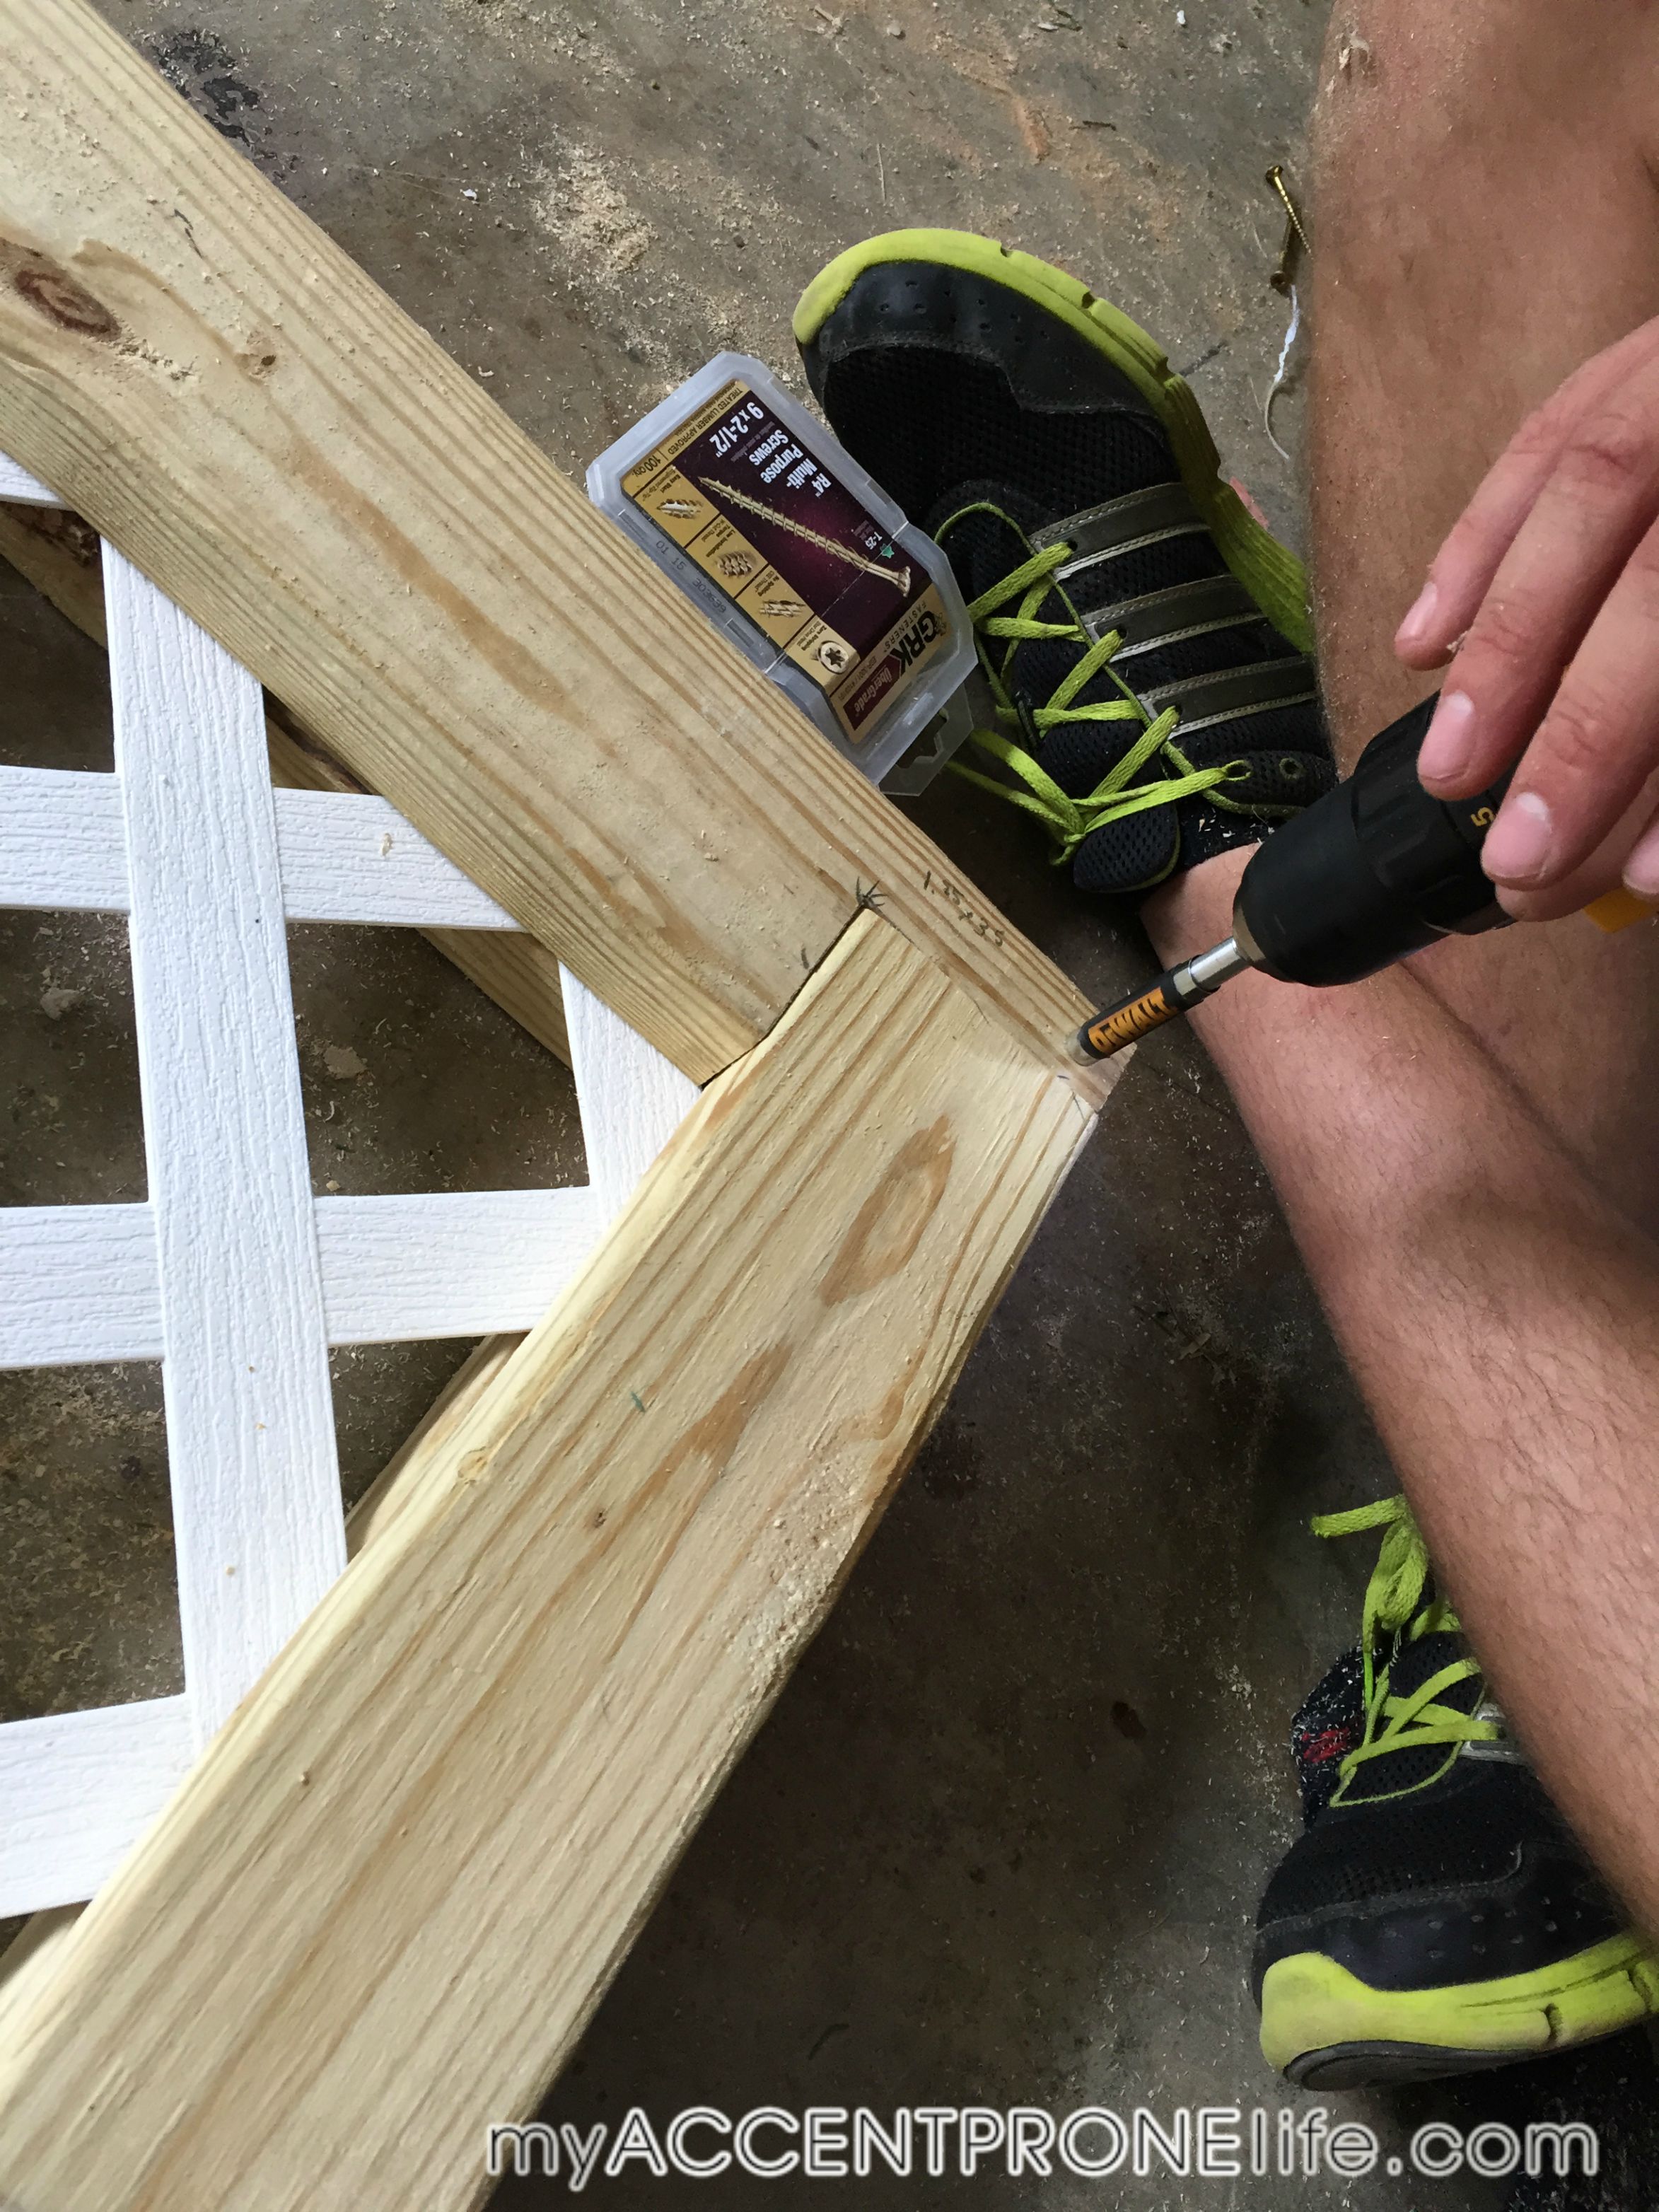
Step 9- Connect all the boards together with wood screws, making sure to put them where the notches connect. You will have 2 sets of the connected boards and the lattice will lay in the middle of the frames.
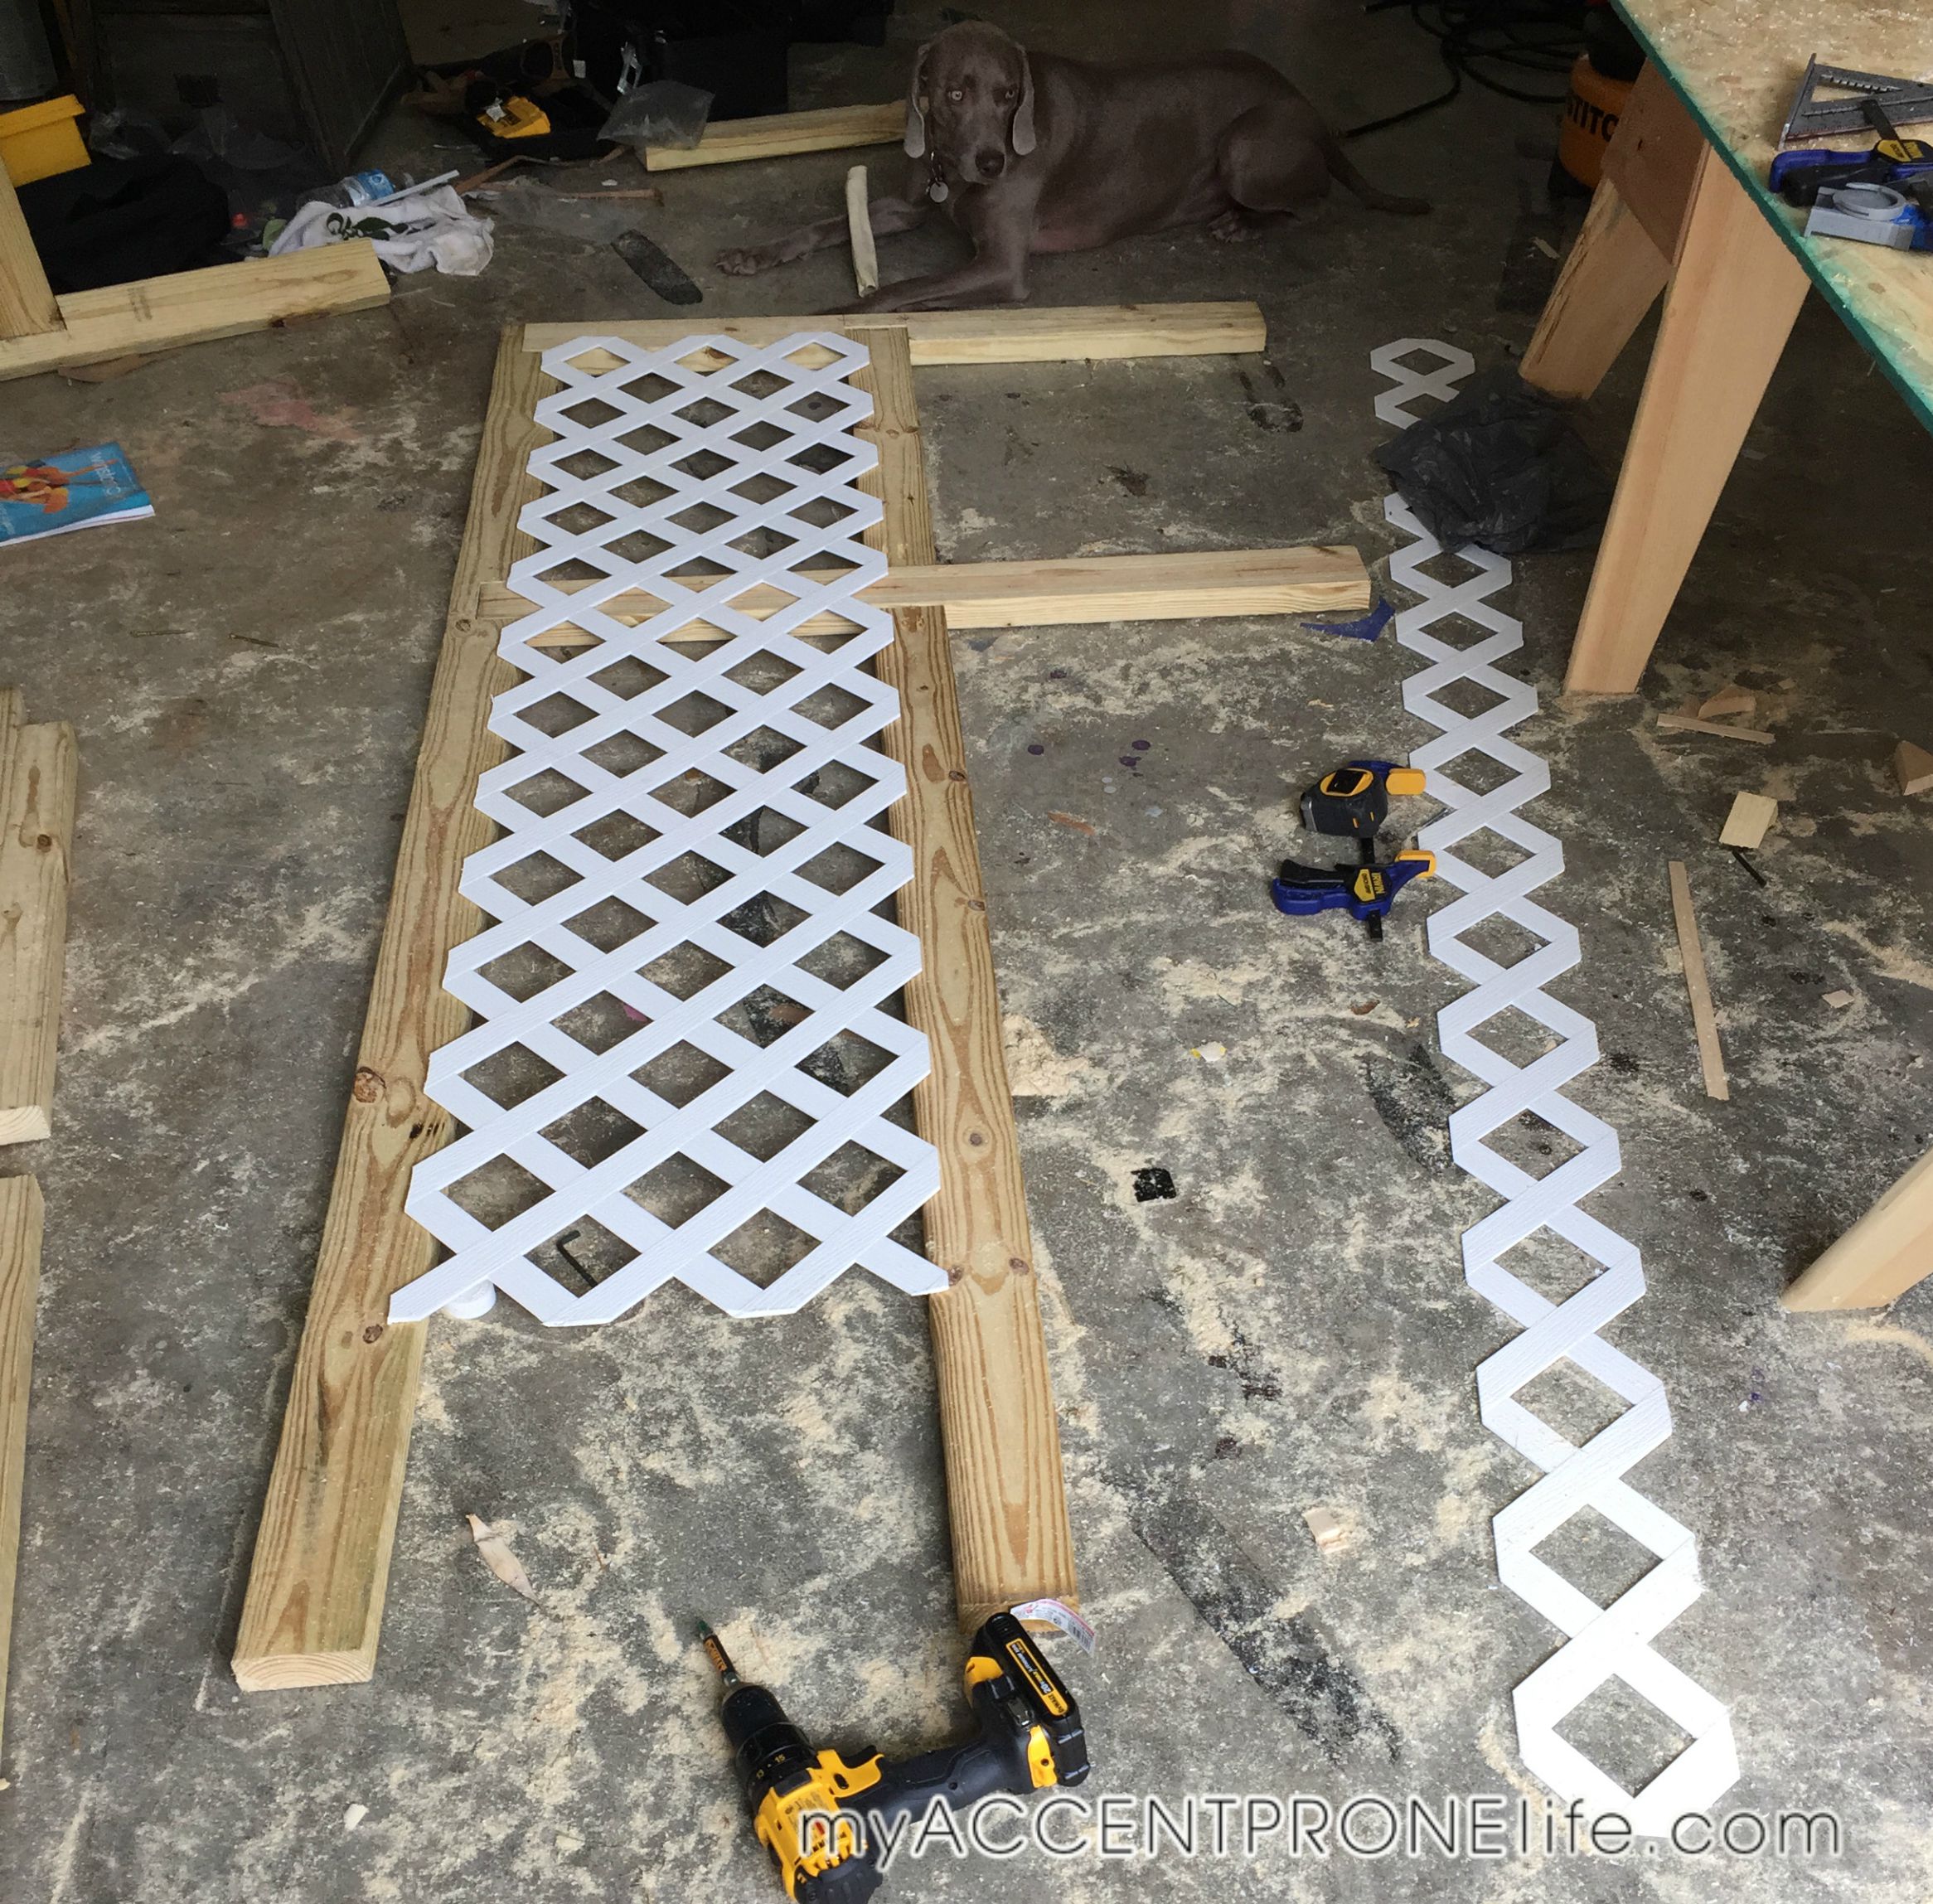
Step 10- Cut the lattice to fit in between the frames. It was 24″ wide and we cut it down to 18″ wide, and it was 8ft high and we cut it down to 6 ft high. Secure it with brad nails.
Step 11- Lay the other frame on top of the first frame with the connected lattice. Connect the 2 with screws in the corner and a few along the side.
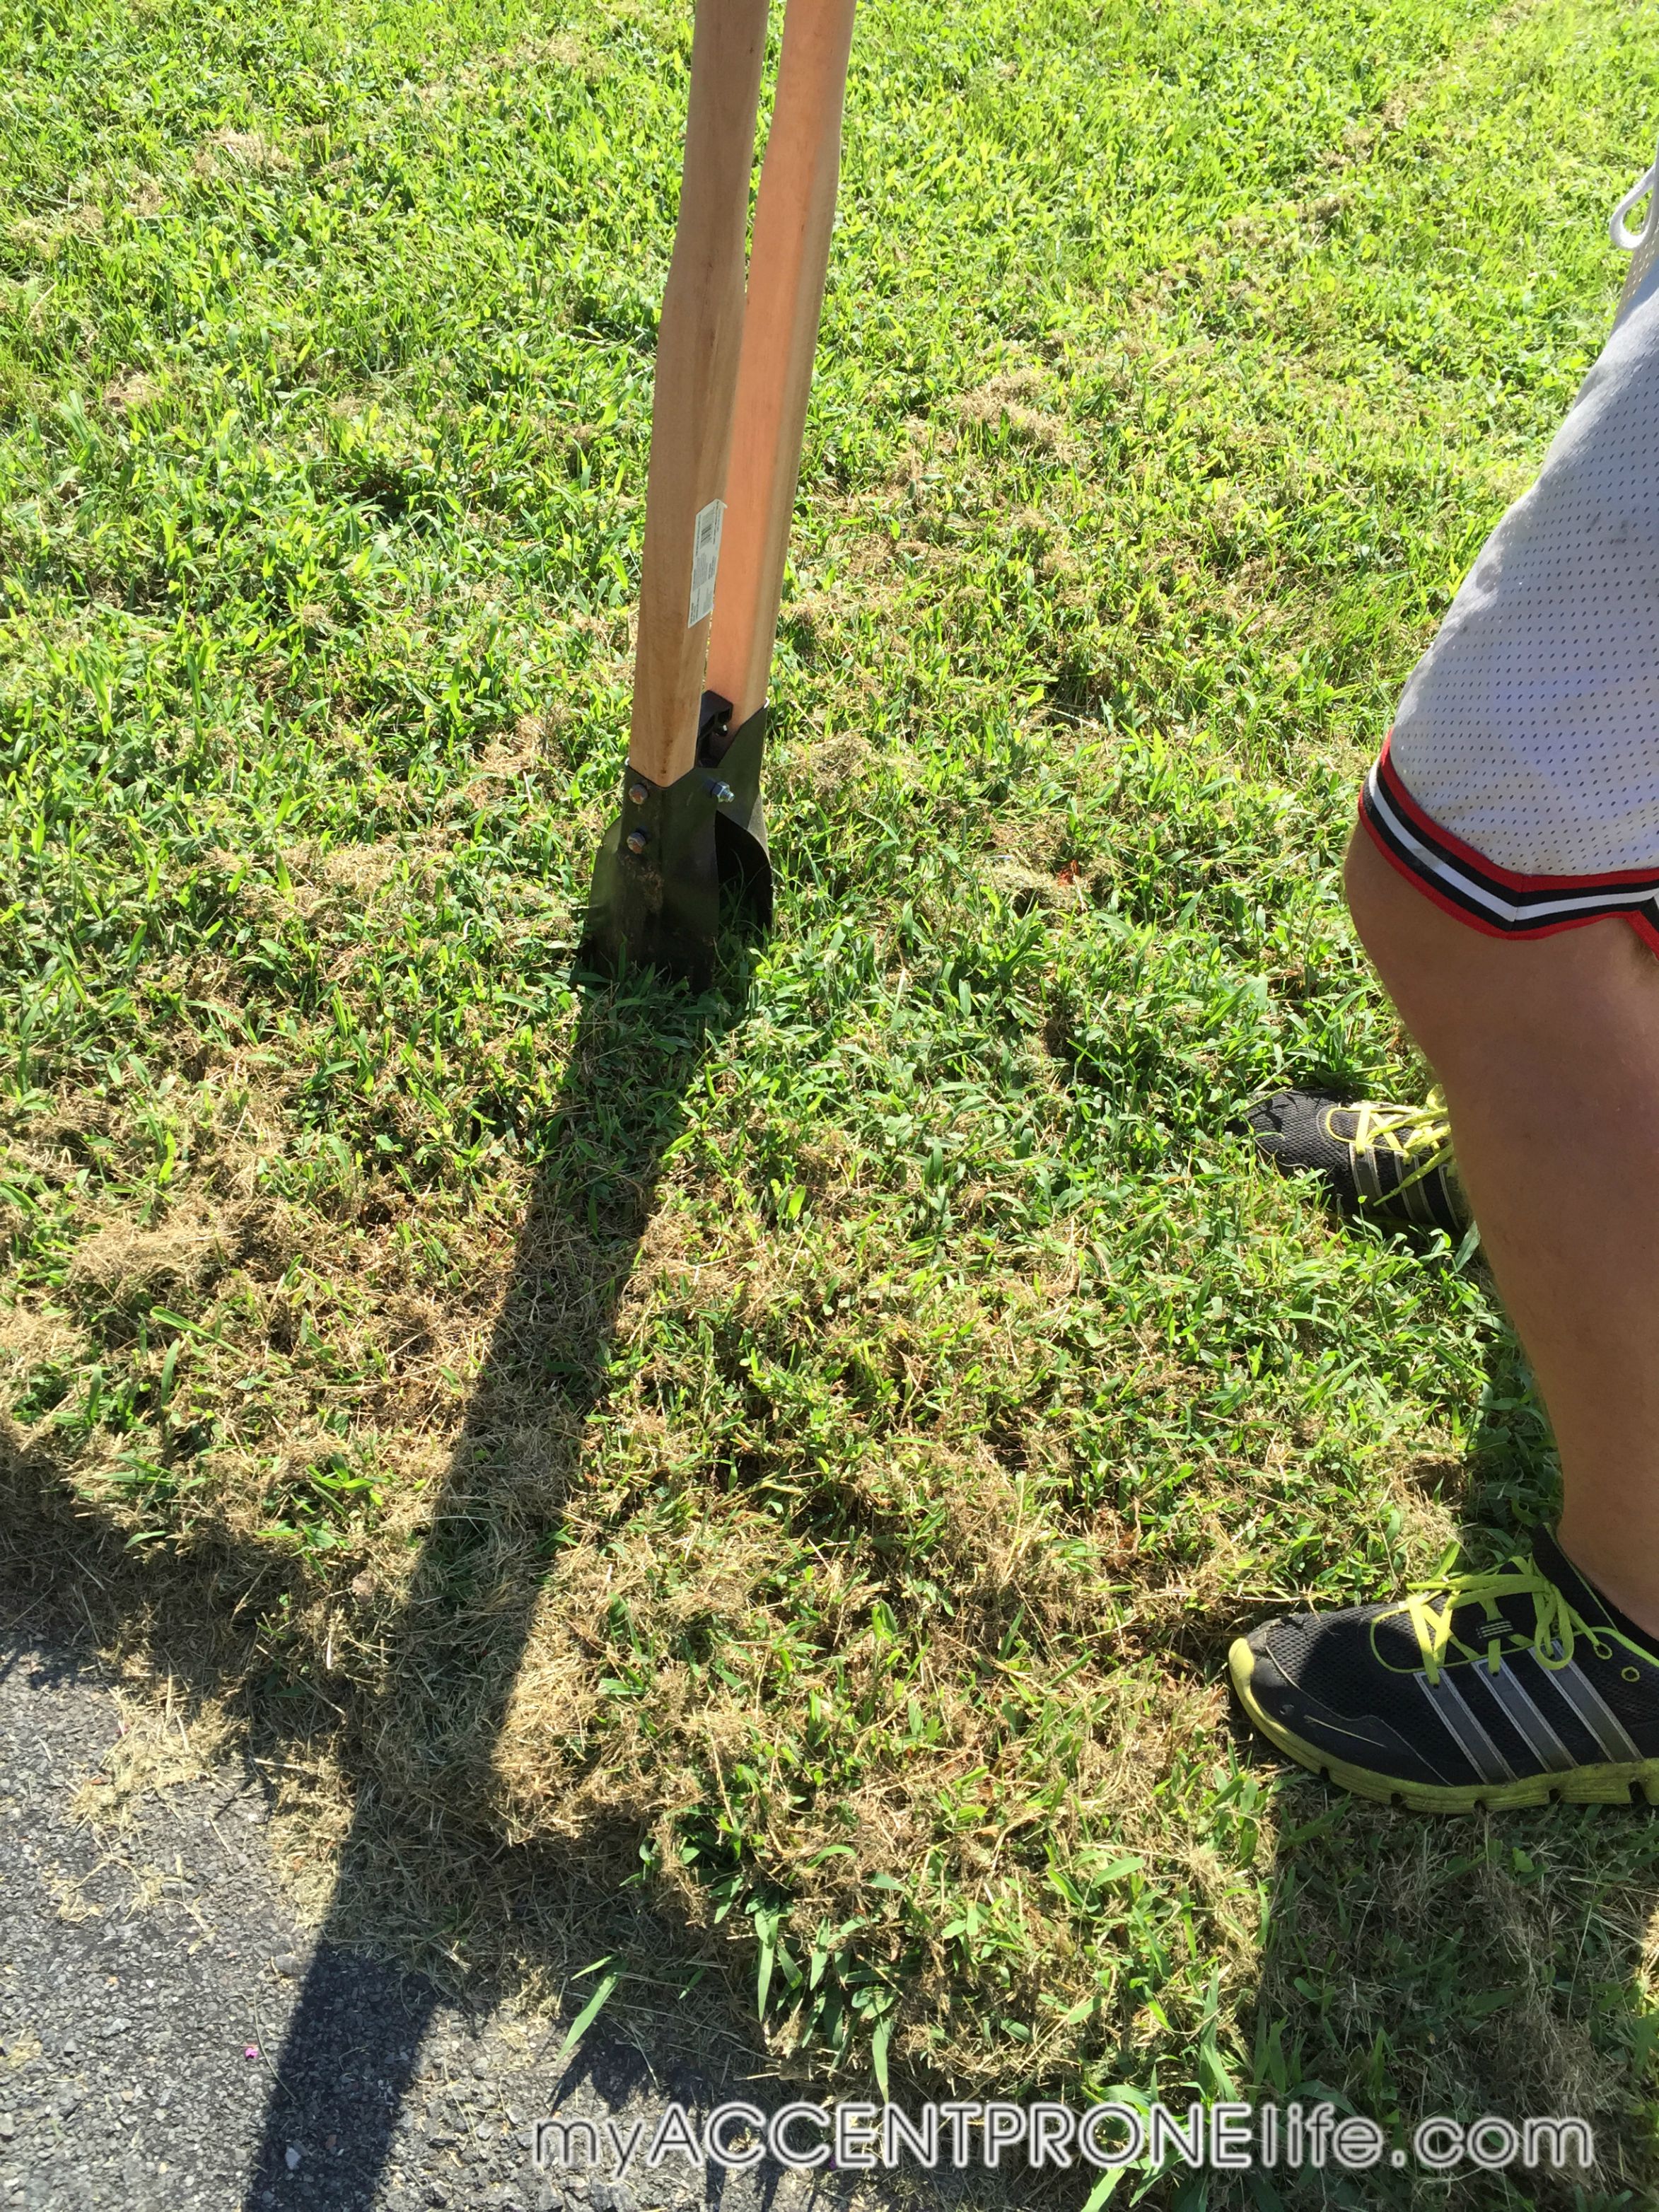
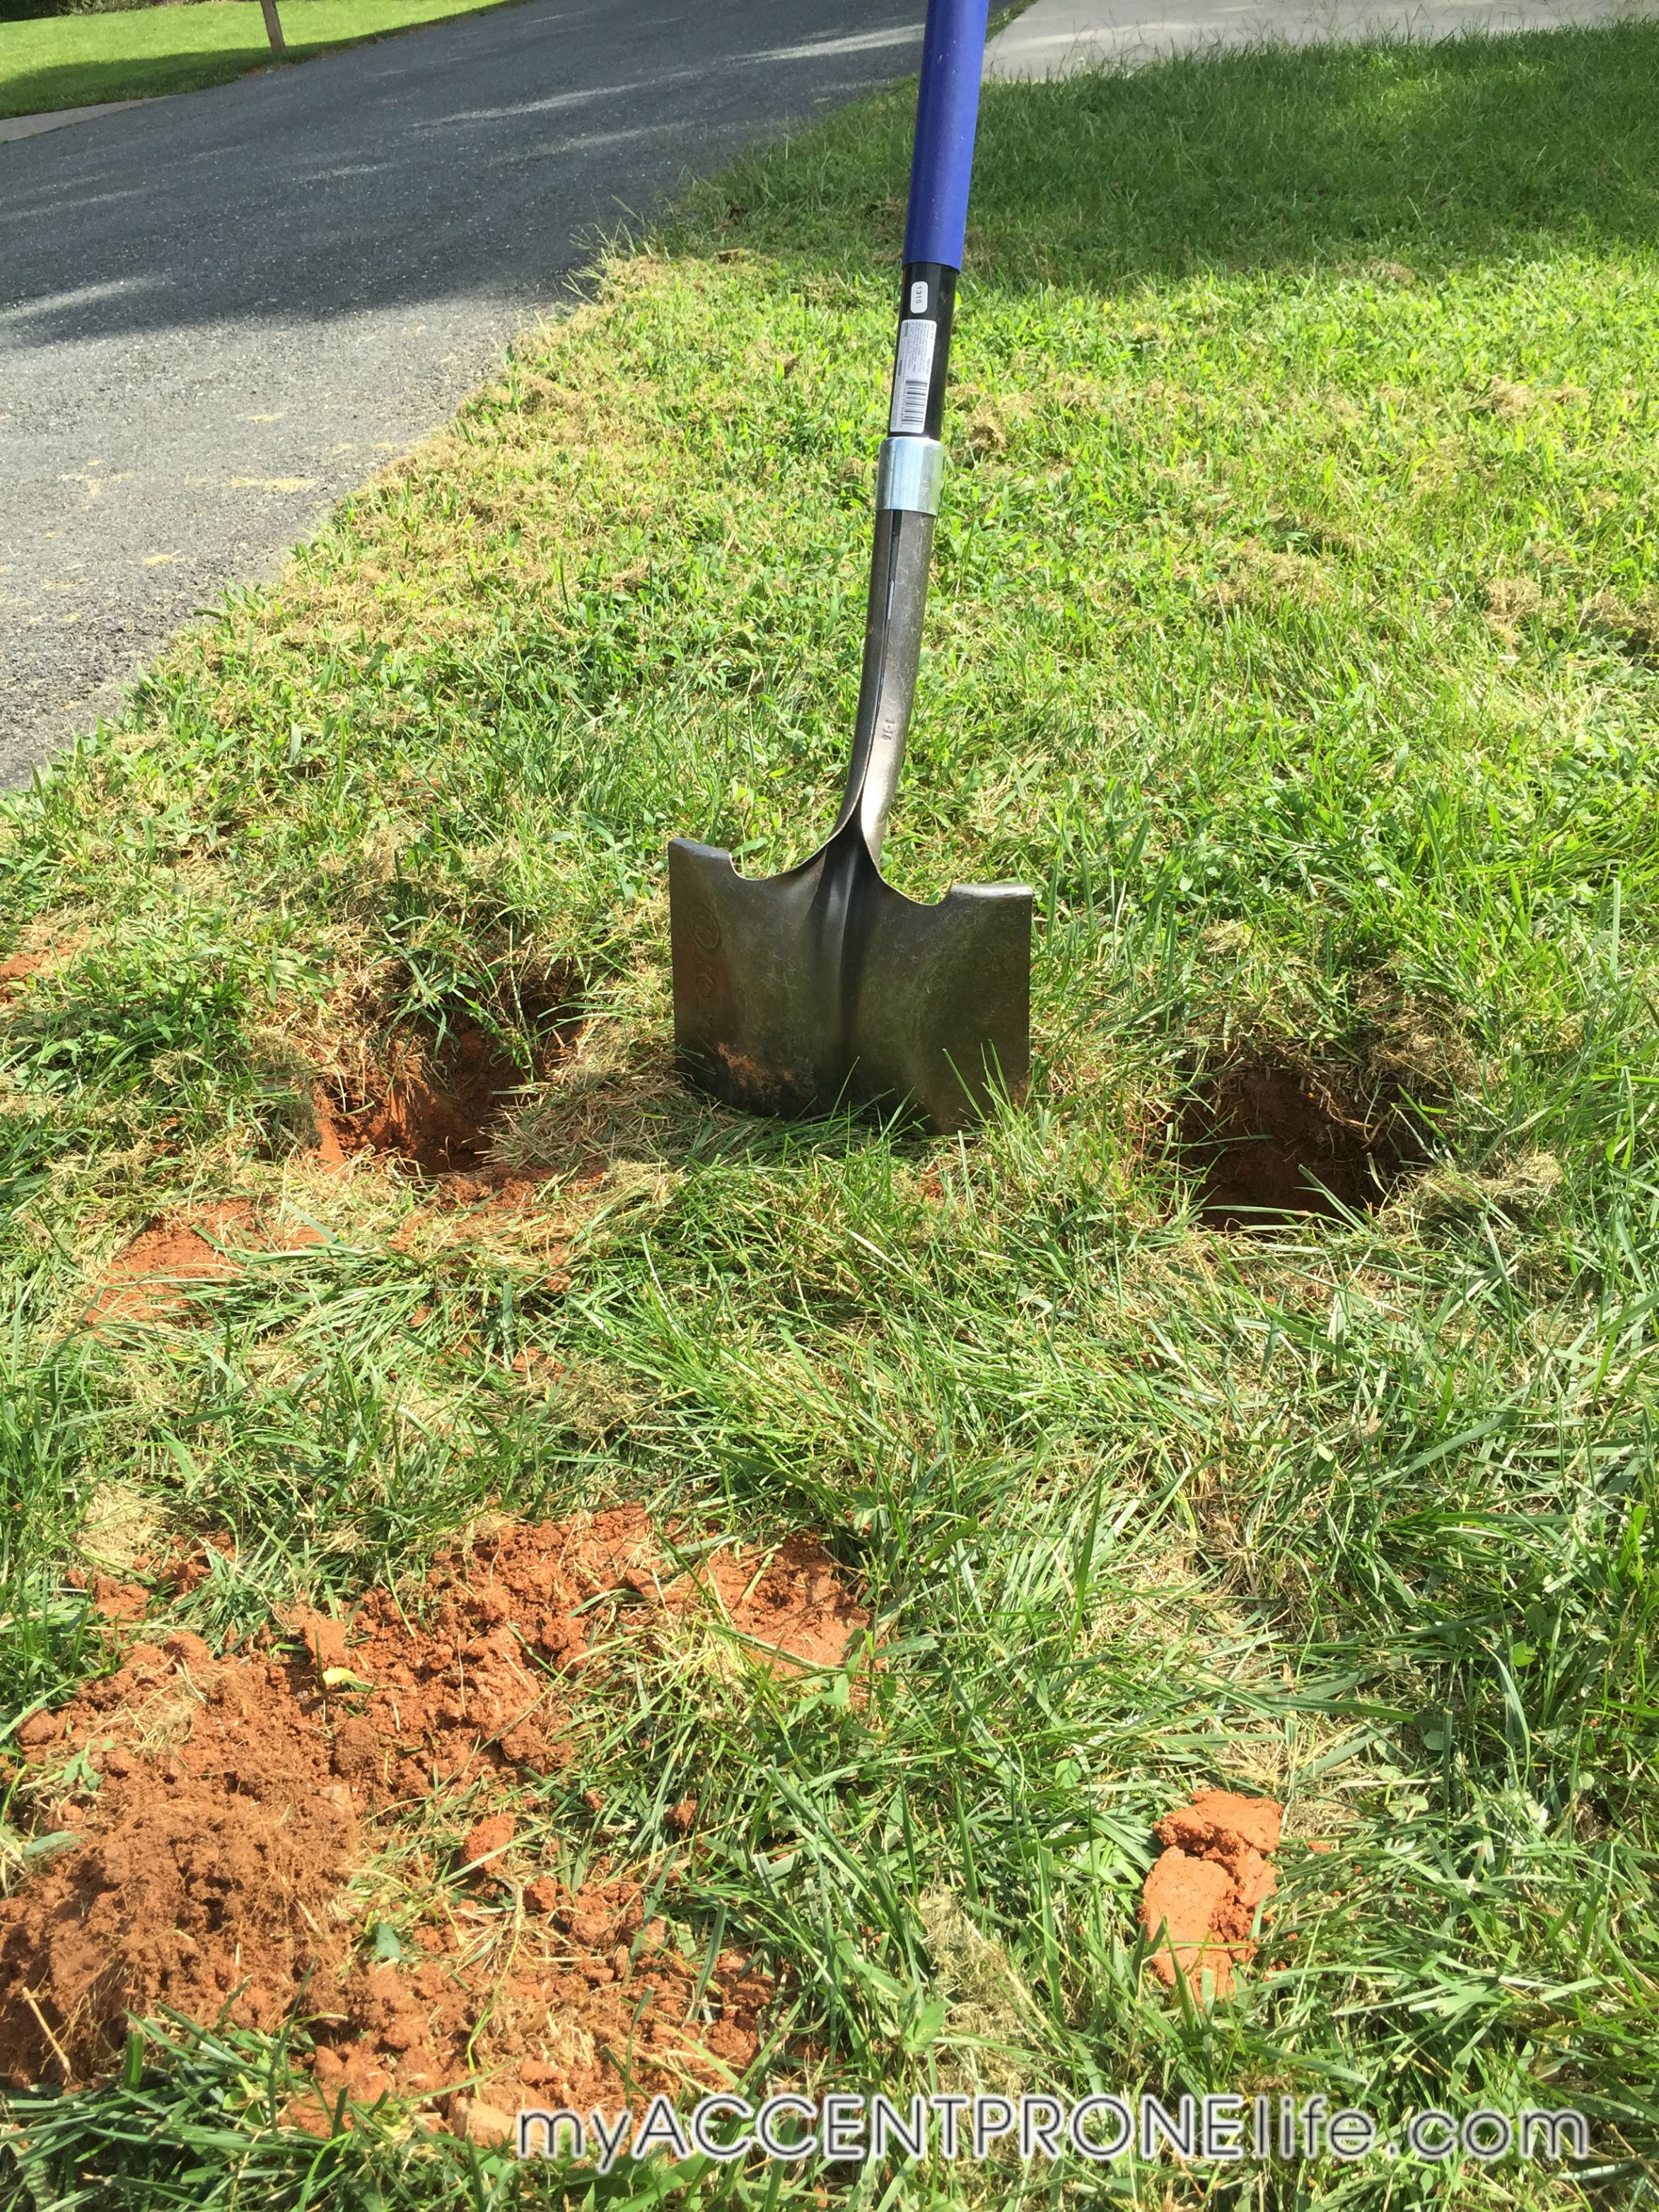
Step 12- Dig 2 holes in your yard to put in the mailbox posts using a post hole digger. The holes should be about 18″ deep and 16″-18″ apart.
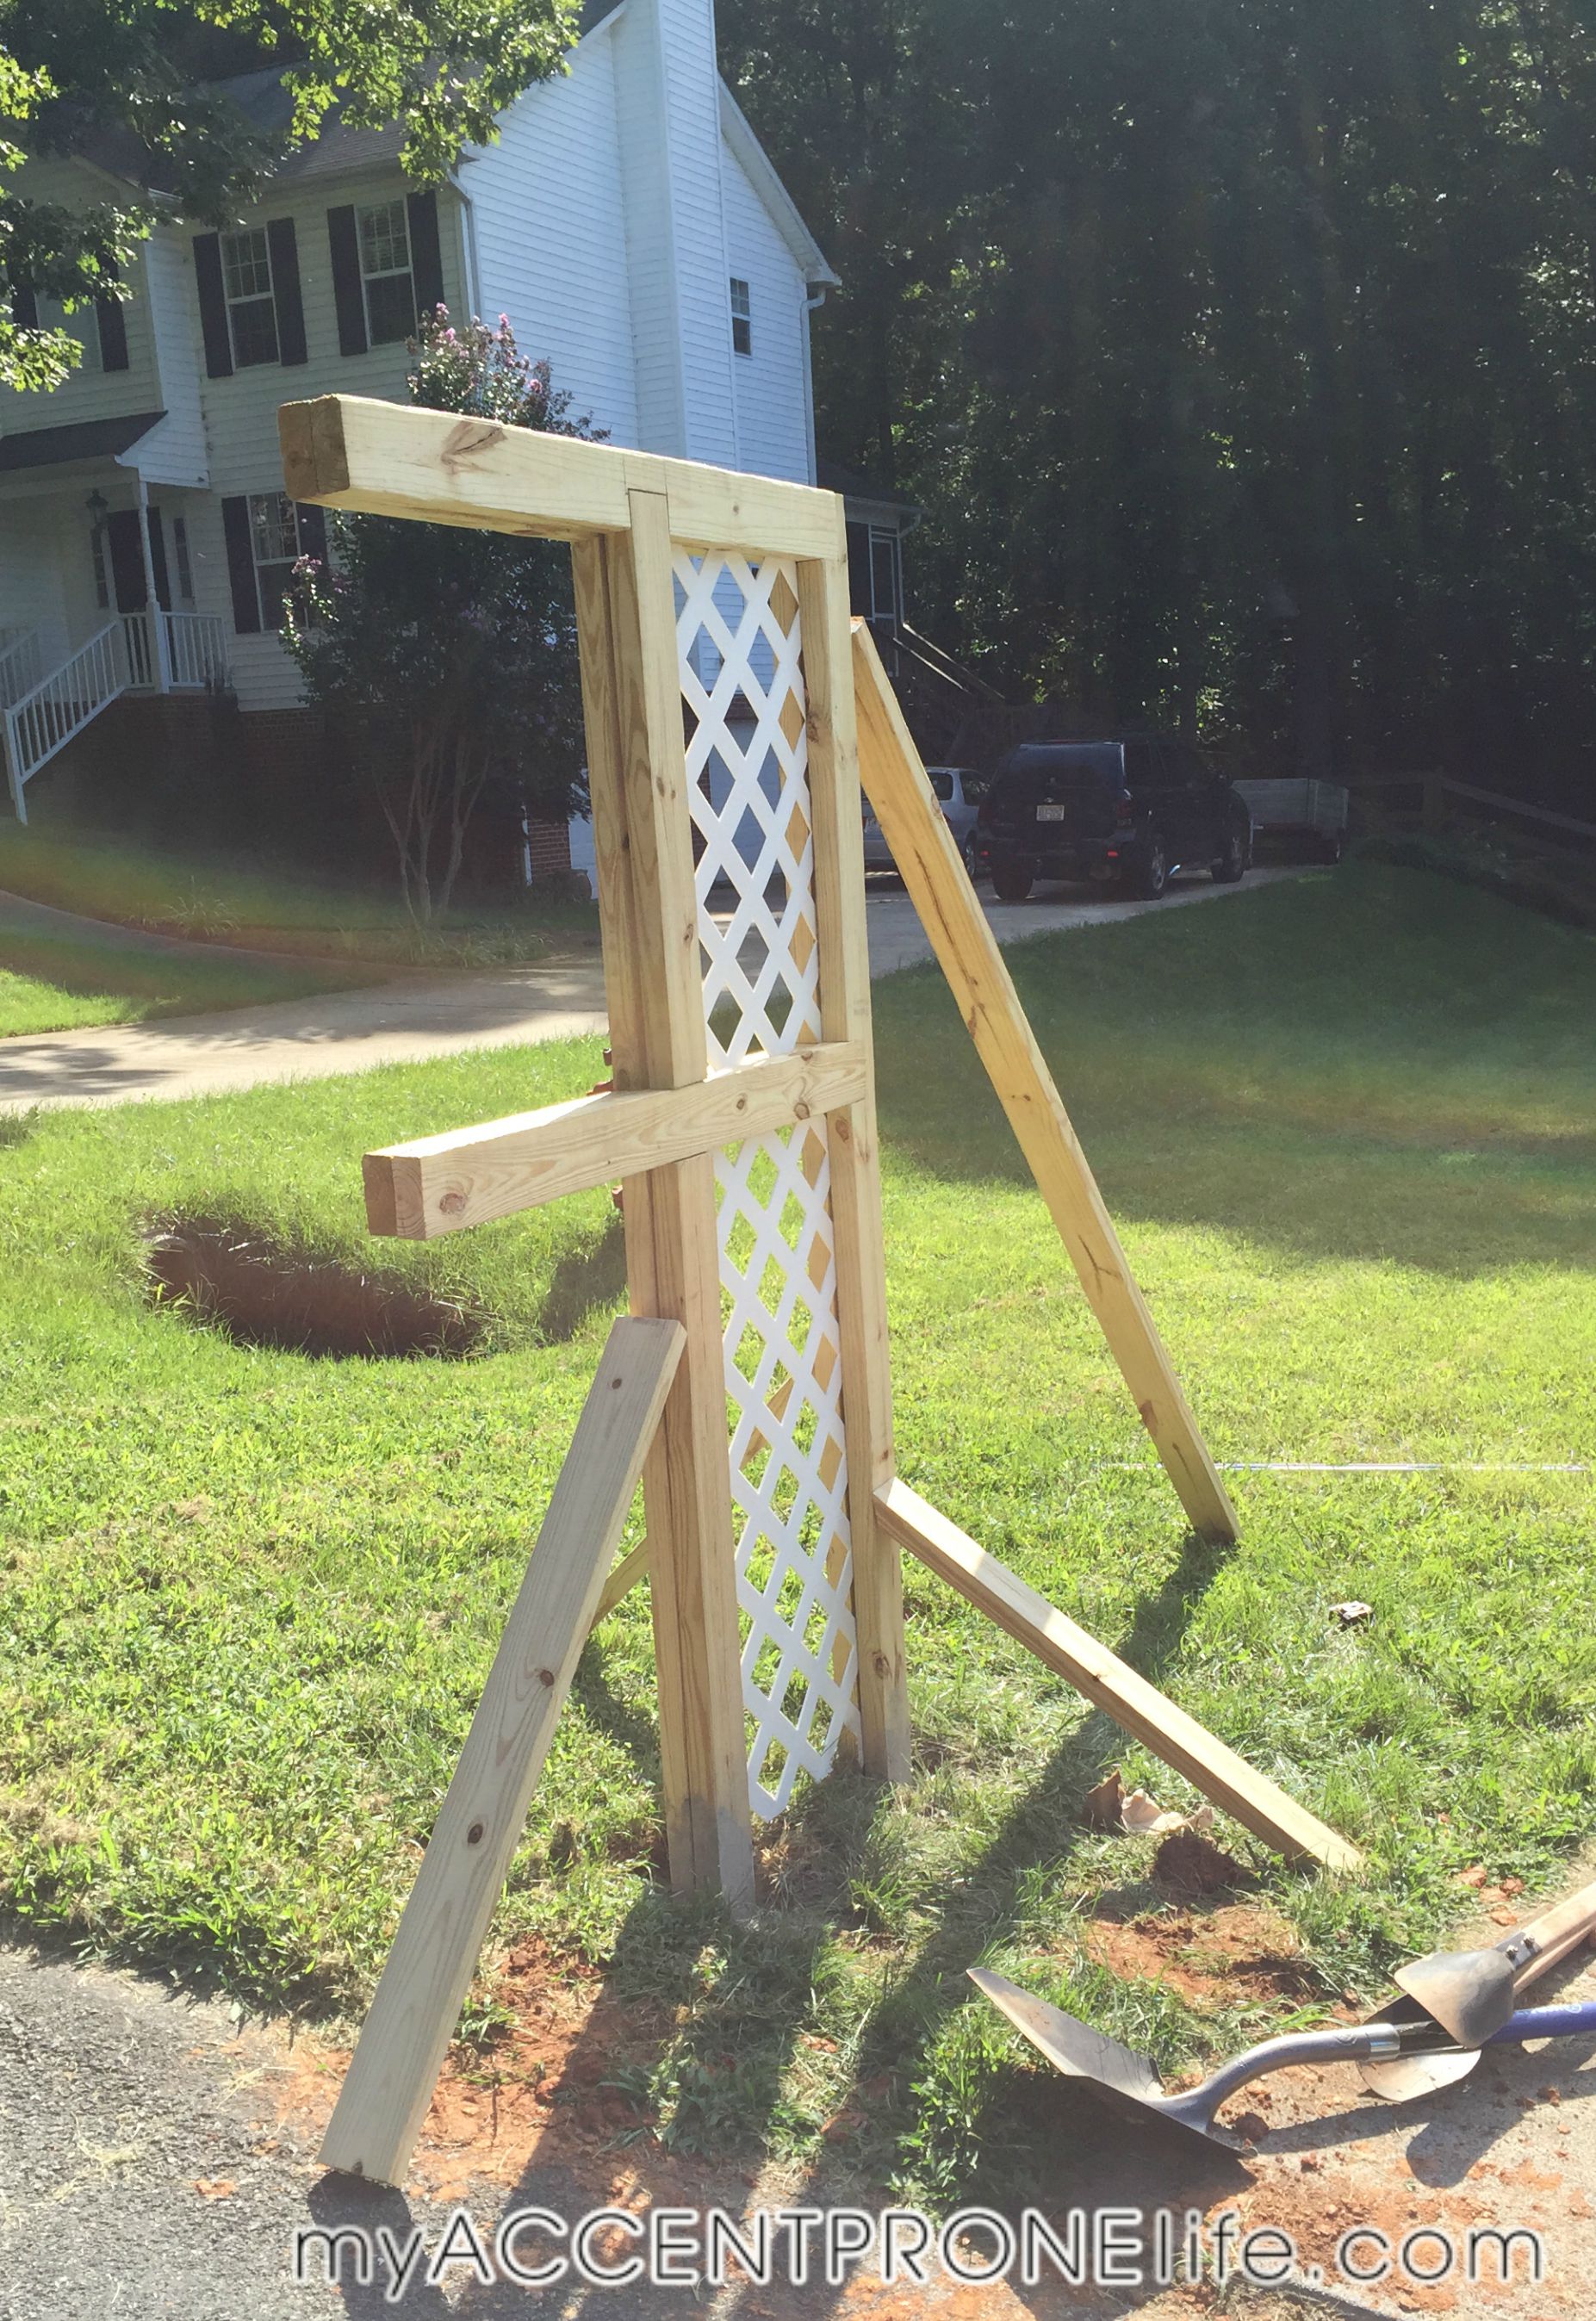
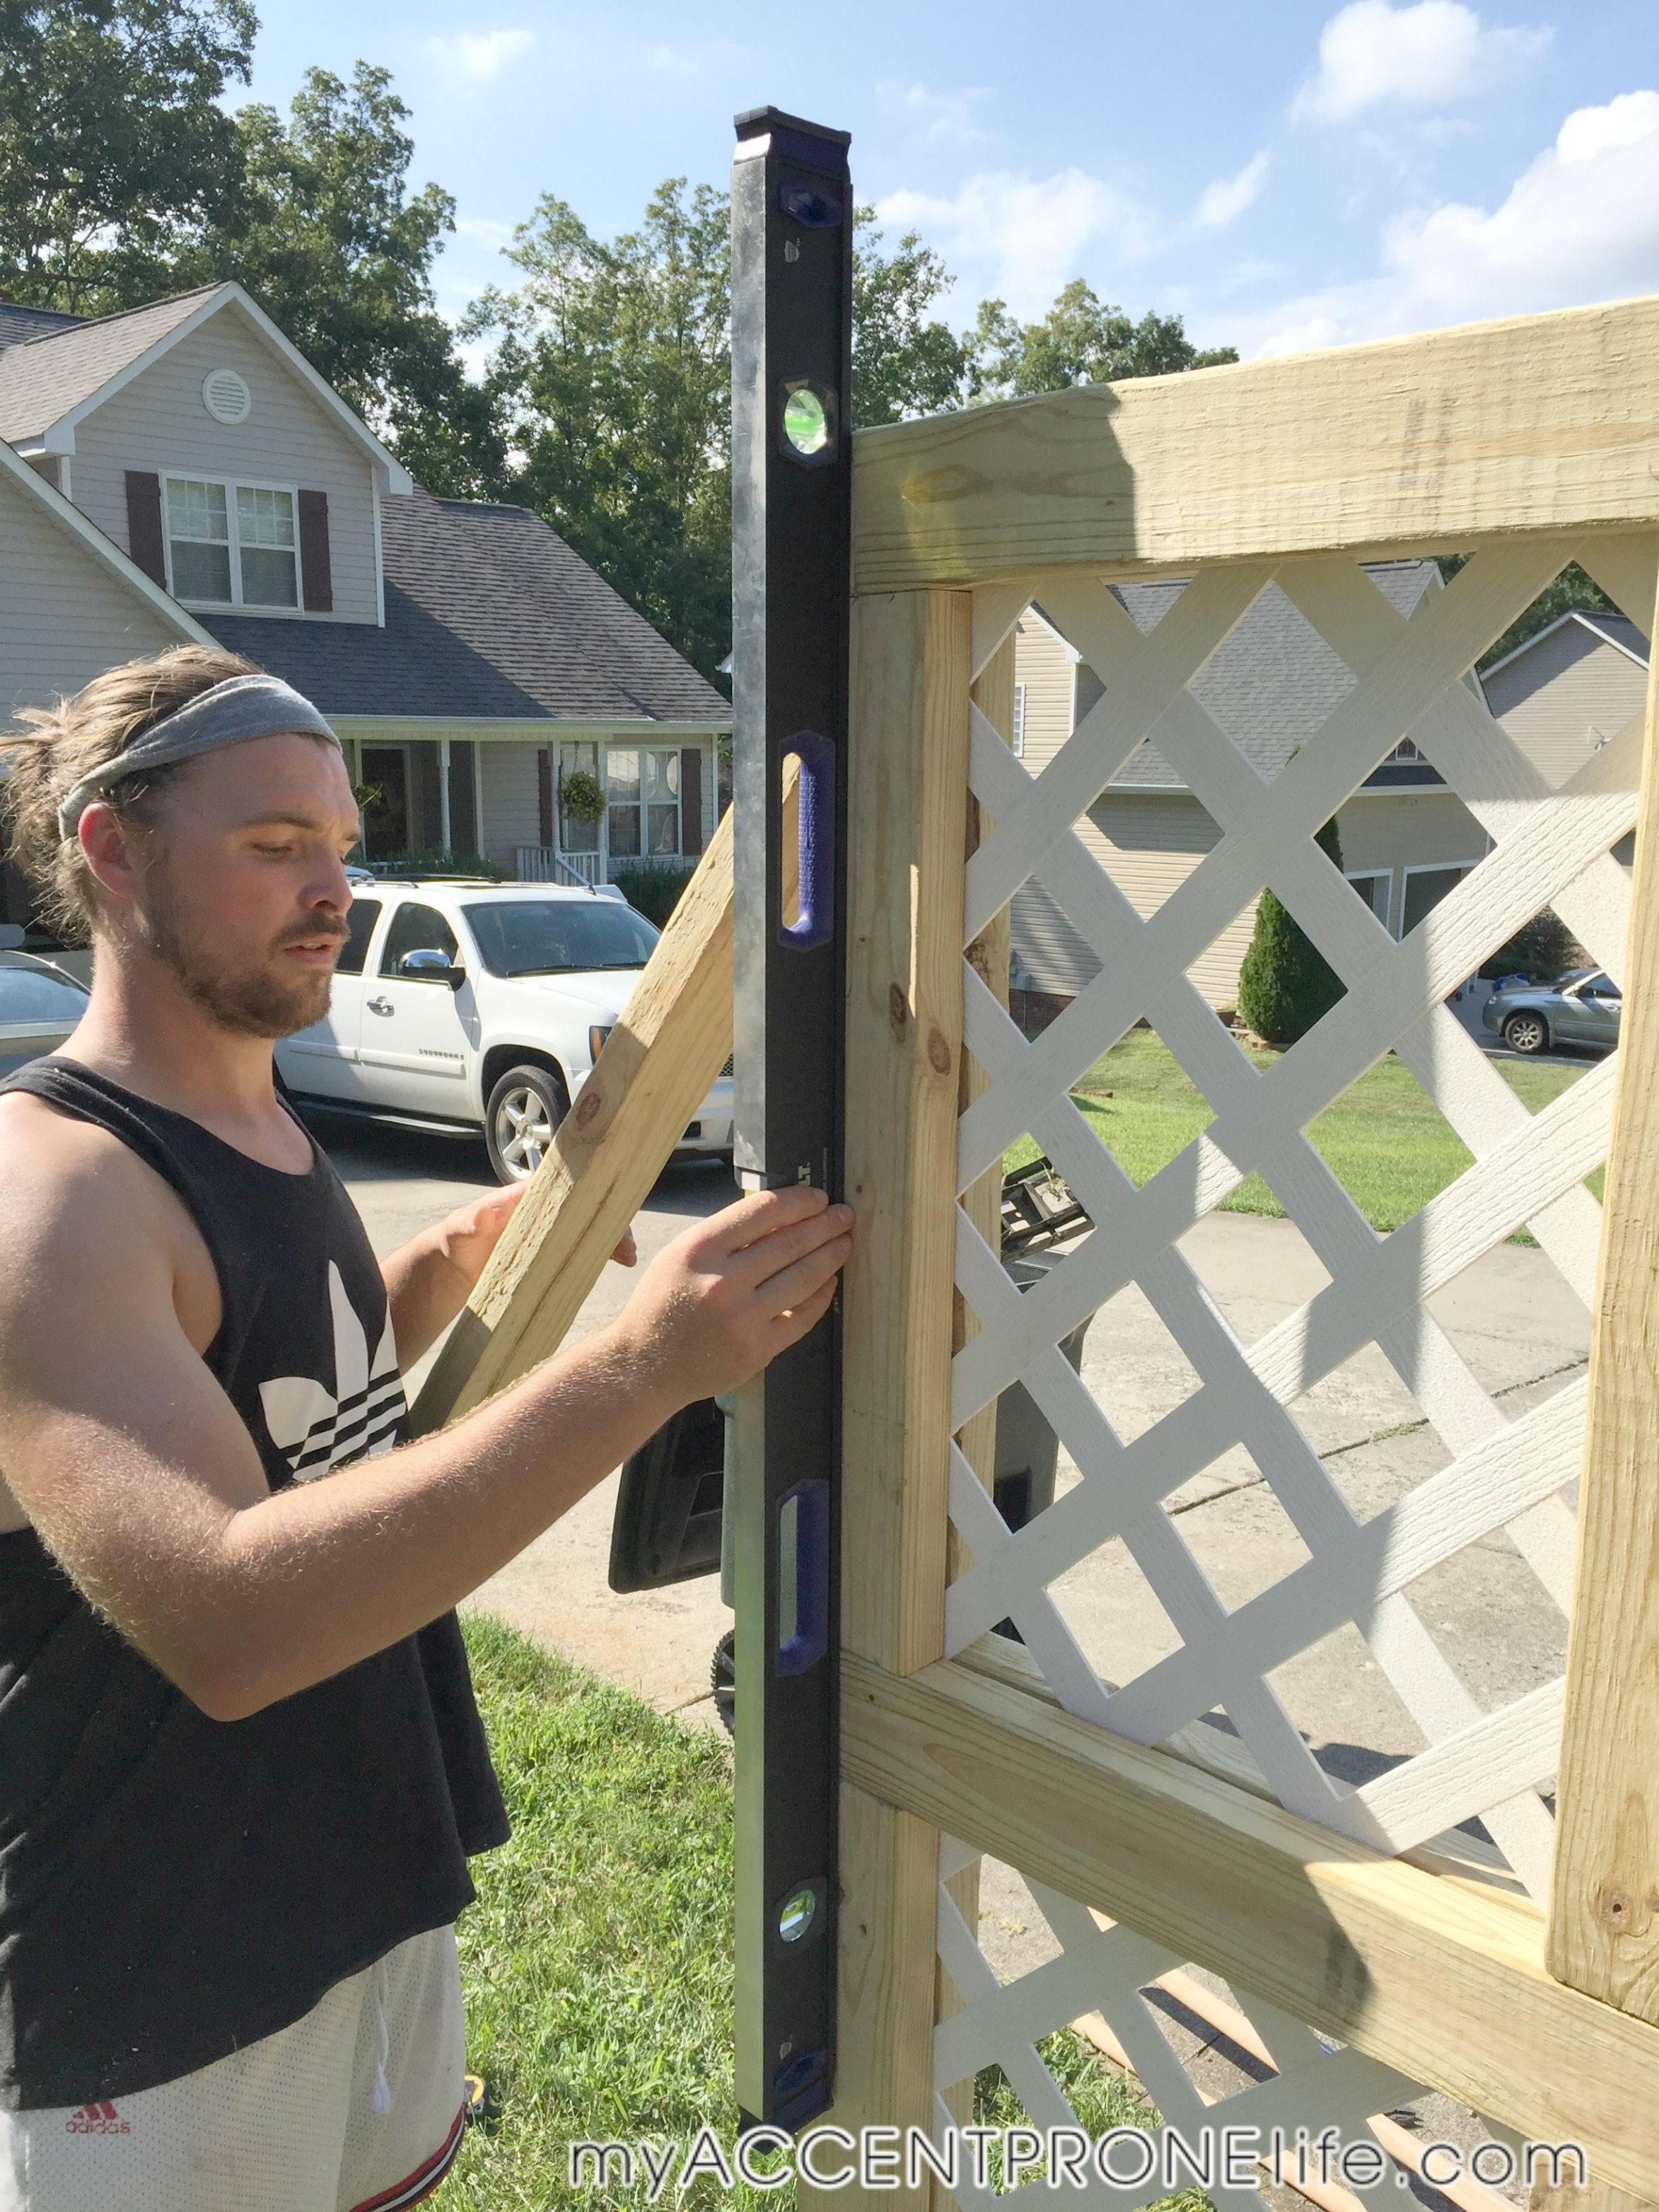
Step 13- Place the connected mailbox into the holes. The bottom horizontal post should be 42″ high at the top of the post.(the hole should be about 18″ deep). Make sure it is horizontally and vertically level before cementing into the ground. You can use 2x4s to stabilize and hold it into place while cementing it.
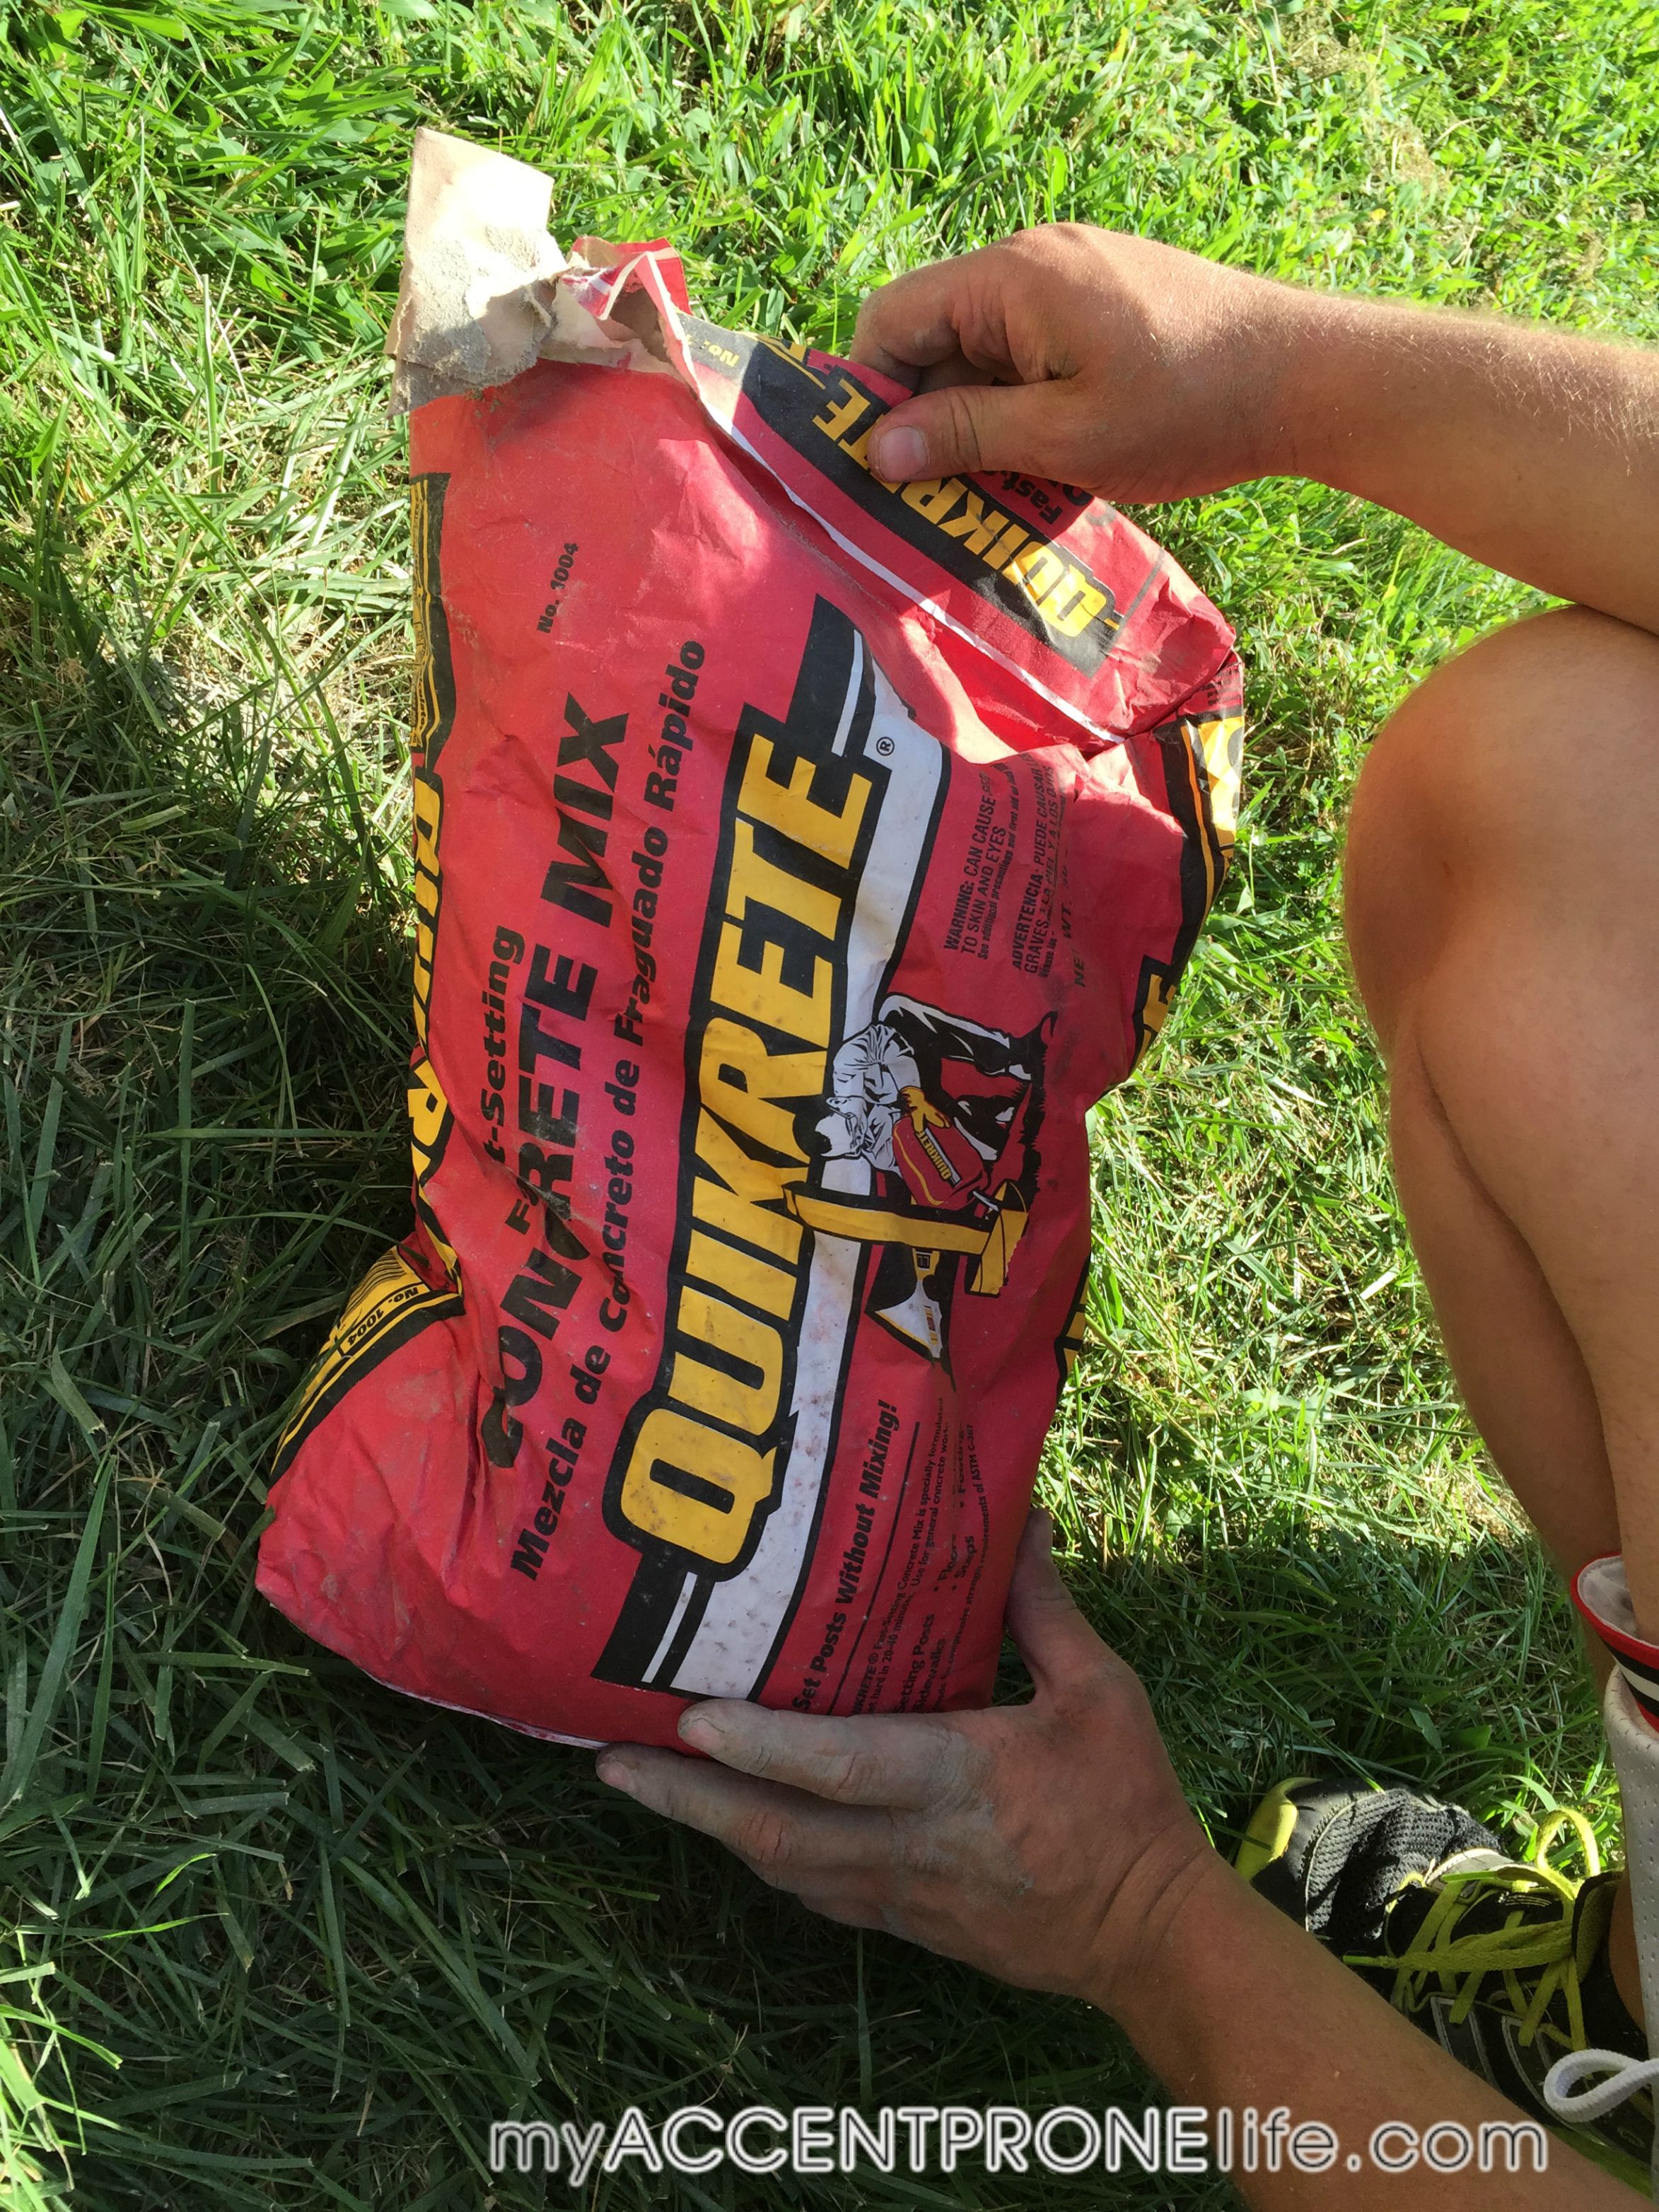
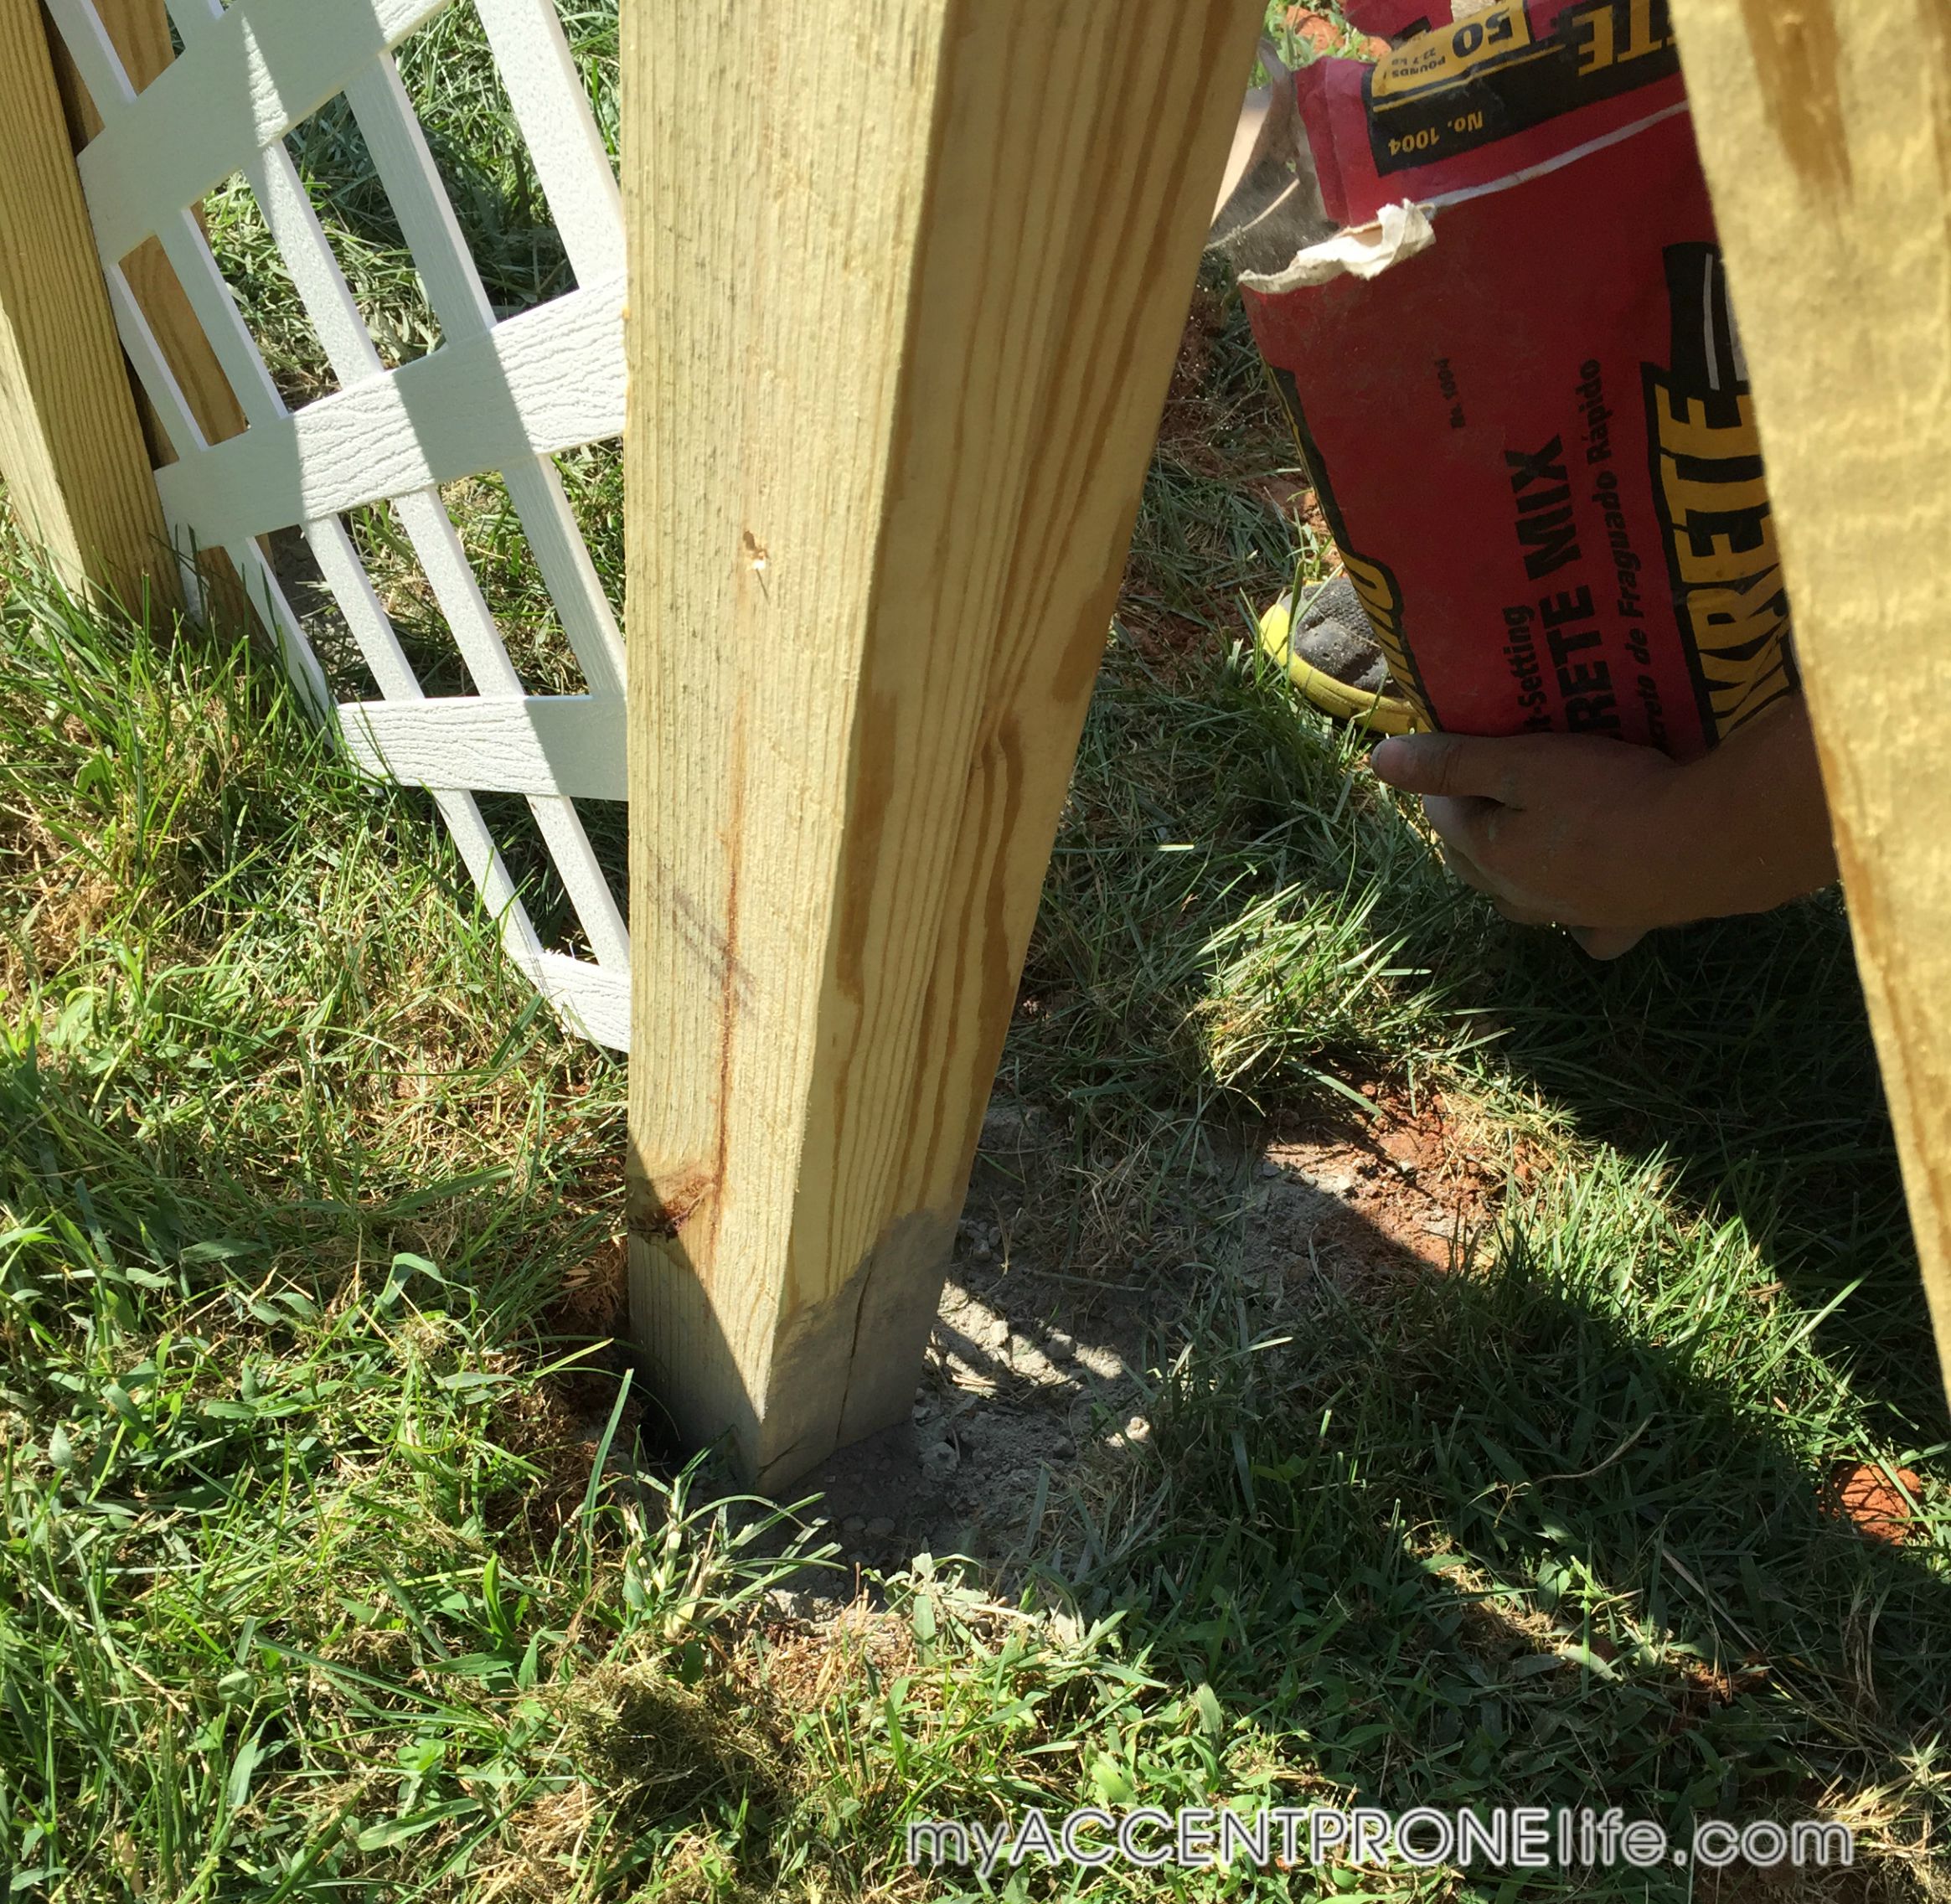
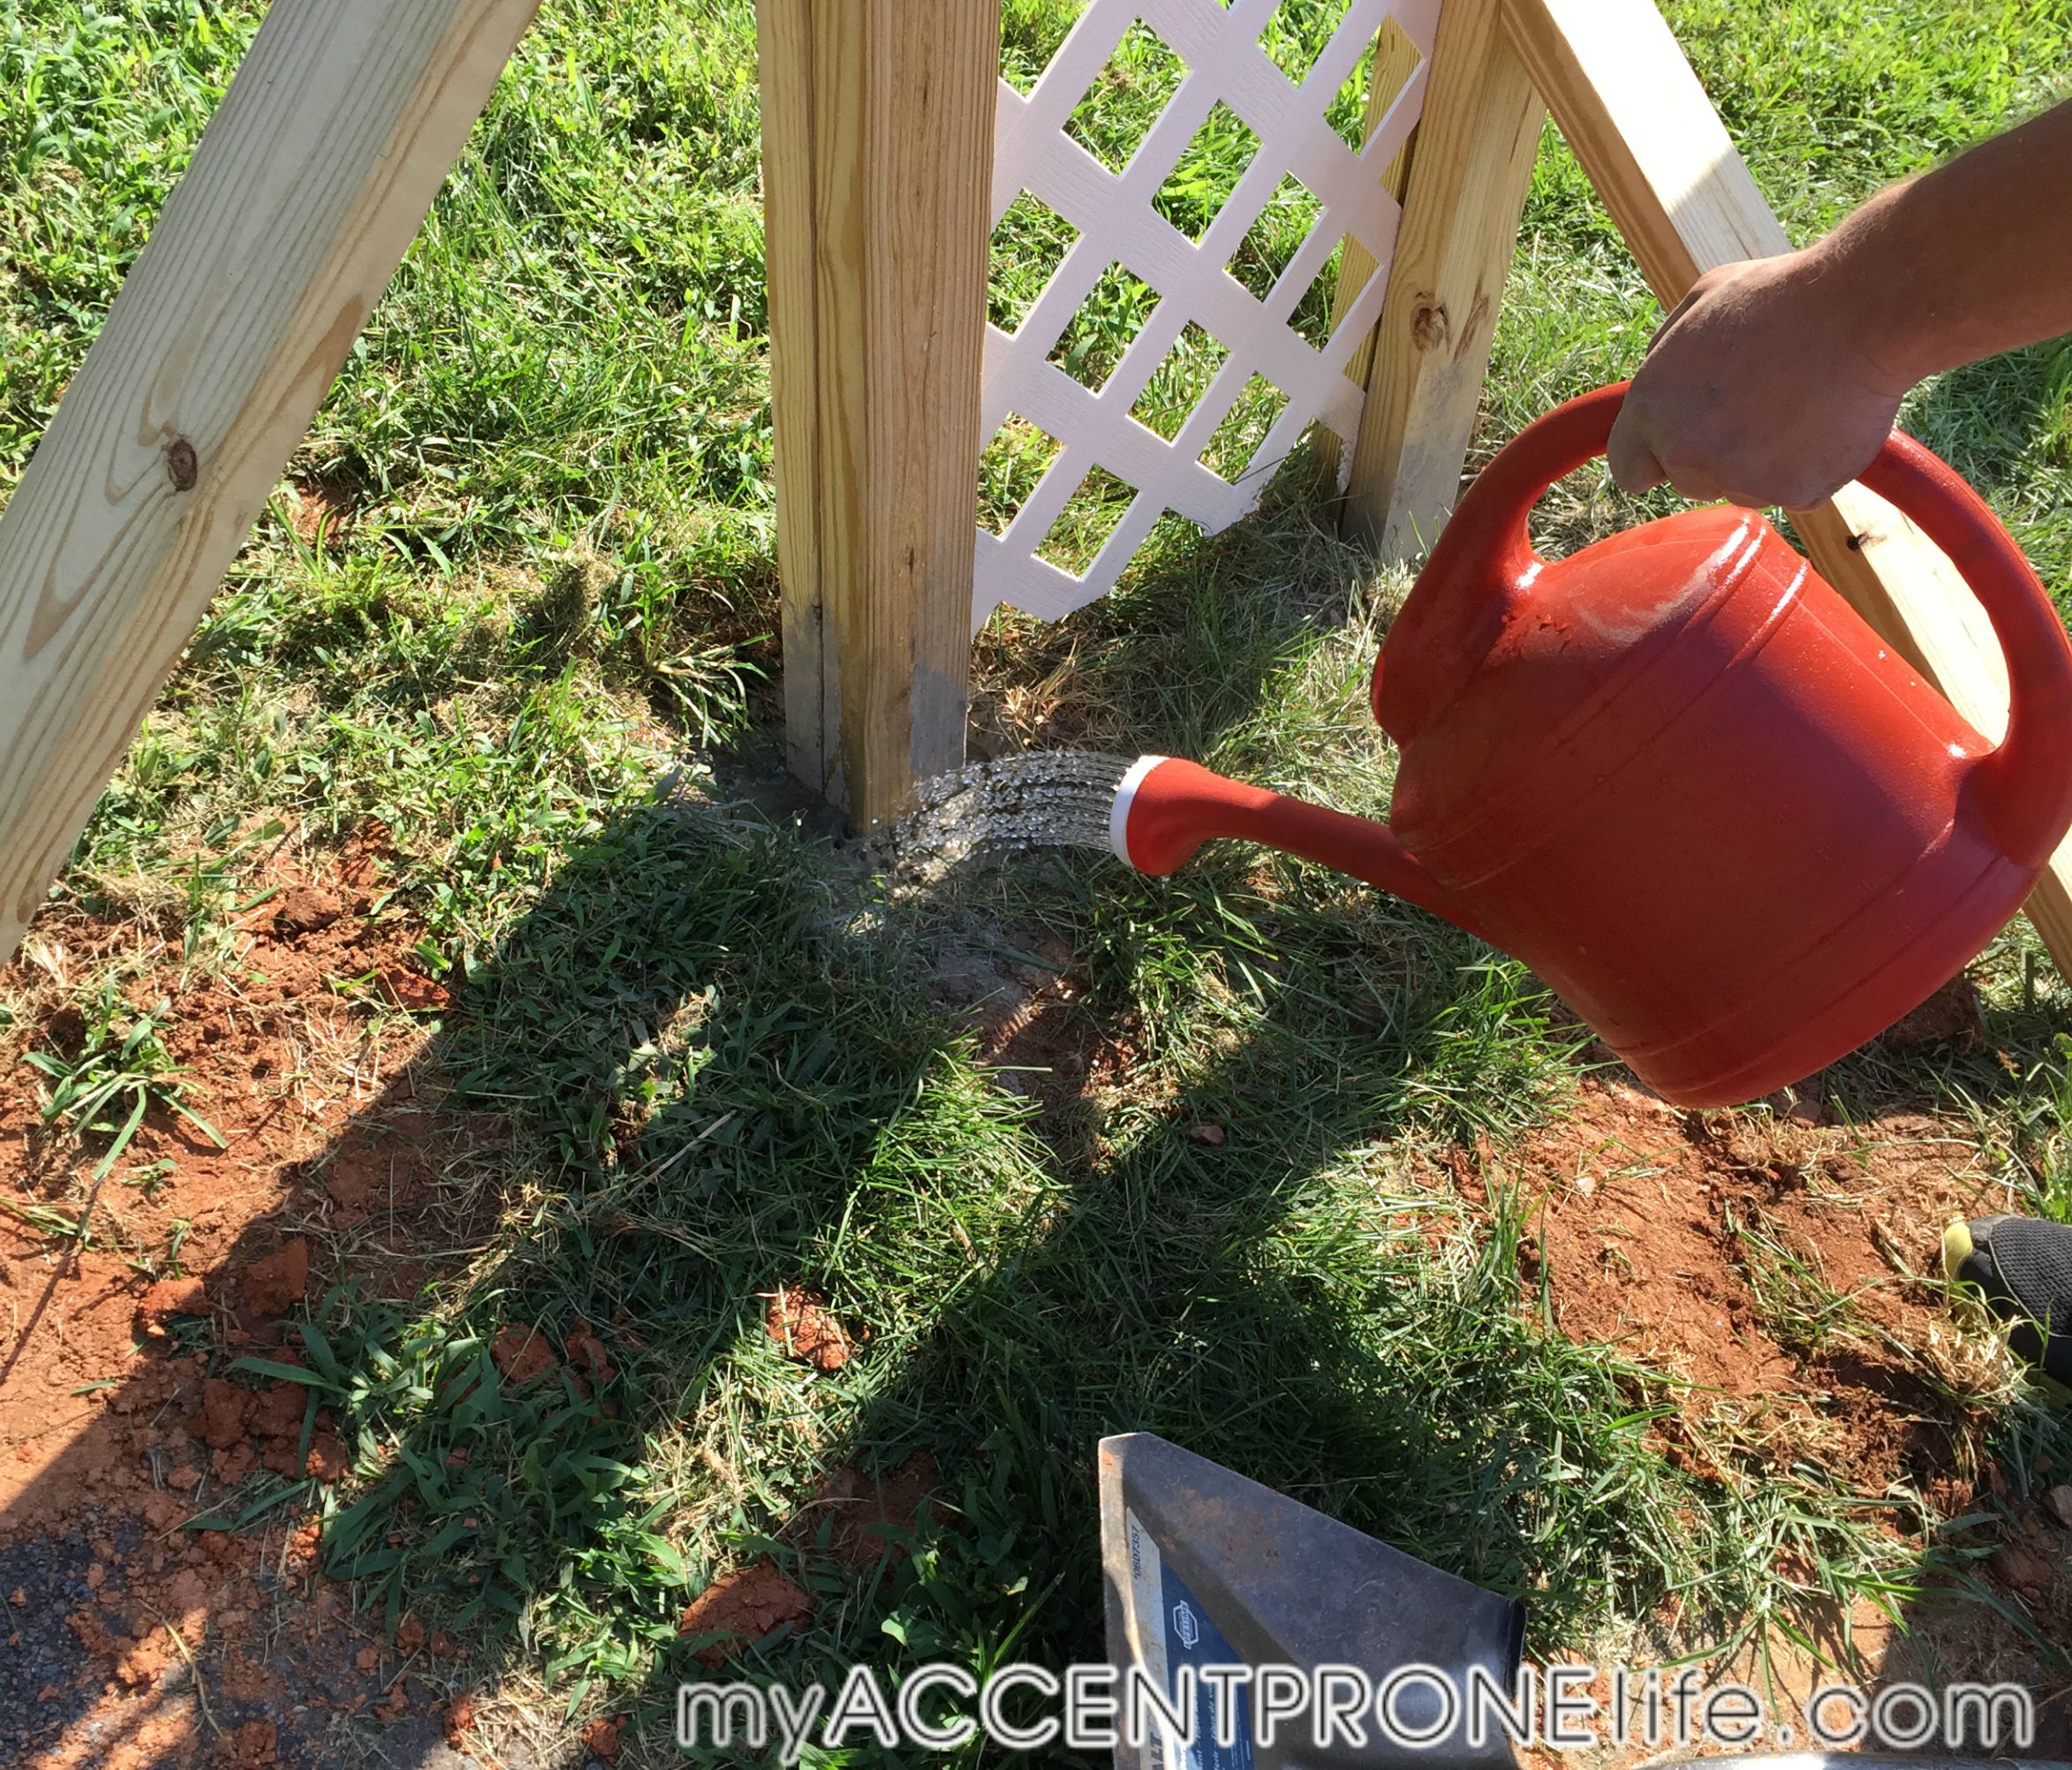
Step 14- Cement into the ground. Fill holes with quikcrete and then fill with water to cement. Let set for about 30-40 min.
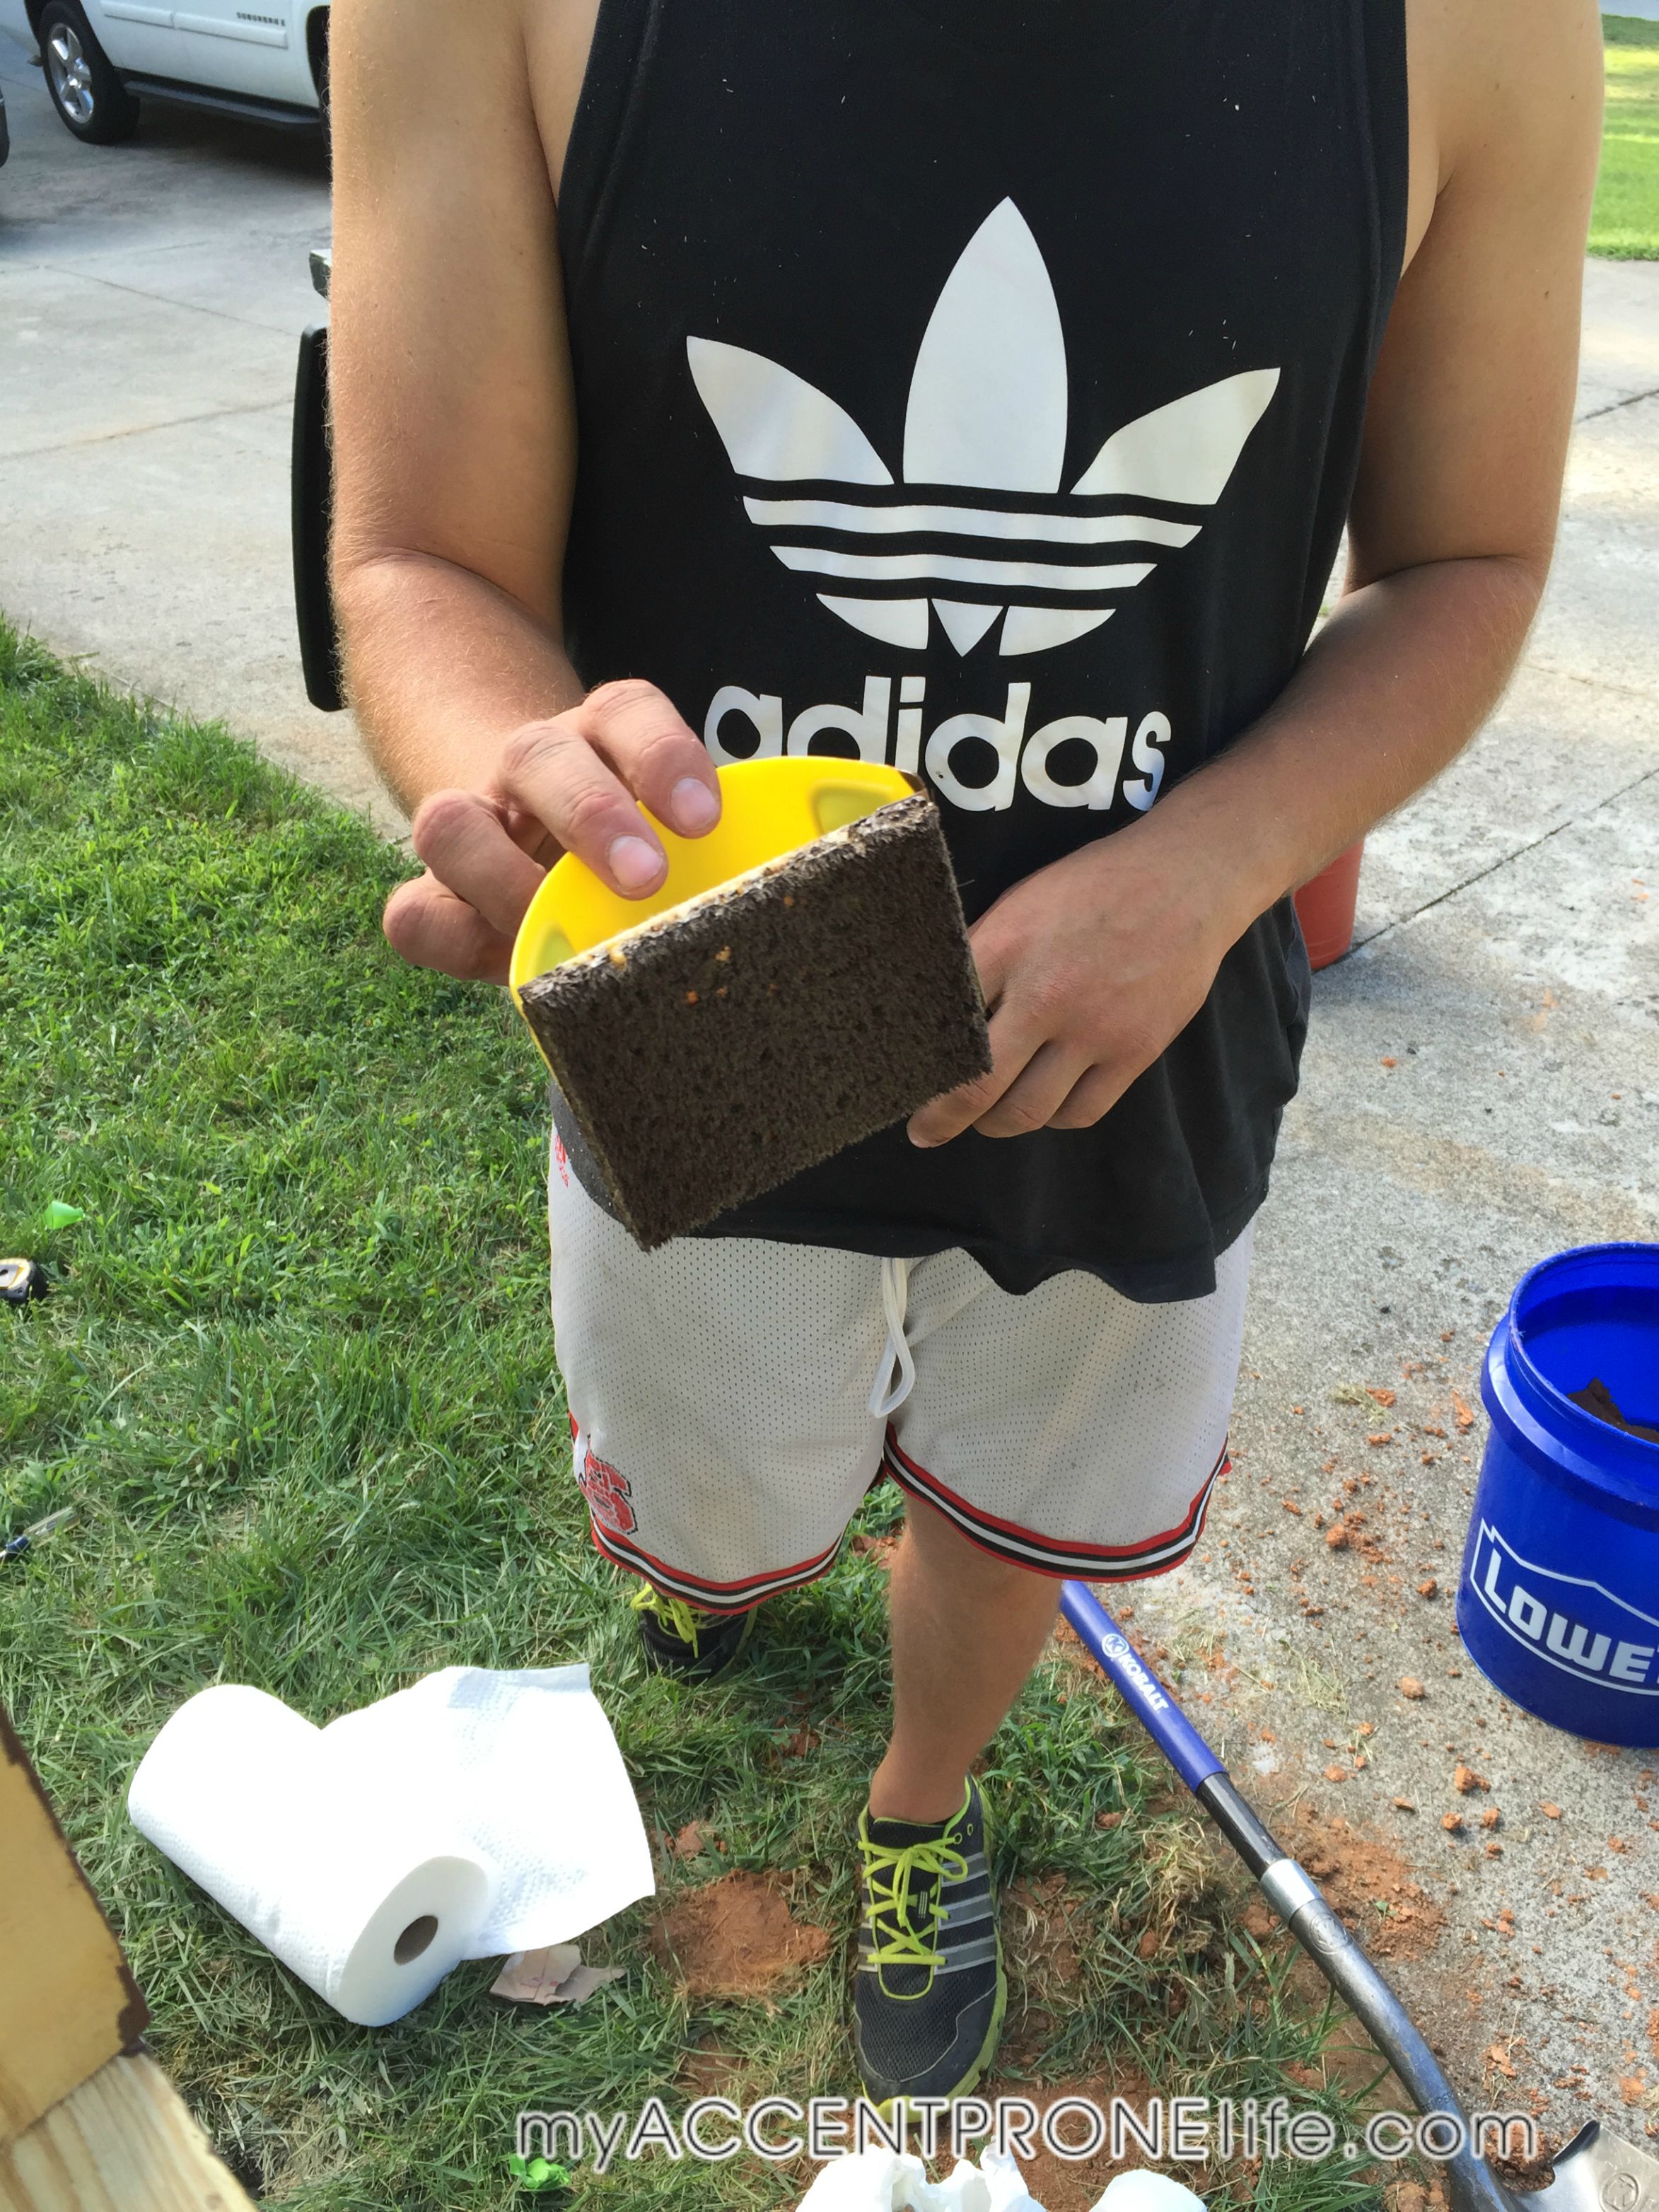
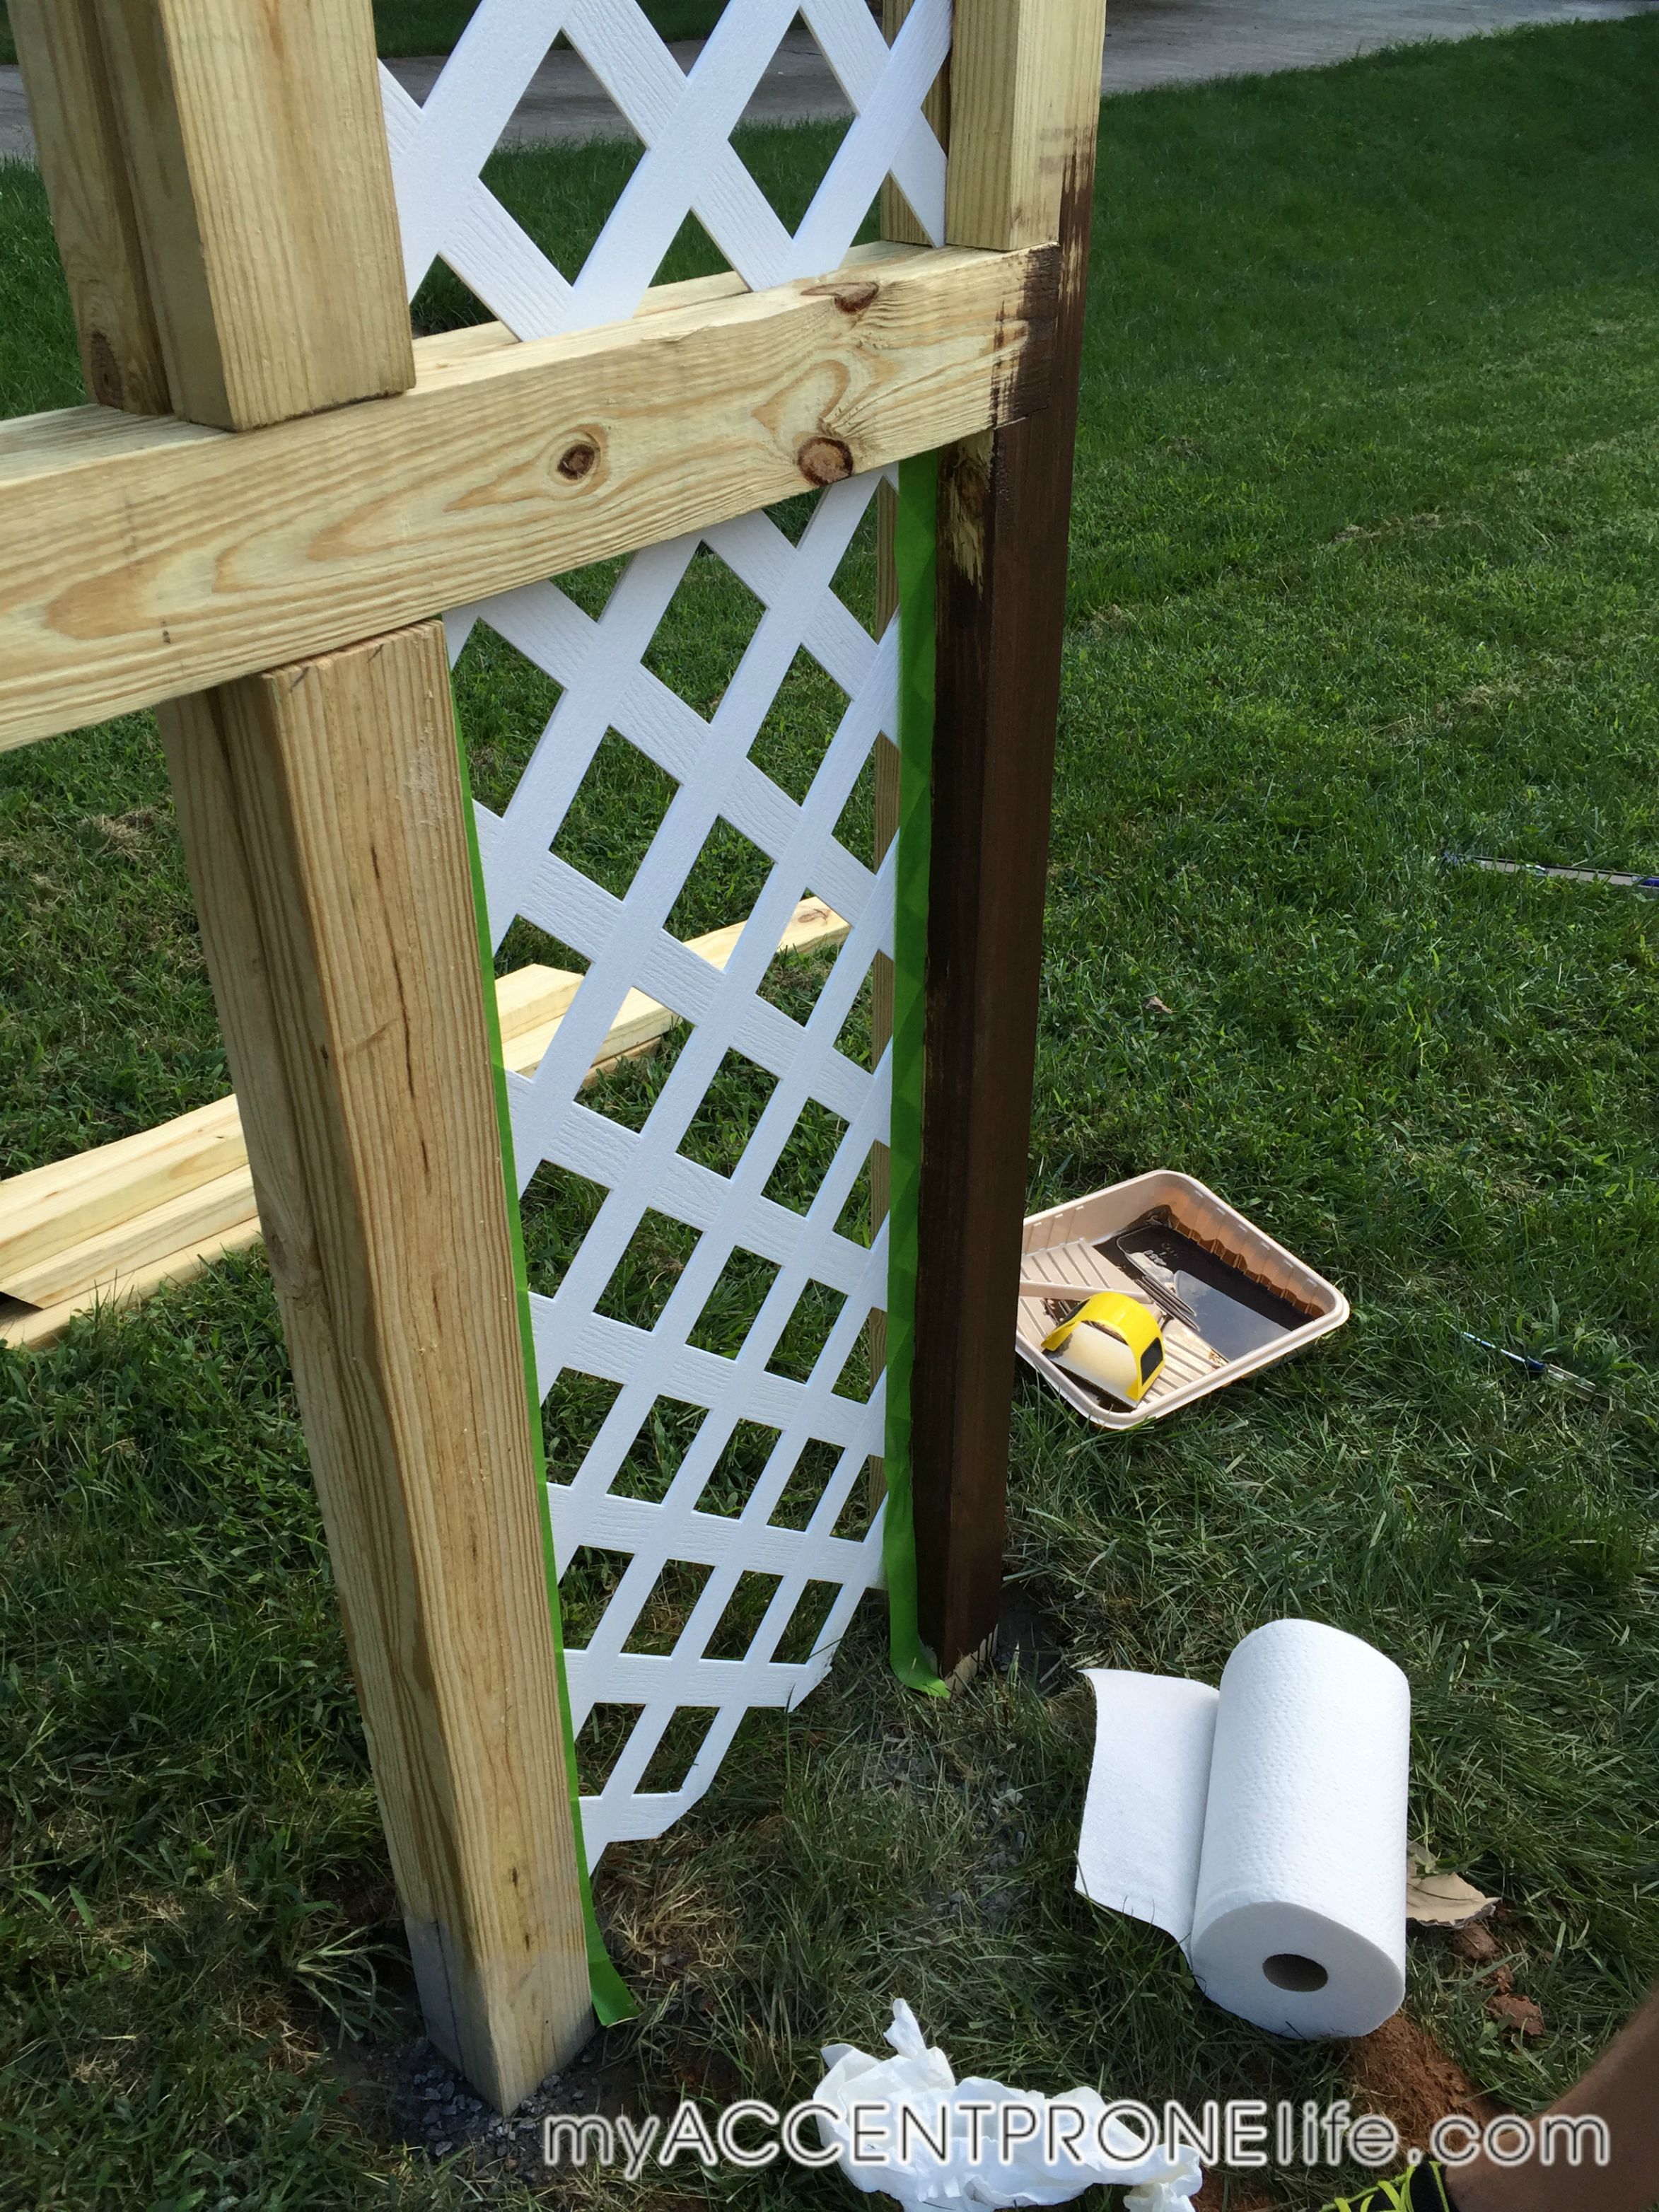
Step 15- Stain the posts and one of the mounting boards for the numbers. Tape off the white lattice with painters tape, and then stain the posts.
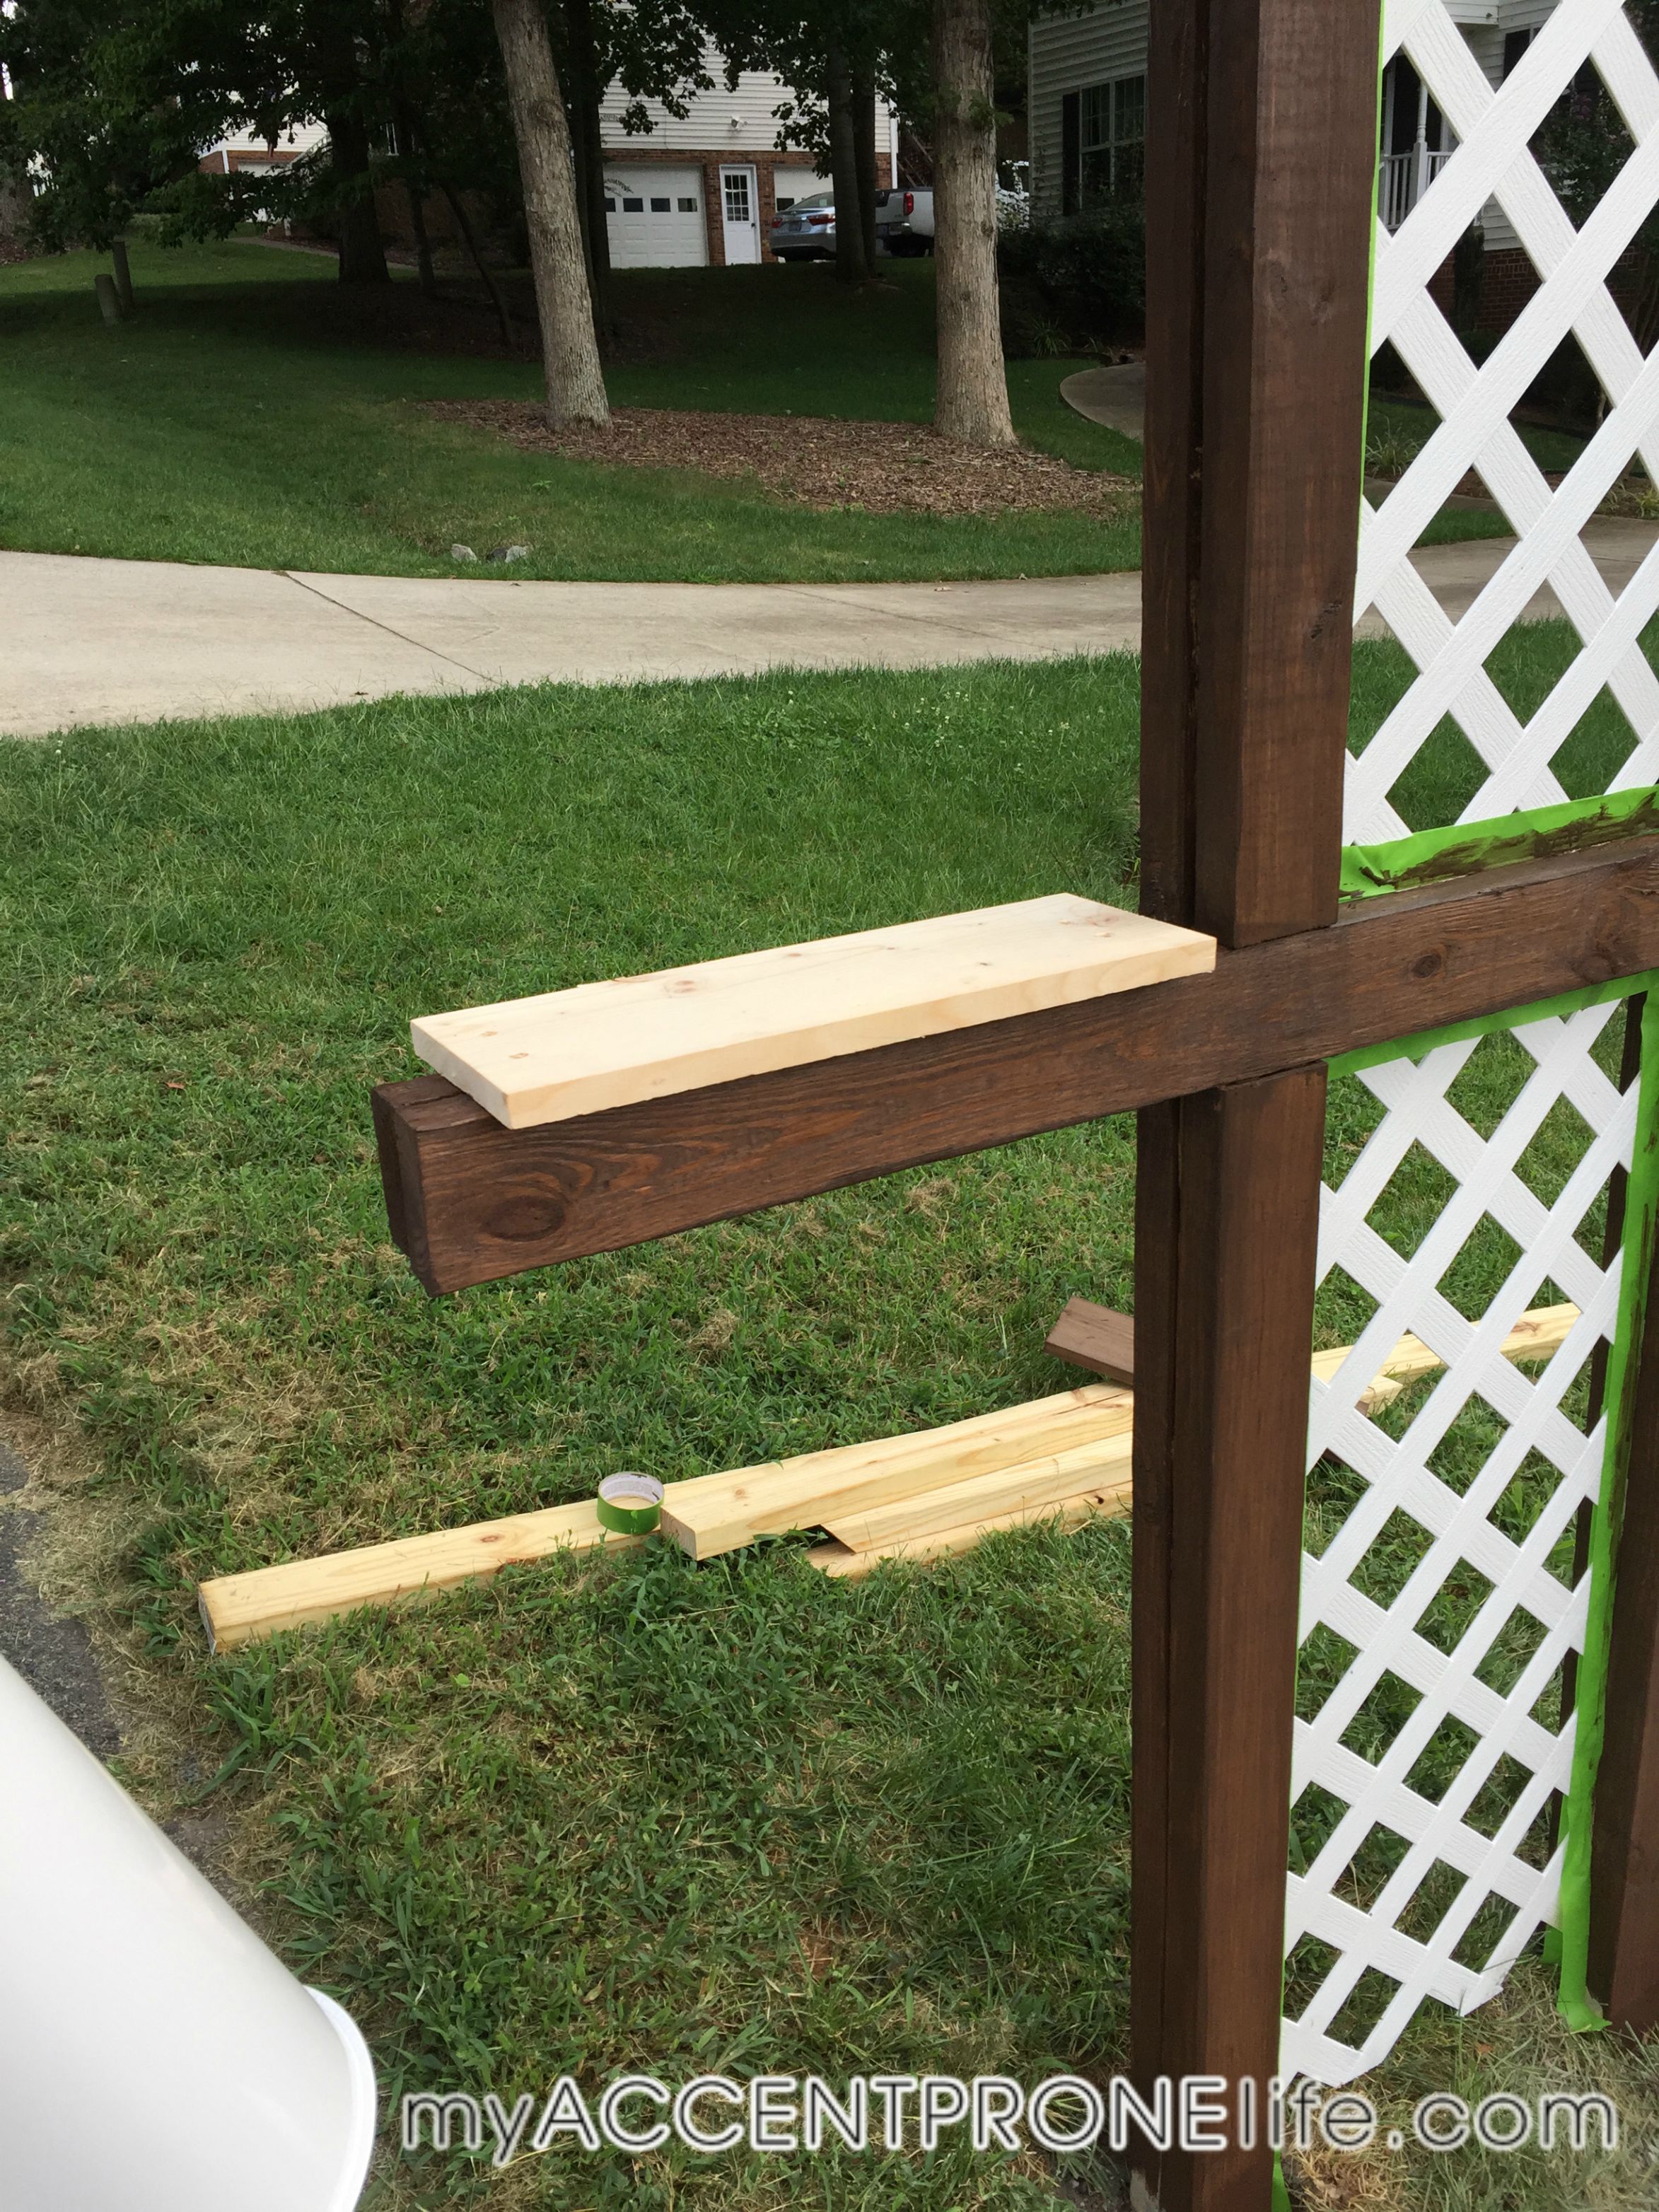
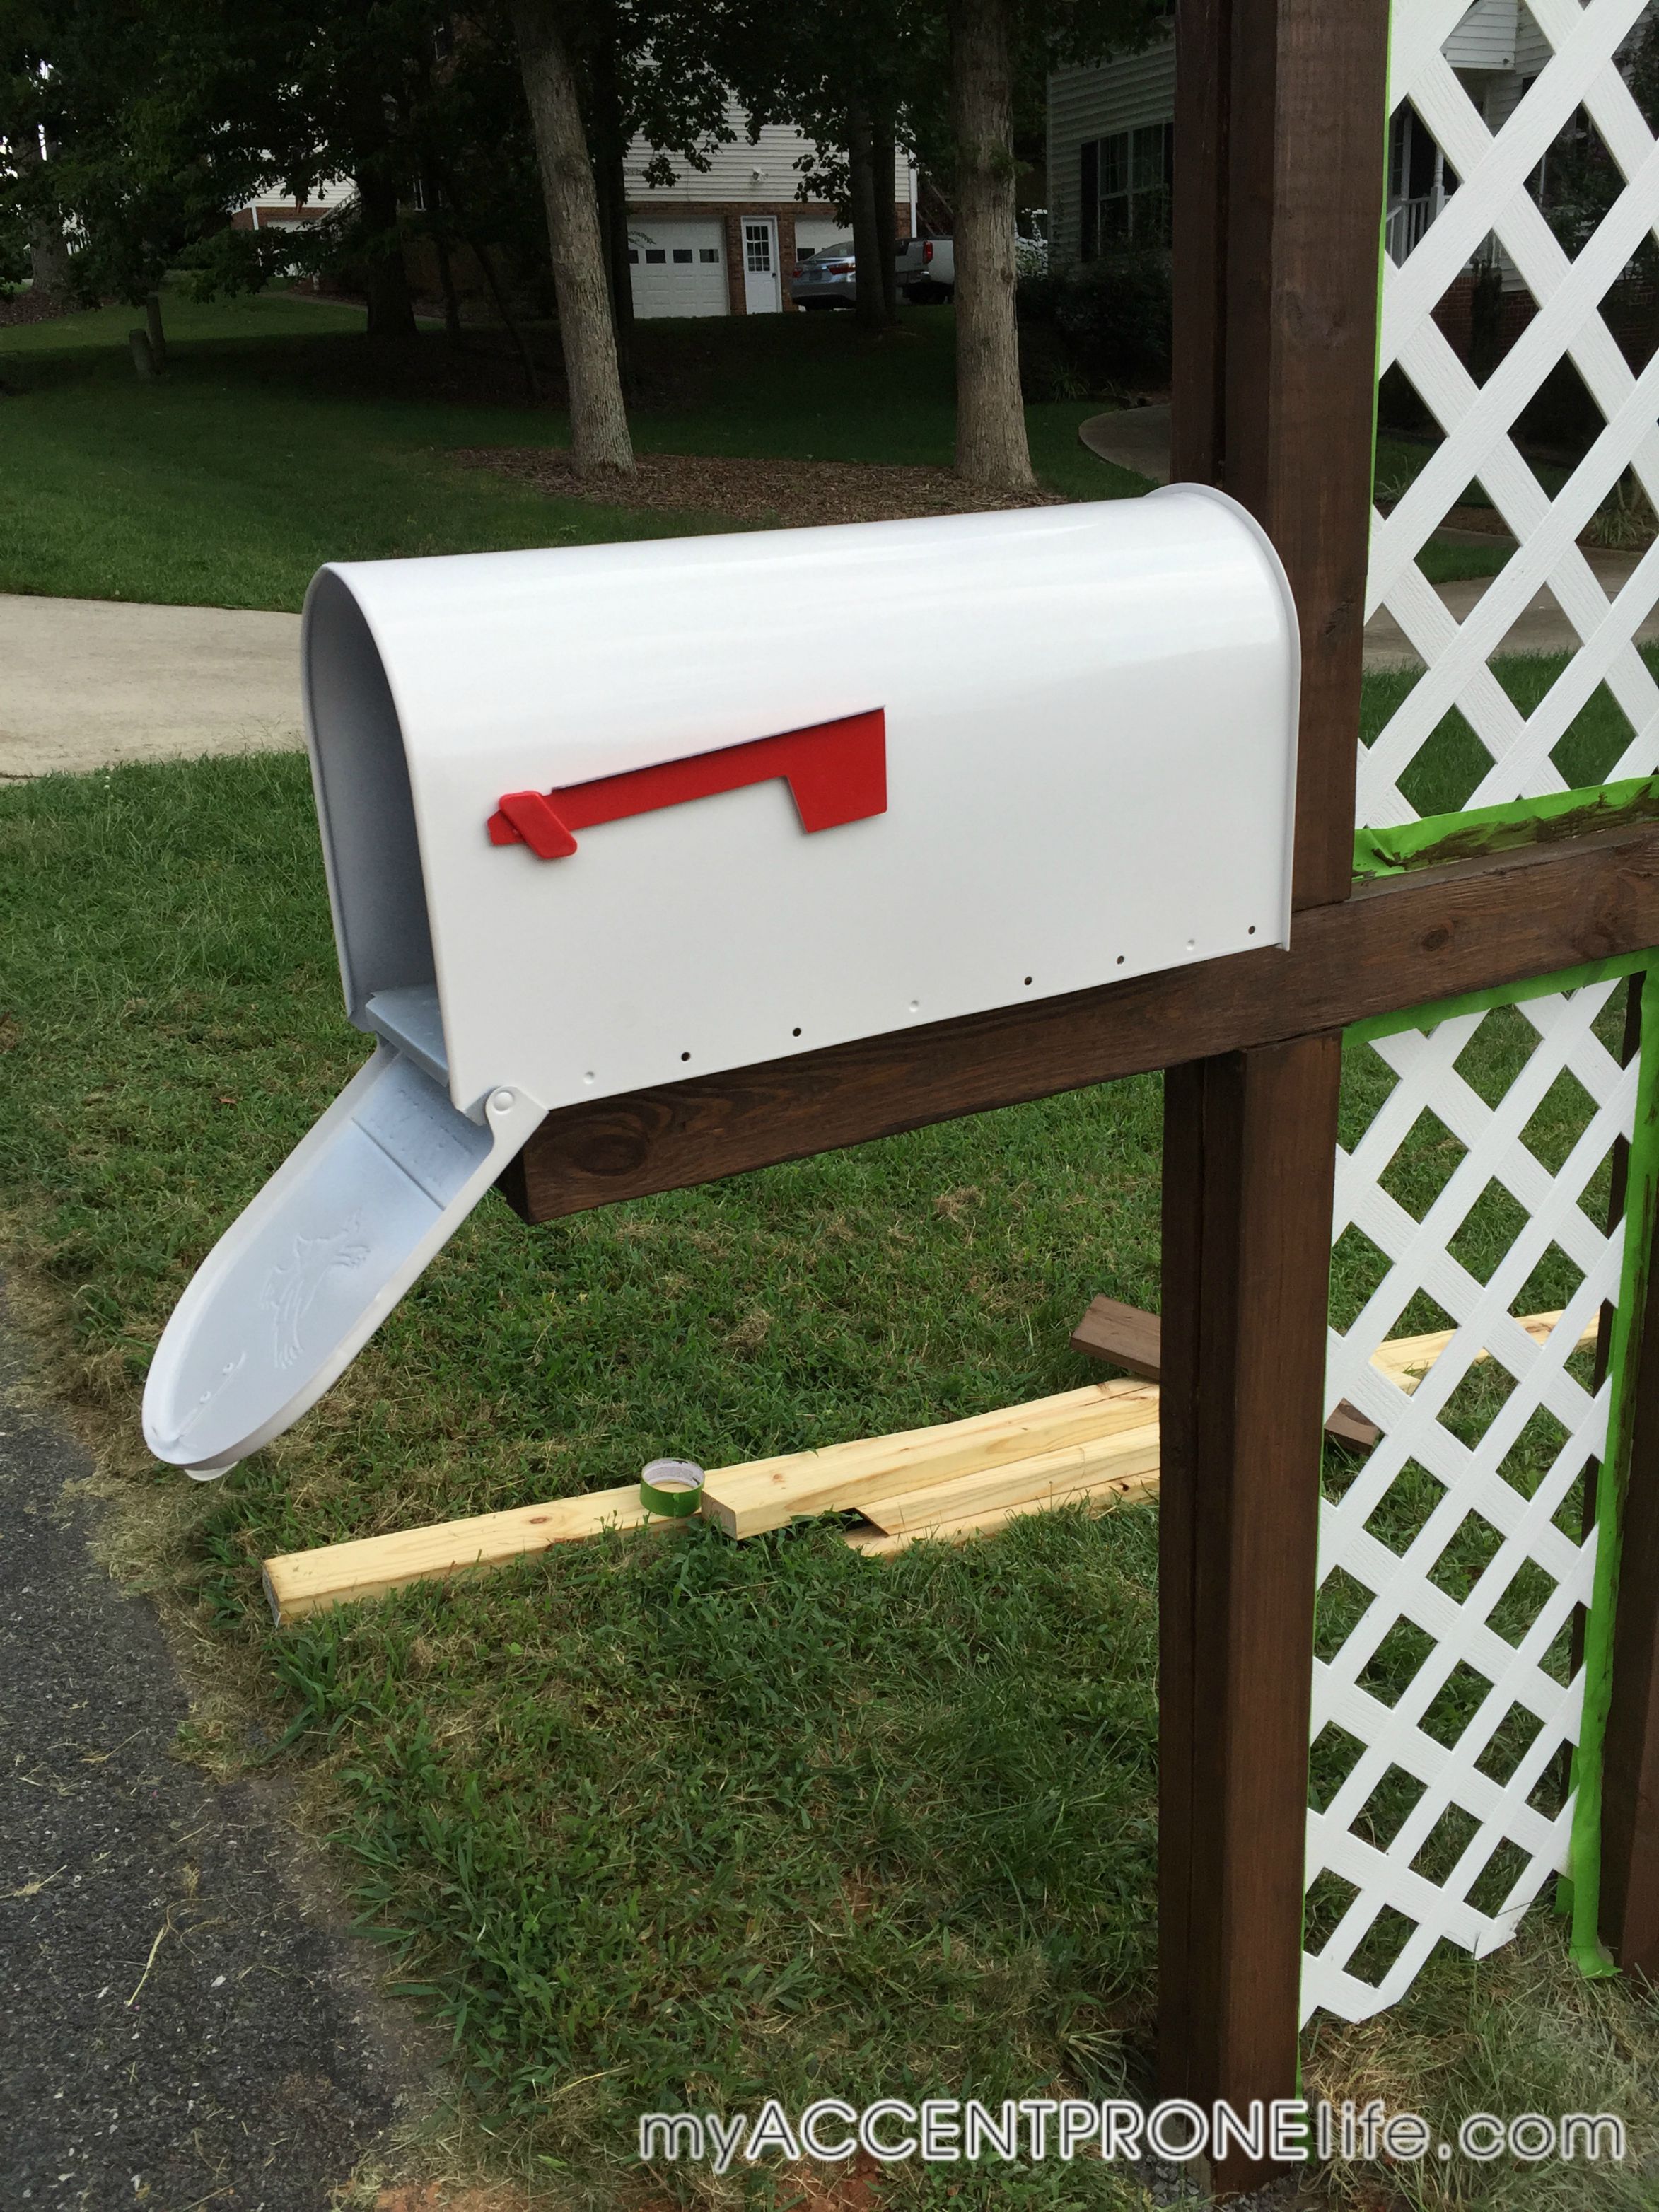
Step 16- Attach the mailbox to the frame. We used a mounting board to sit up under the mailbox to screw into.
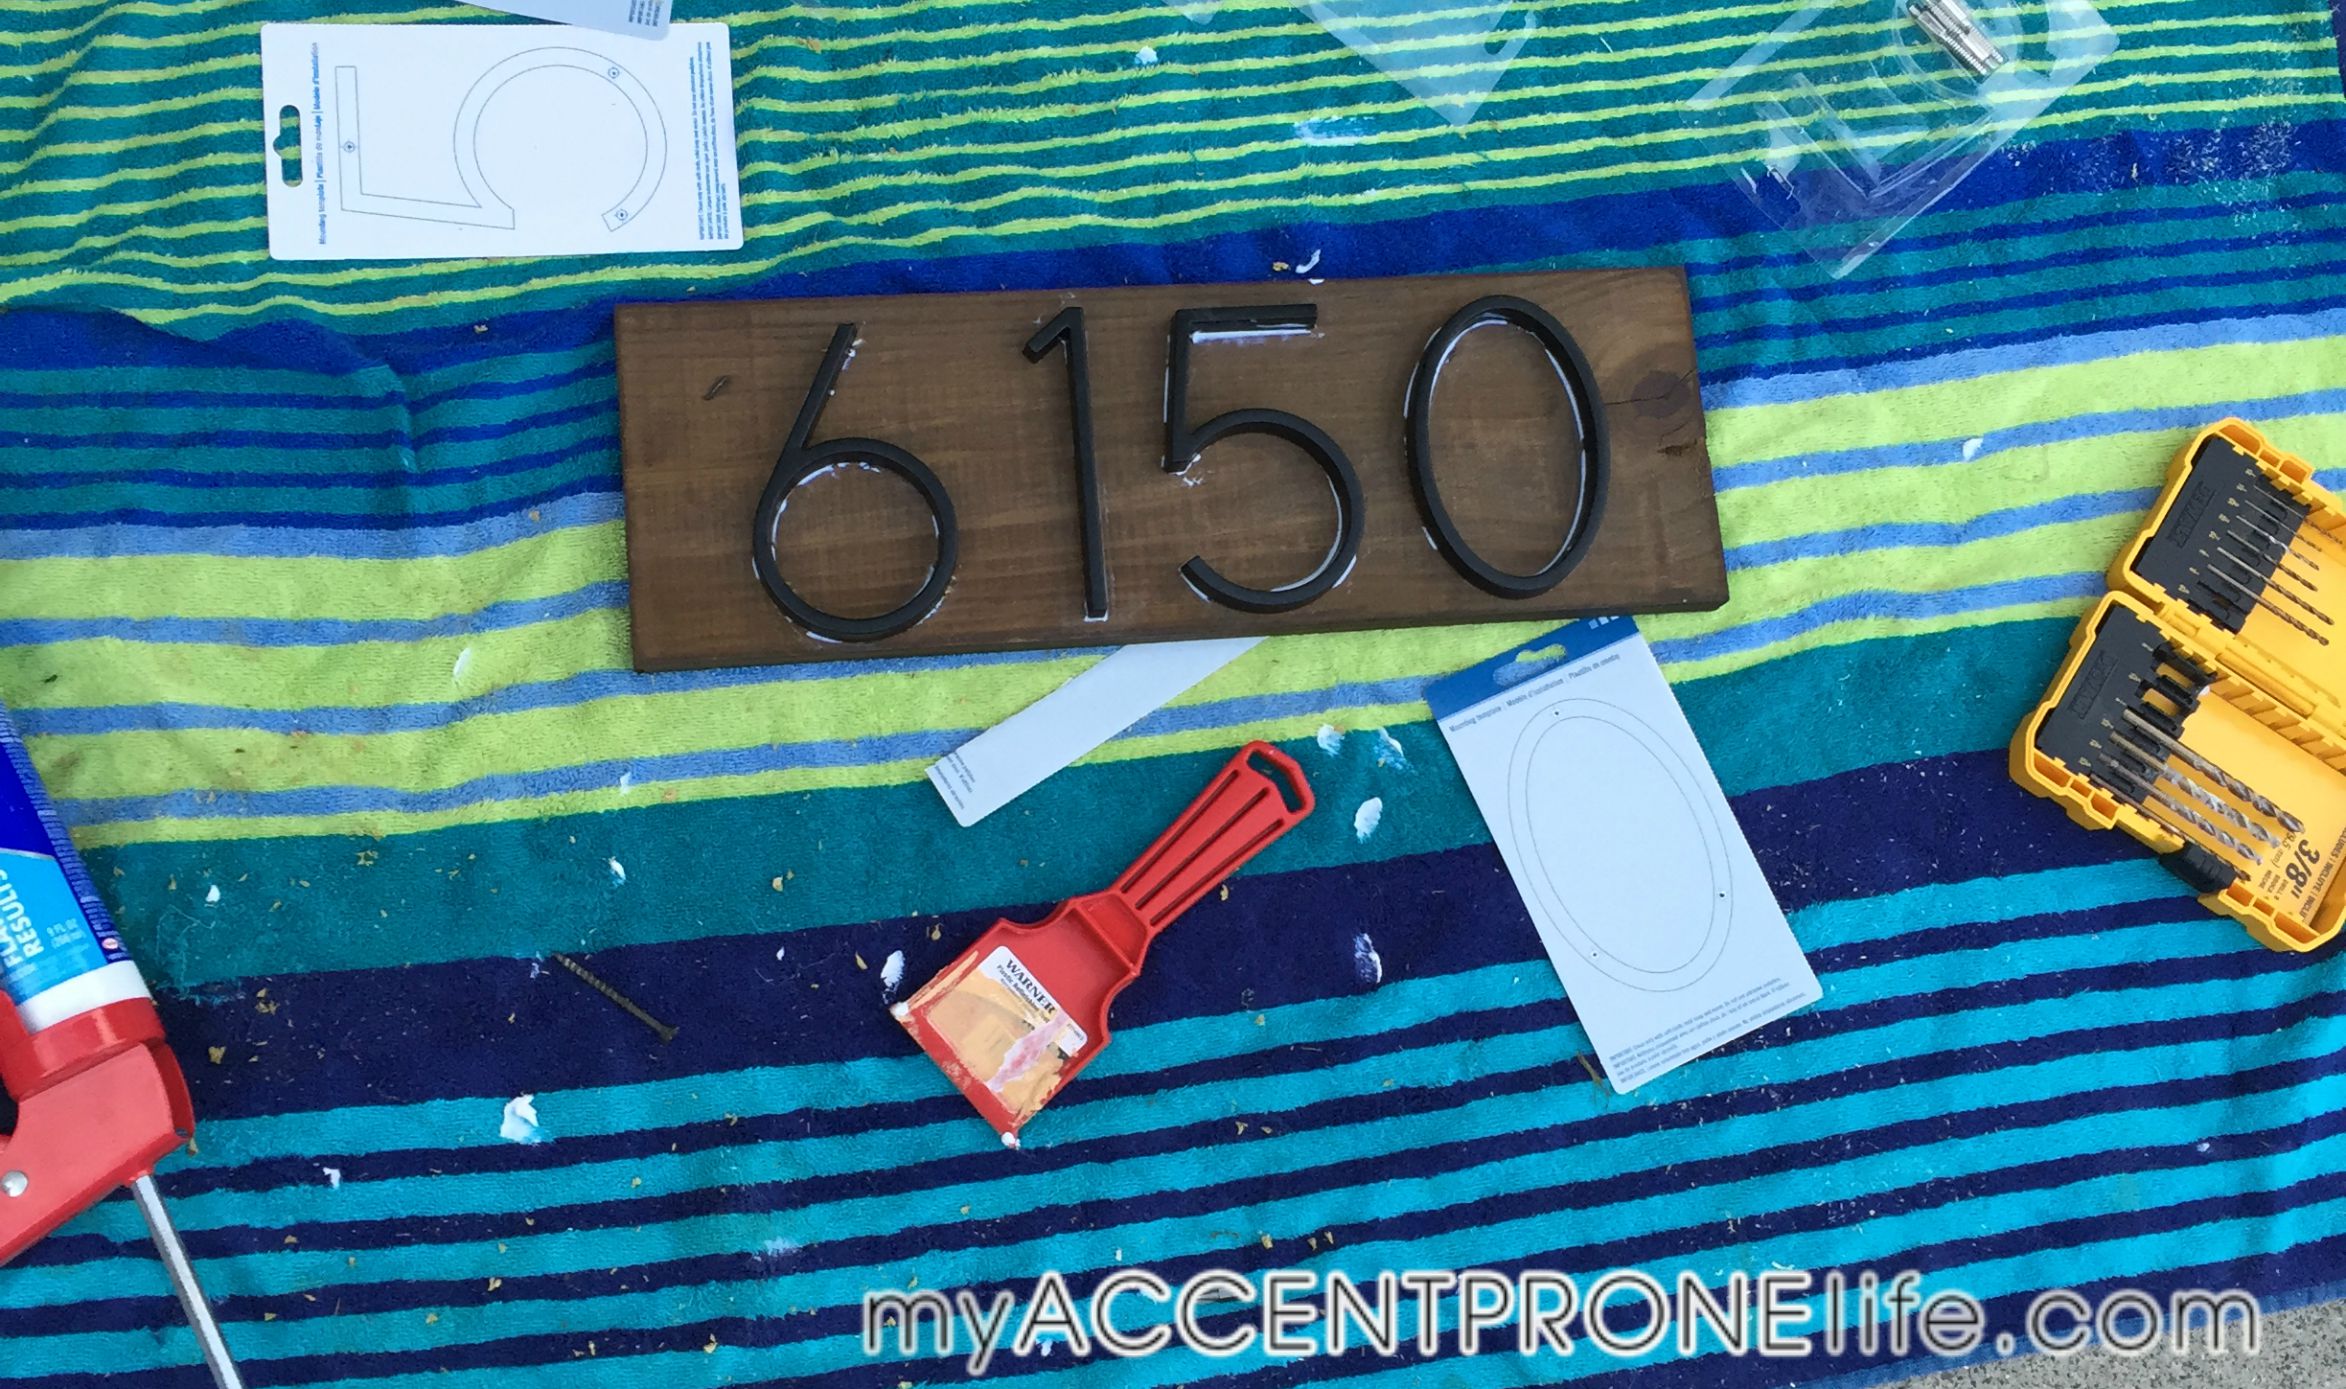
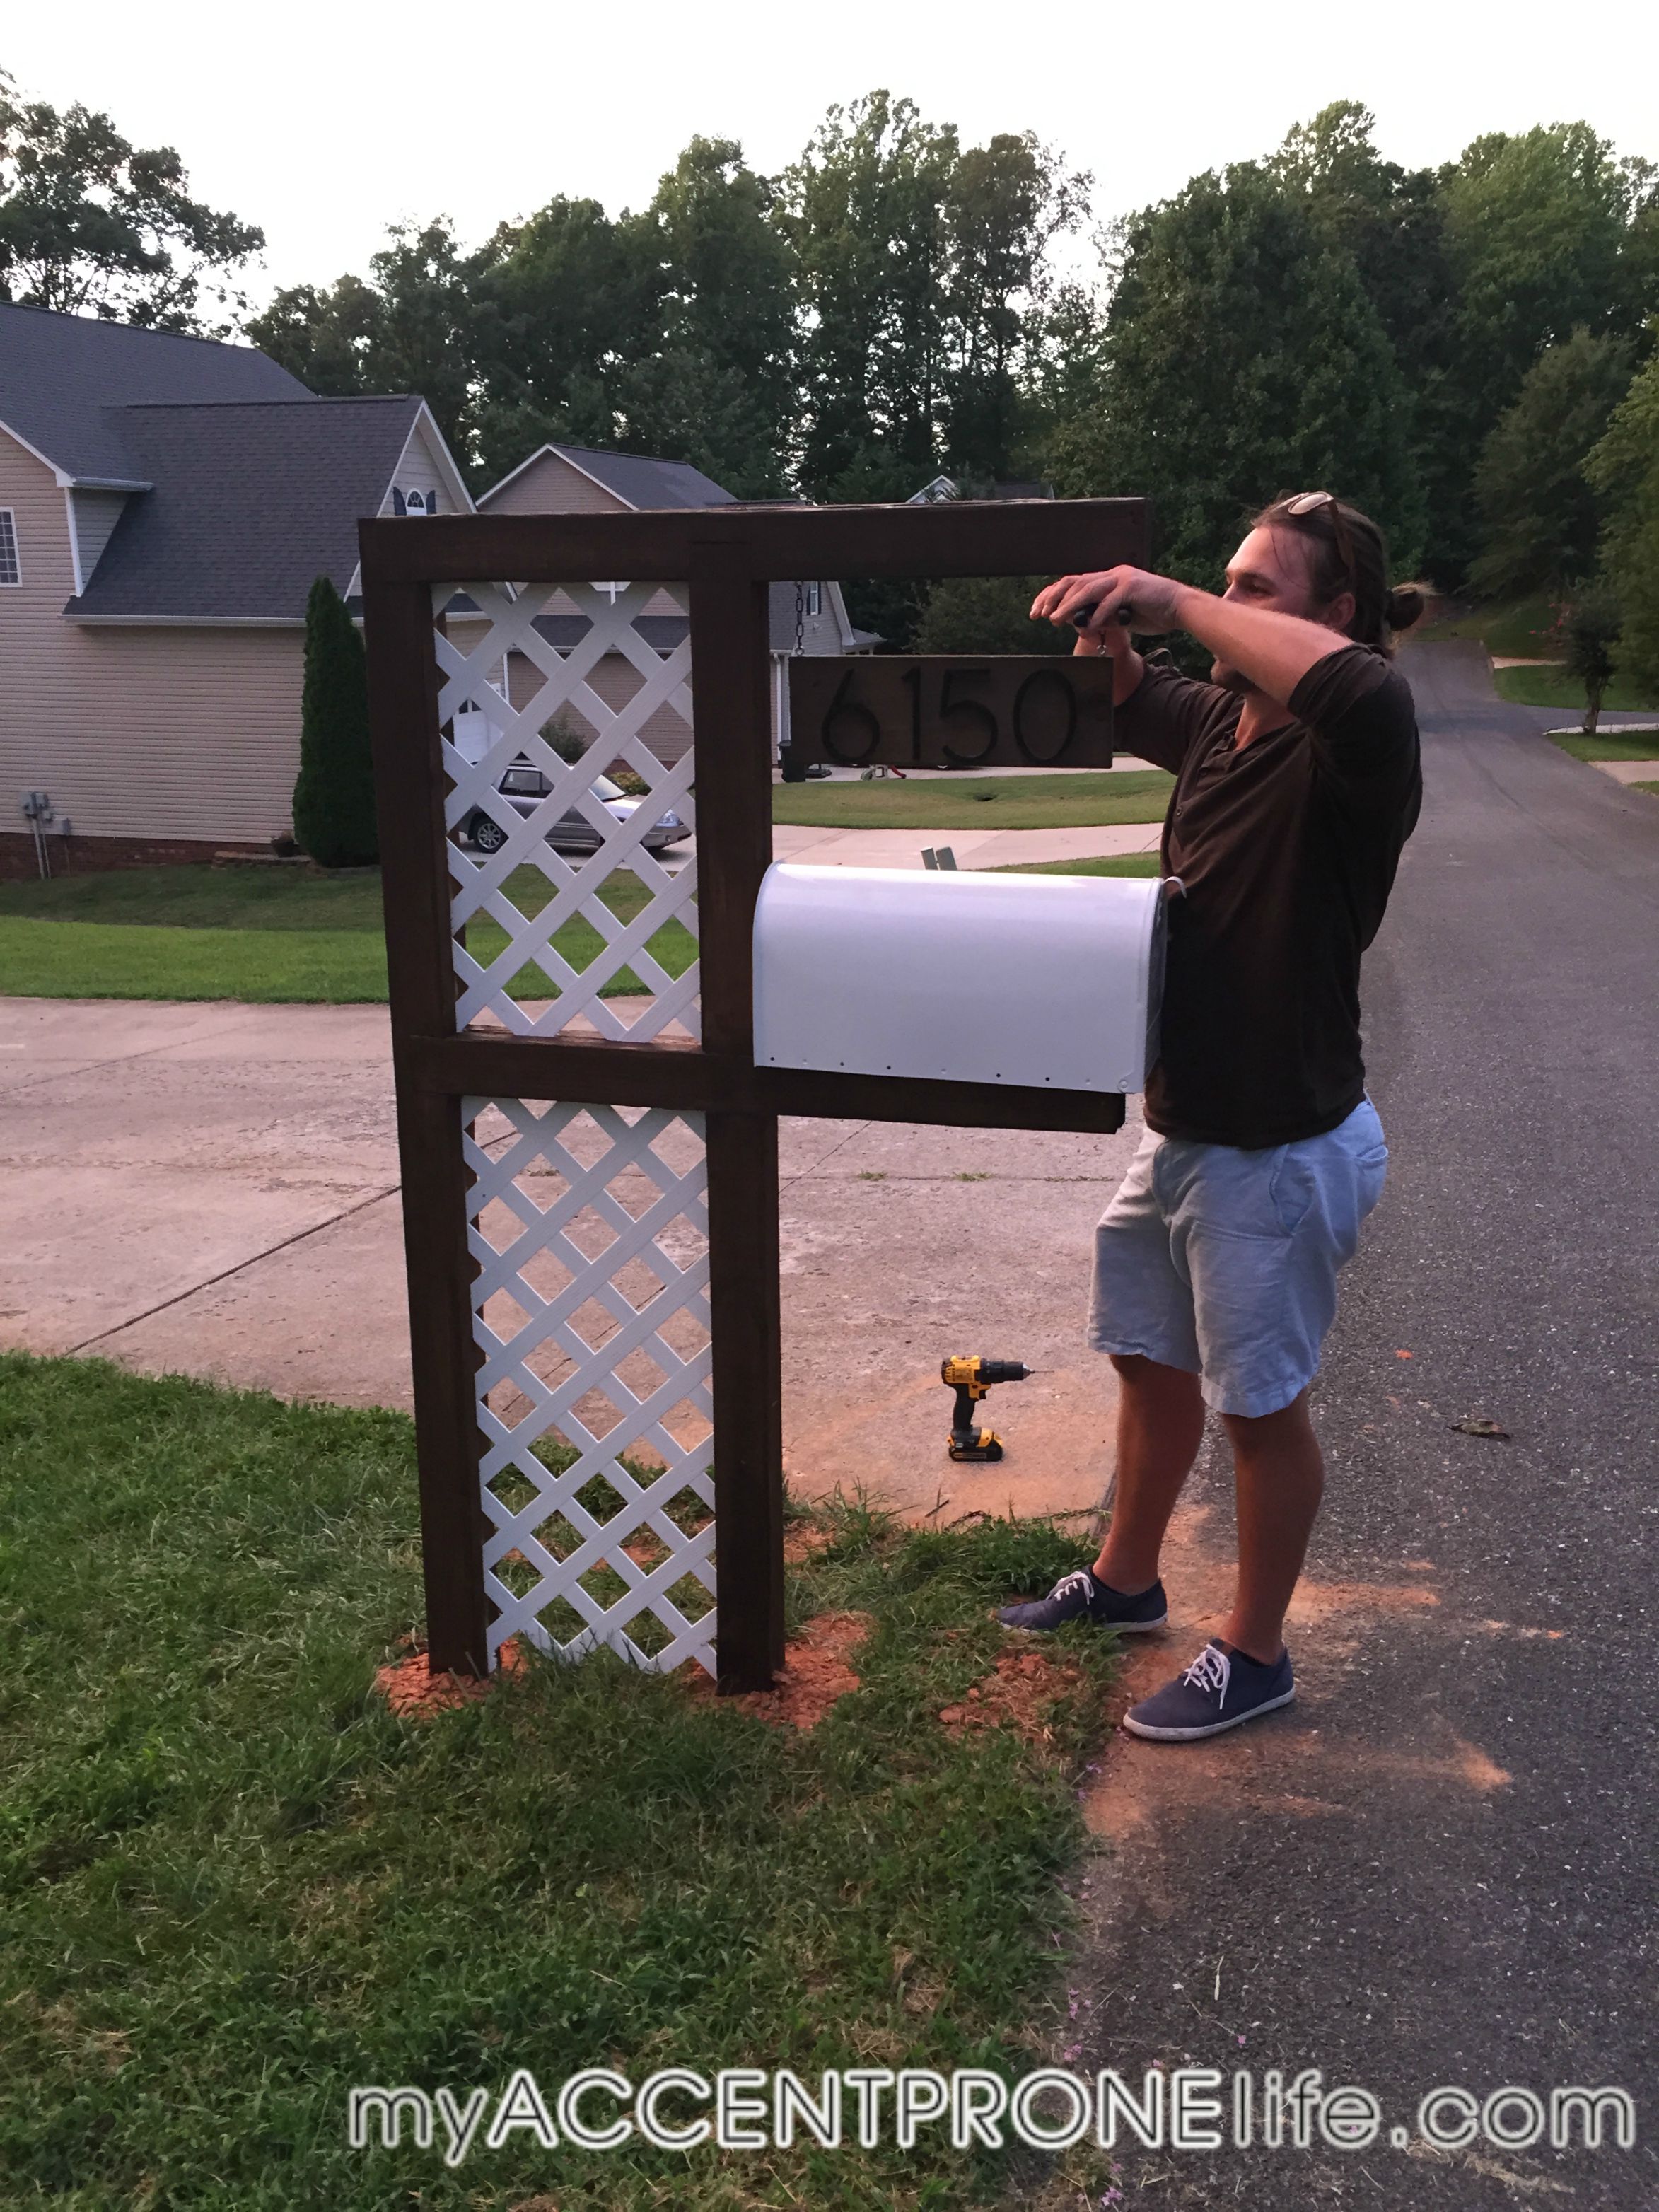
Step 17- Attach the numbers to the stained mounting board. This is 2 sided, so you will have 2 sets of numbers. We used a silicon to attached the numbers, as these are not able to screw in. The silicon will dry clear but, let is set over night to make sure they are firm.
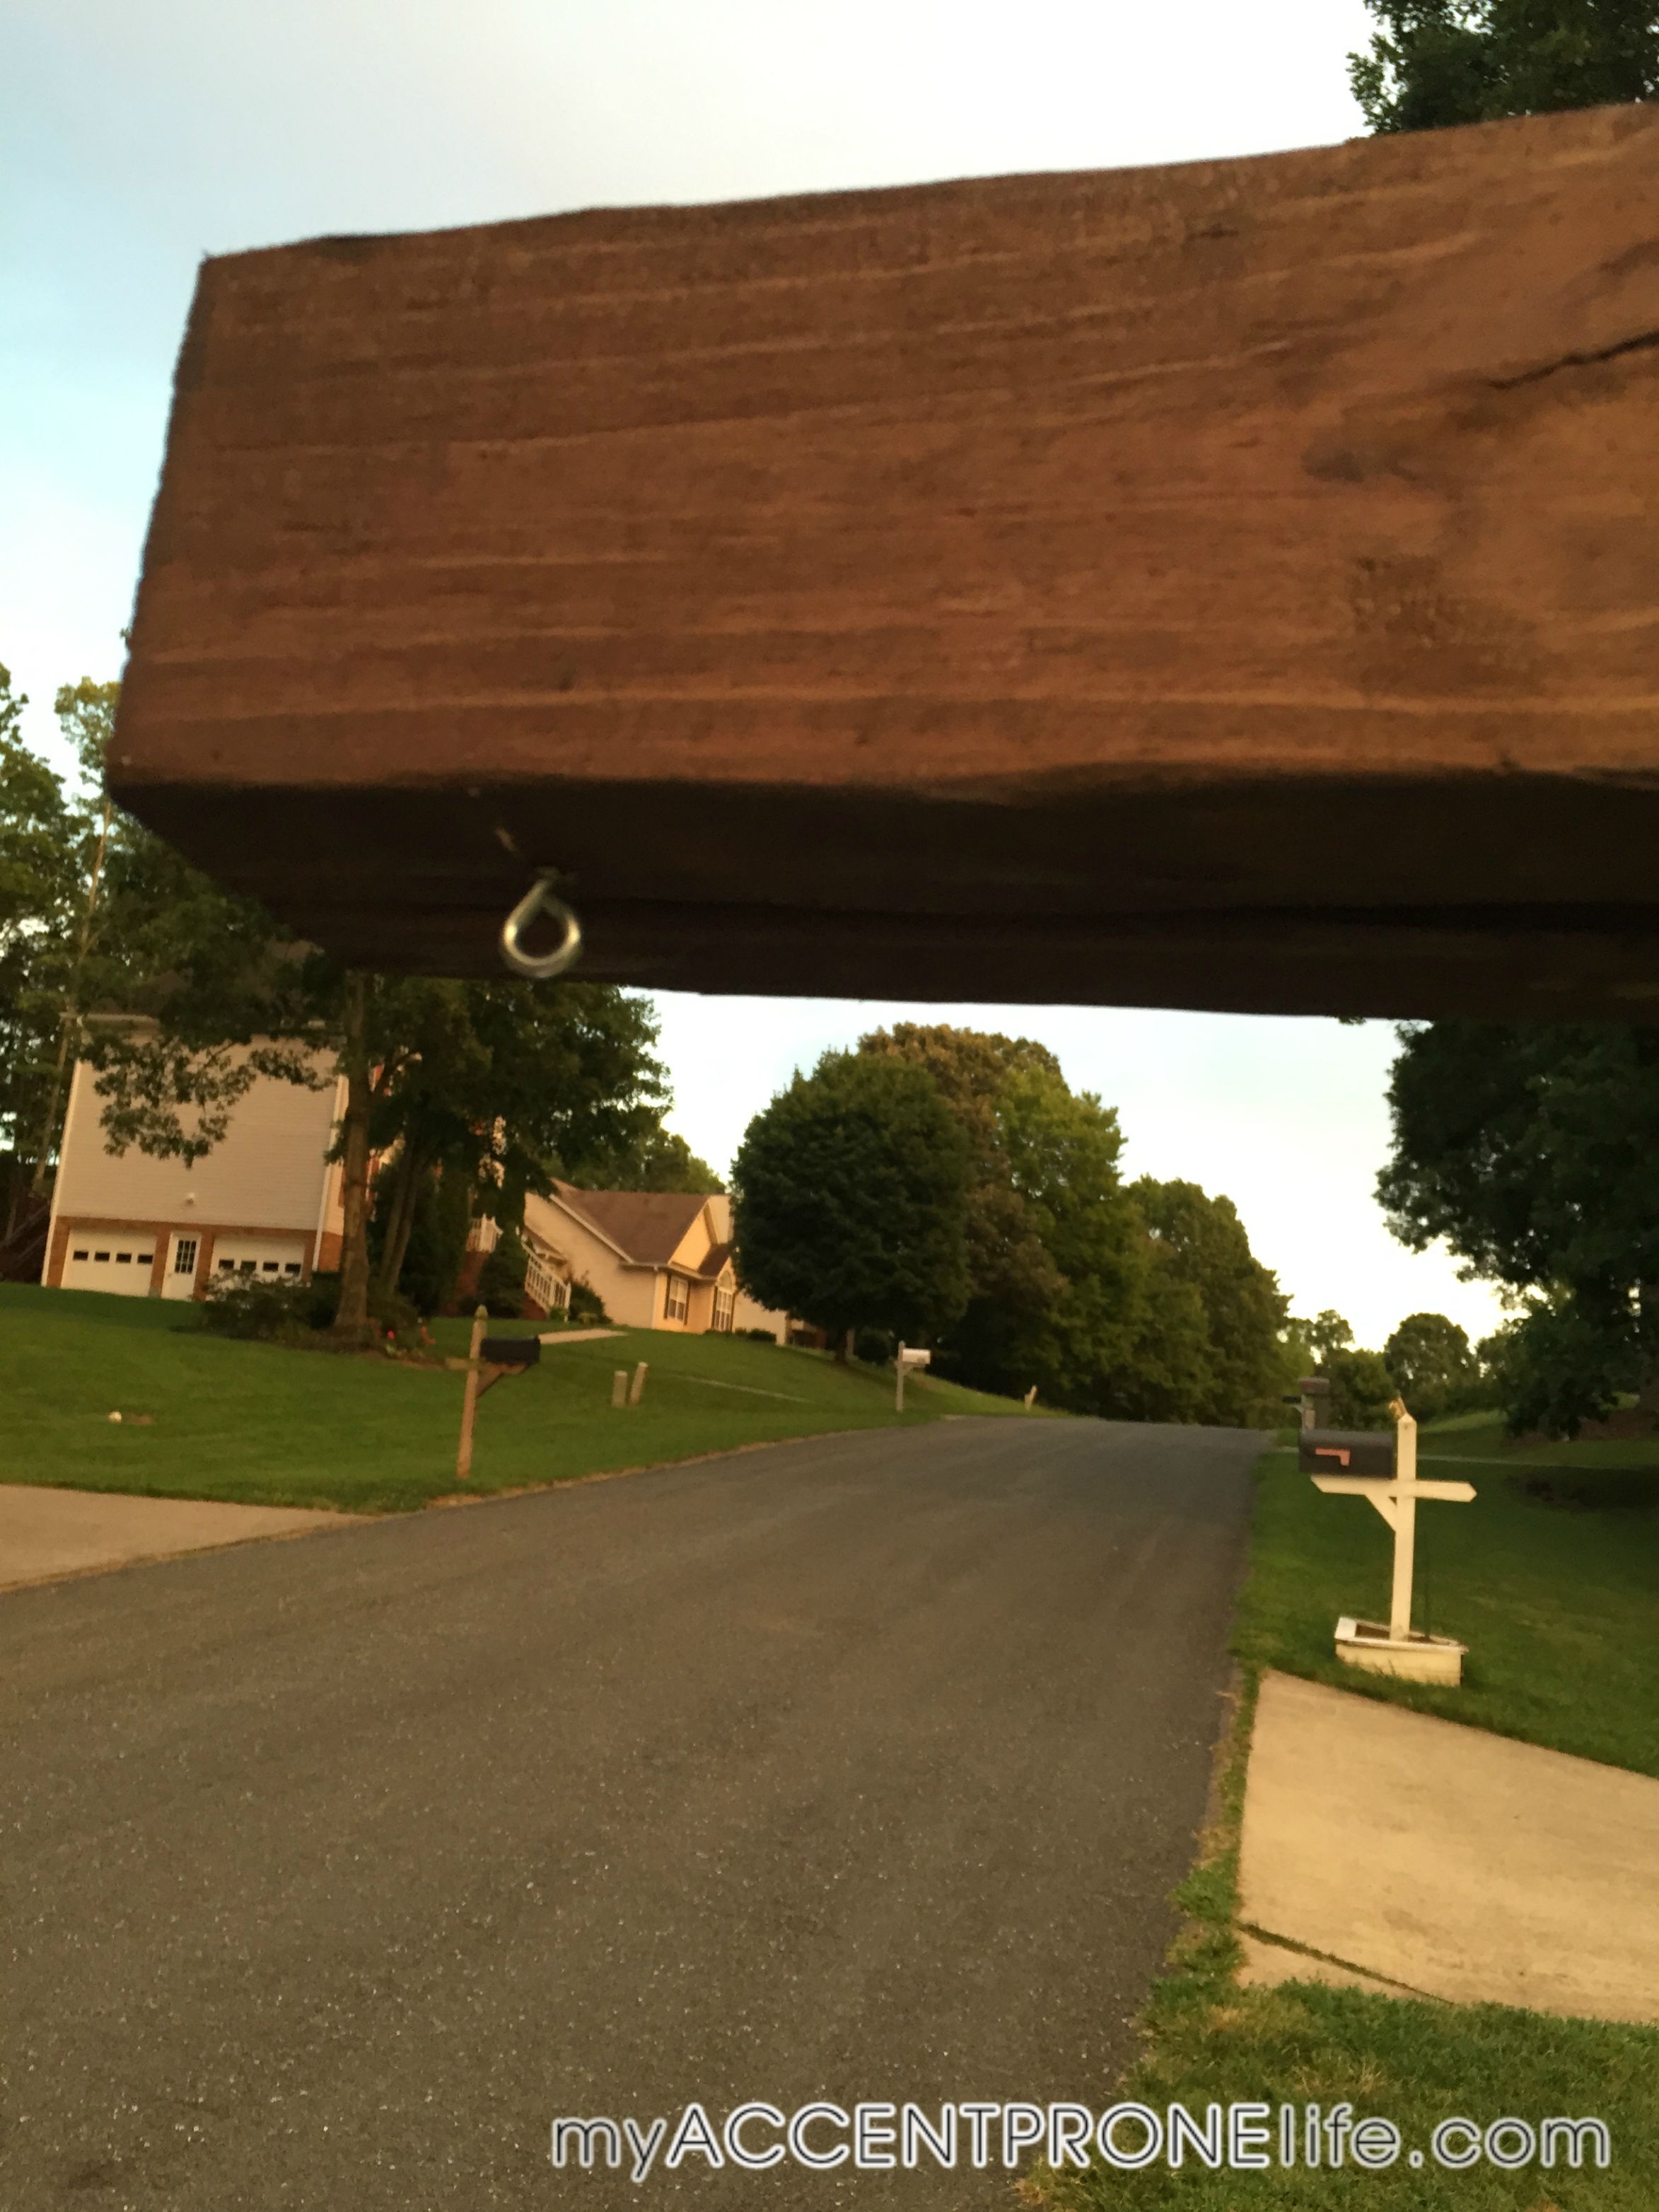
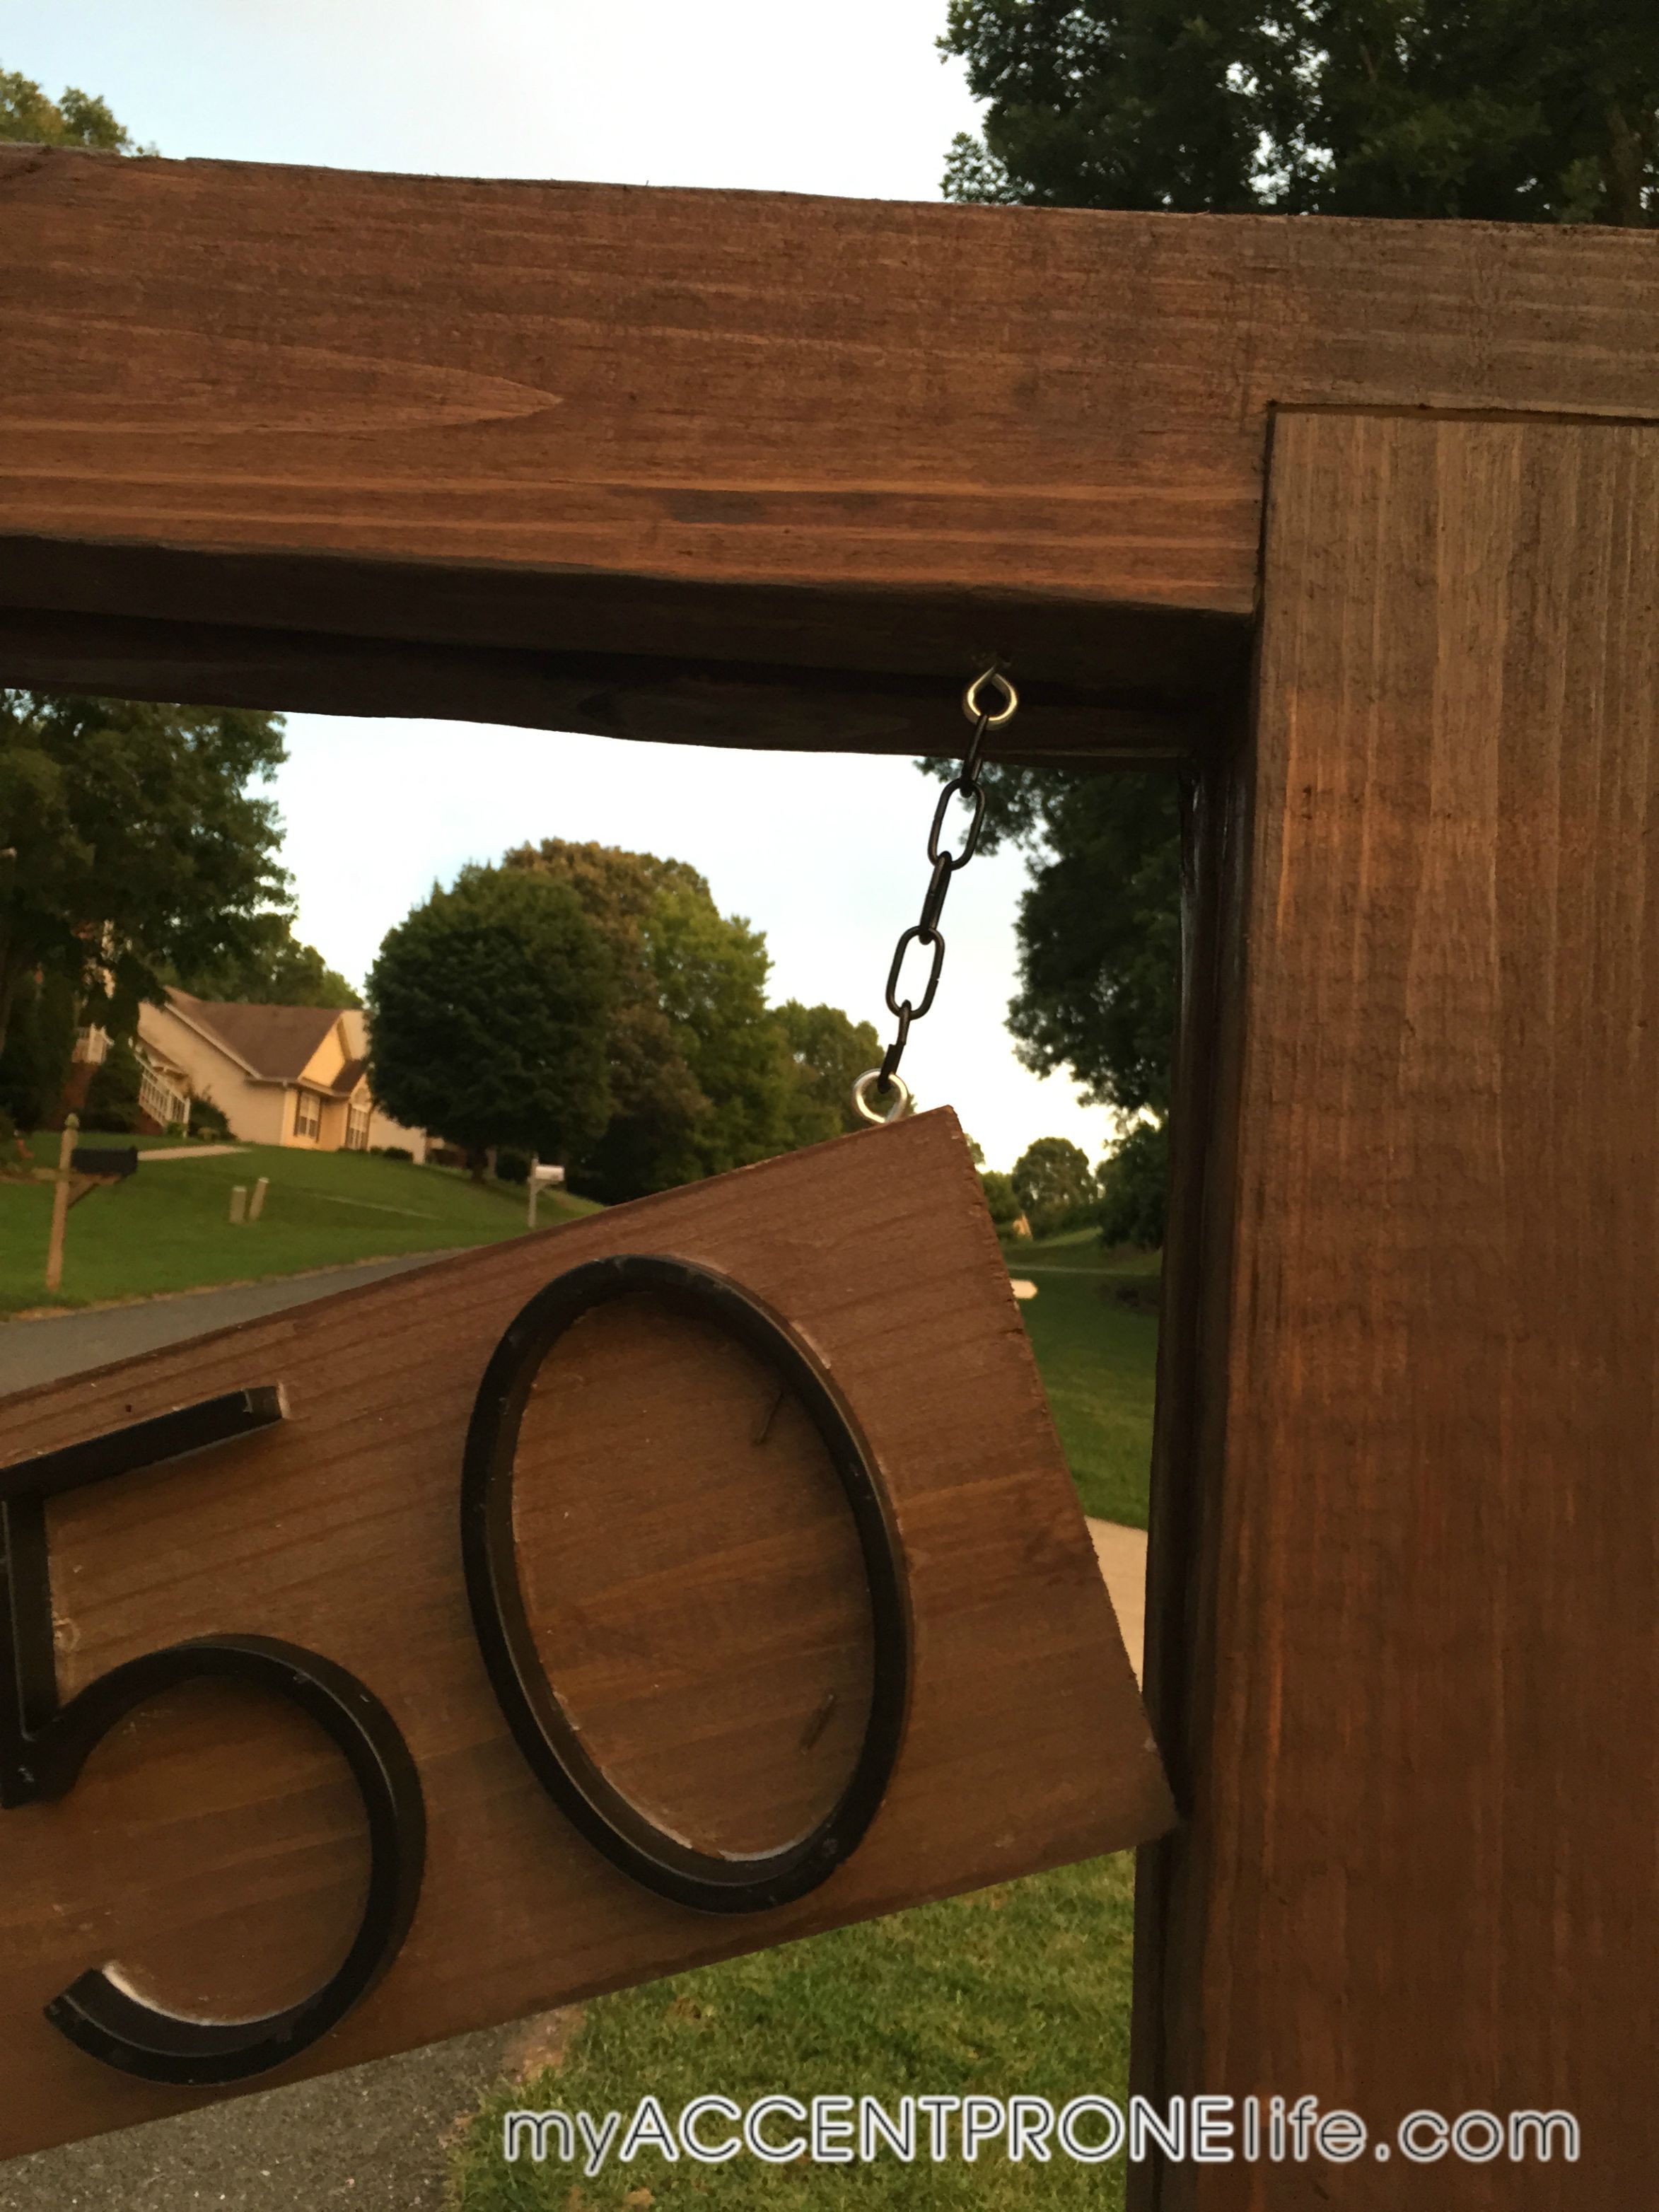
Step 18- Attach the numbers board to the top post using eye hooks and chain.
And there you have it! (yes we are in need of some awesome landscaping around it. And we plan on growing ivy up through the lattice, but that is another Sunday project to come!)
We are aware that some of this was a little confusing and tricky, so if you have any questions, please email us at info@accentprone.com, and we will be happy to help!
Thanks for stopping by everyone! Hope you have enjoyed!
On to the next,

